Tools needed:
- Wide spanning adjustable wrench
- Second adjustable wrench (only if lower portion needs to be separated)
- Microfiber towel/soft cloth for protection
*Important note: We recommend using a microfiber towel in between the wrench and your machine to not scratch the chrome finish.
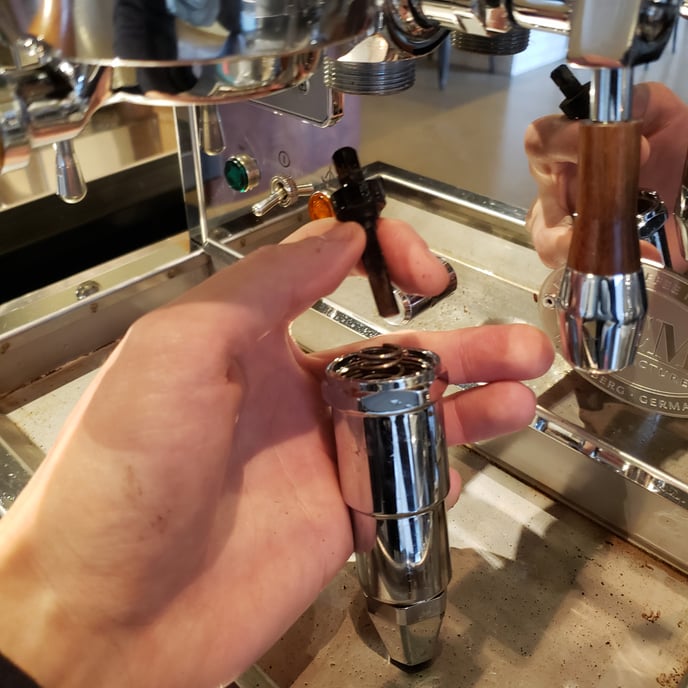
1. The upper valve can be swapped out by simply unthreading the top cap. The spring and valve can be removed and a new one can be dropped right in. This valve is pin-shaped.
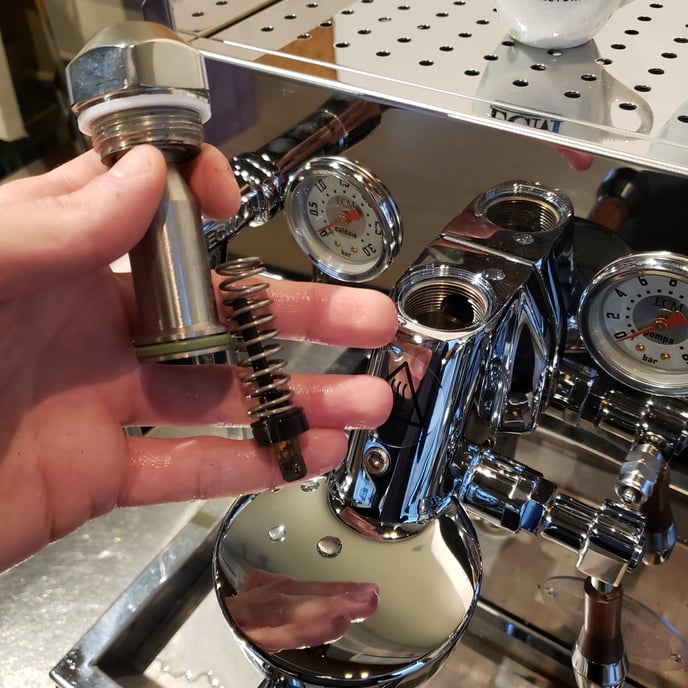
2. The lower drain valve can be swapped by unthreading the bottom portion of the lower half of the group head. When unthreading this, take a bit of caution as the spring will have some force behind it so it has the potential to pop out. Keep a hand on it to make sure it doesn't pop out and damage anything. This valve is short and triangle-shaped.
*Note: This is where you may need the second wrench. If the entire lower half of the group head starts to unthread rather than just the lower-most part, hold the larger lower part steady and unthread the bottom part. If replacing both valves, you can remove the entire lower half and separate the two parts away from the machine, replacing both valves and reinstalling the entire thing at once.
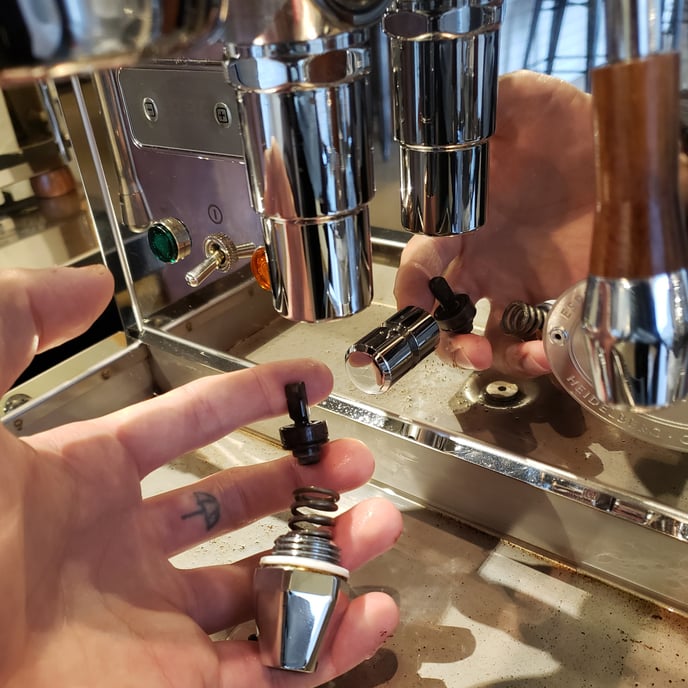
3. The middle brew valve is swapped out by removing the lower half of the grouphead. This valve is triangle-shaped.