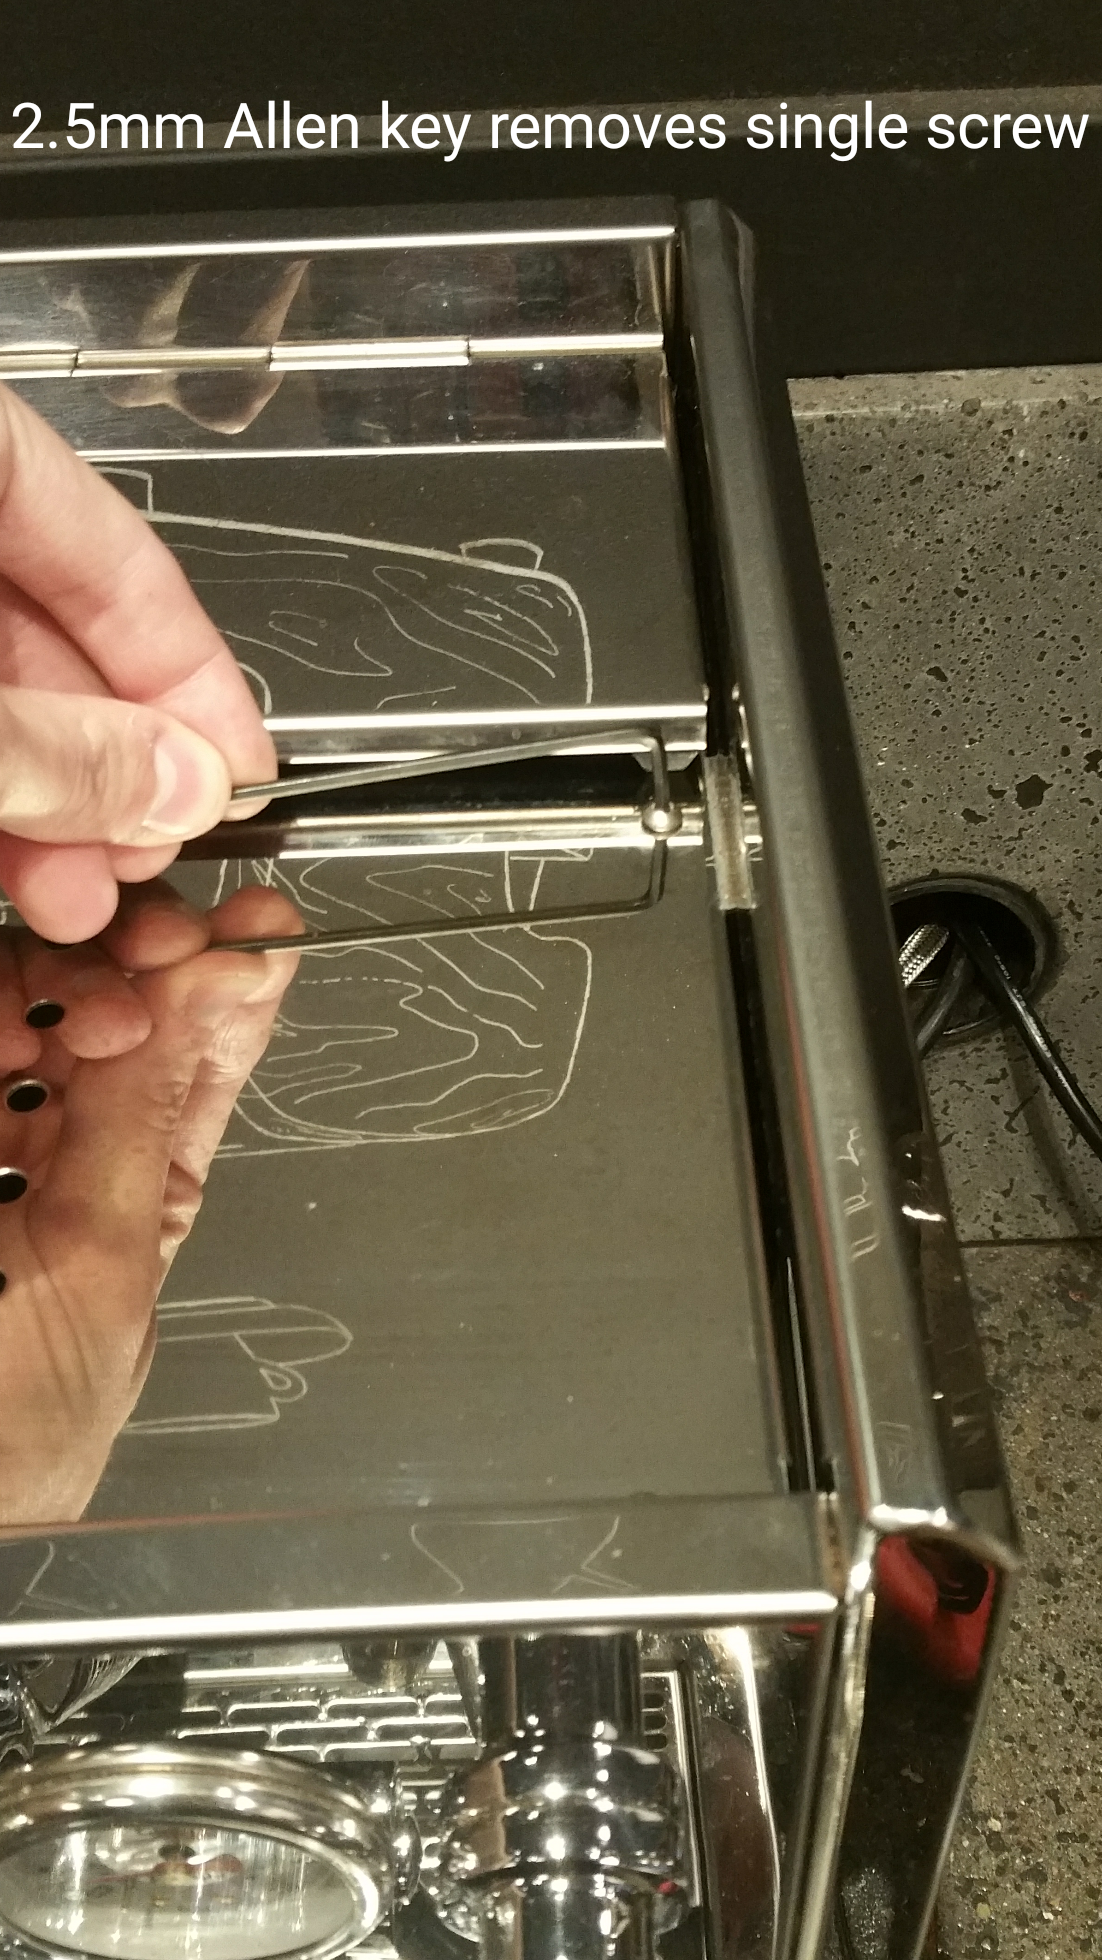
- Help Center
- ECM Synchronika
- General Maintenance
-
Getting Started
-
Espresso 101
-
Warranty, Ordering & Returns
-
Bezzera BZ10
-
Bezzera Duo DE
-
Bezzera Duo MN
-
LUCCA A53 (Direct Plumb & Mini) by La Spaziale
-
LUCCA M58 by Quick Mill
-
LUCCA S58 by Profitec
-
LUCCA X58 by Quick Mill
-
La Marzocco Linea Mini
-
La Marzocco GS3
-
Lelit Bianca
-
Lelit Elizabeth
-
Lelit Victoria
-
ECM Synchronika
-
ECM Special Edition Classika PID
-
ECM Mechanika V Slim
-
ECM Casa V
-
ECM Puristika
-
Profitec Pro 300
-
Profitec Pro 400
-
Profitec Pro 500
-
Profitec Pro 600
-
Profitec Pro 700
-
Profitec Pro 800
-
Rocket Appartamento
-
Rocket R58 / Cinquantotto
-
Rocket Giotto
-
Rocket R Nine One
-
La Spaziale S2 EK
-
Rancilio Silvia
-
Rancilio Silvia Pro
-
Rancilio Silvia Pro X
-
Izzo Alex Duetto
-
Quick Mill
-
Breville Oracle
-
Dalla Corte Mina
-
Slayer
-
Lucca Grinders
-
Baratza Grinders
-
LUCCA Atom 75
-
Eureka Grinders
-
ECM Grinders
-
Compak Grinders
-
Fellow ODE Grinder
-
Mahlkonig Grinders
-
Profitec Grinders
-
Breville Grinders
-
Dalla Corte Grinders
-
Macap Grinders
-
Fiorenzato Grinders
-
General Troubleshooting
-
Like New & Trade-In Program
-
Eureka Mignon Libra
-
Eureka Mignon Libra User Manual
-
Rocket Boxer Setup Guide
-
Rocket Boxer Timer User Manual
-
Baratza Encore ESP Setup Guide
-
Baratza Encore ESP User Manual
-
Fellow Opus User Manual
-
Fellow Opus Setup Guide
ECM Synchronika: Adjusting Pump Actuation Switch
If you find the brew lever to be activating the pump too early, or not activating the pump when fully engaged, you can use this simple guide to adjust the pump switch on the front of your ECM Synchronika espresso machine. (Difficulty ☕☕☕)
Tools needed:
- 2.5mm Allen key
- Adjustable wrench
1. Remove the right side panel. Remove the top cup warming tray from the top of the machine, you will see a single allen screw on the right side of the machine.

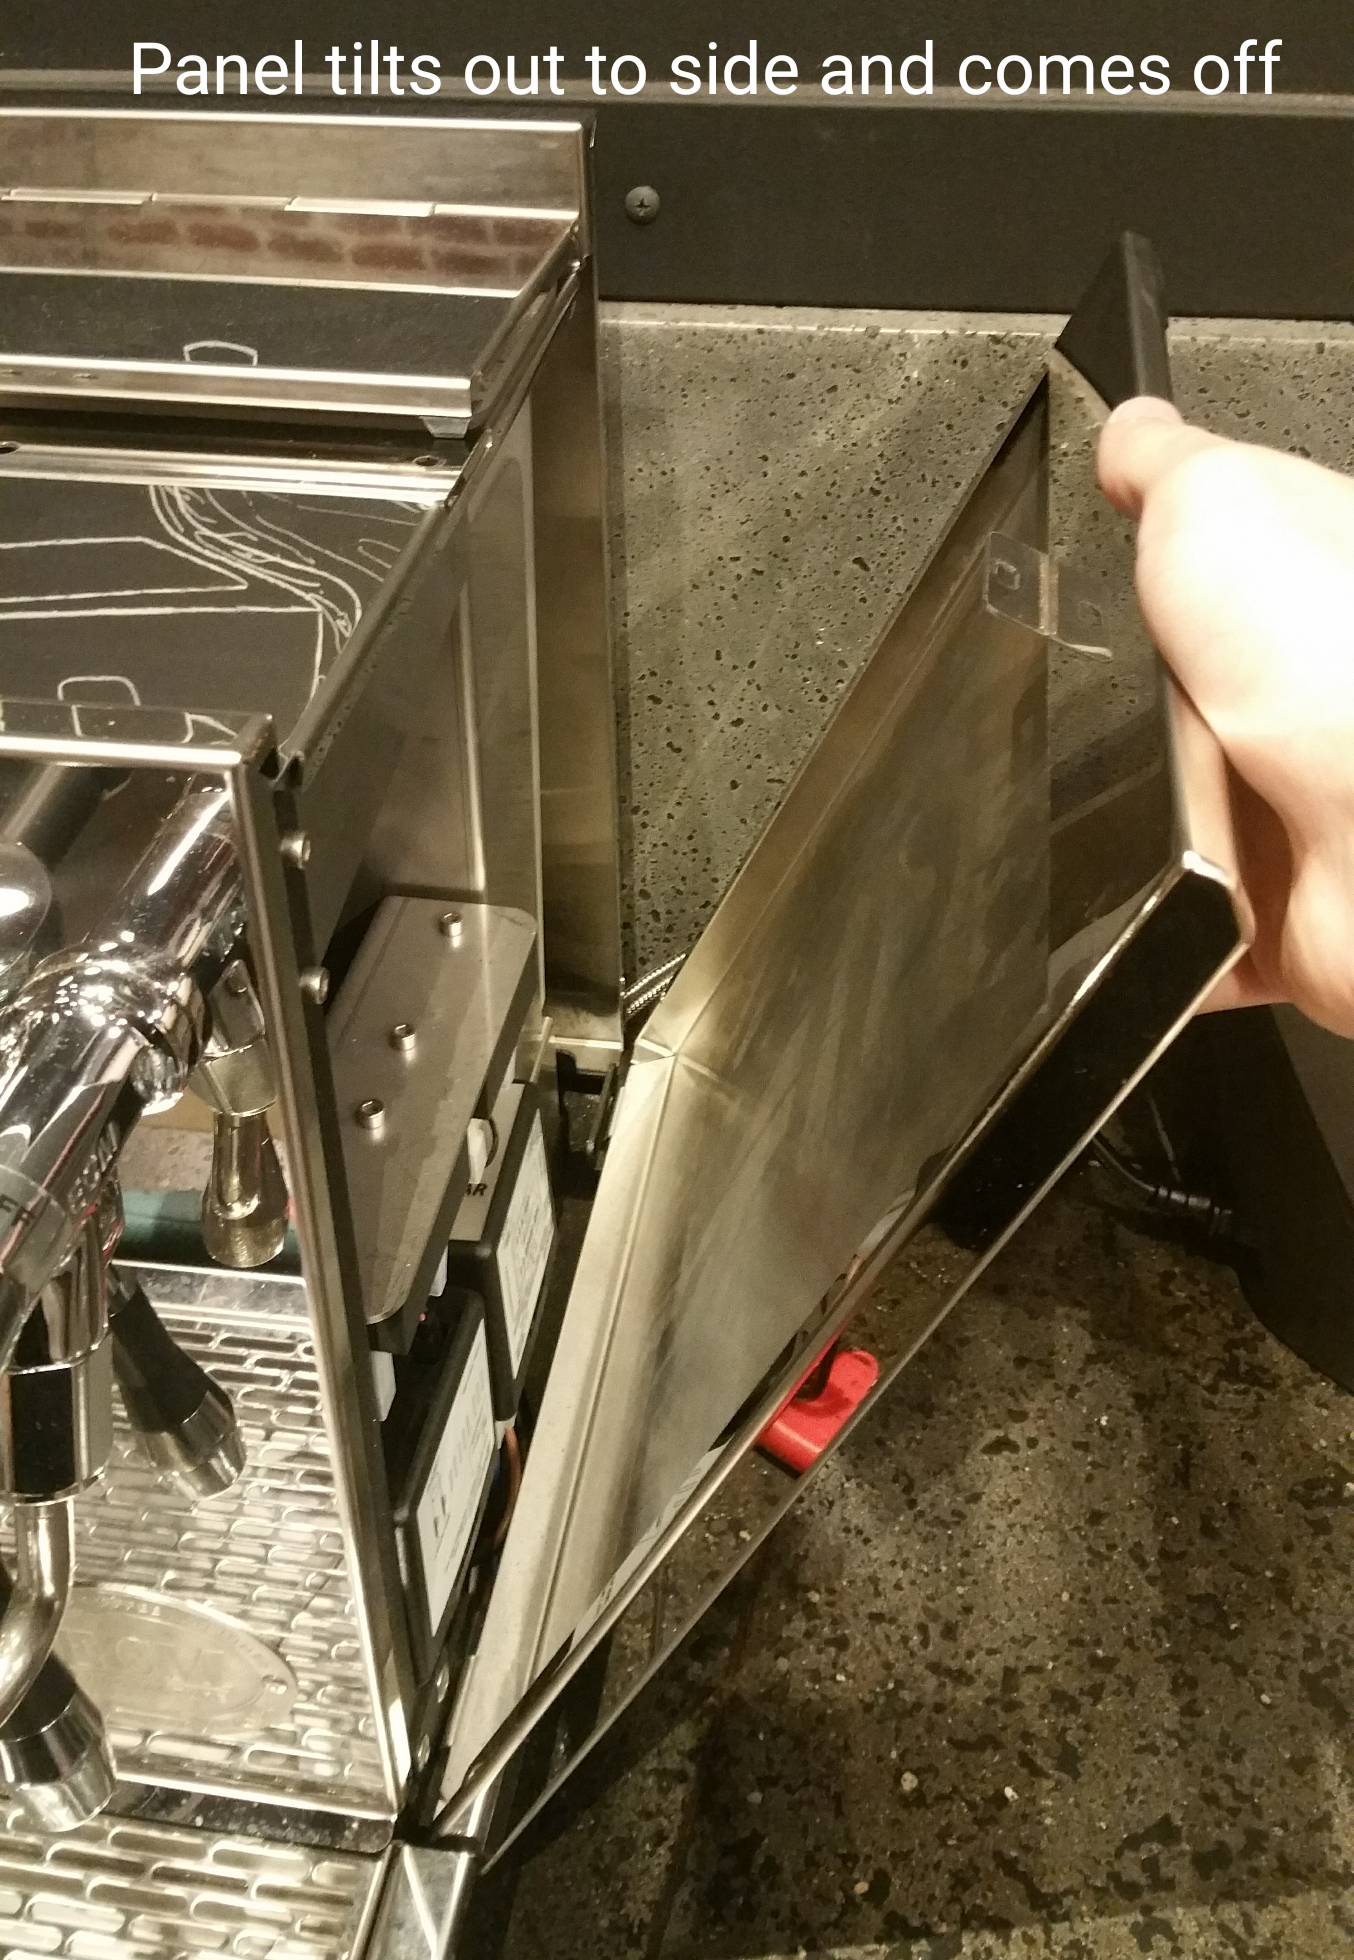
2. Take the side panel off of the machine.

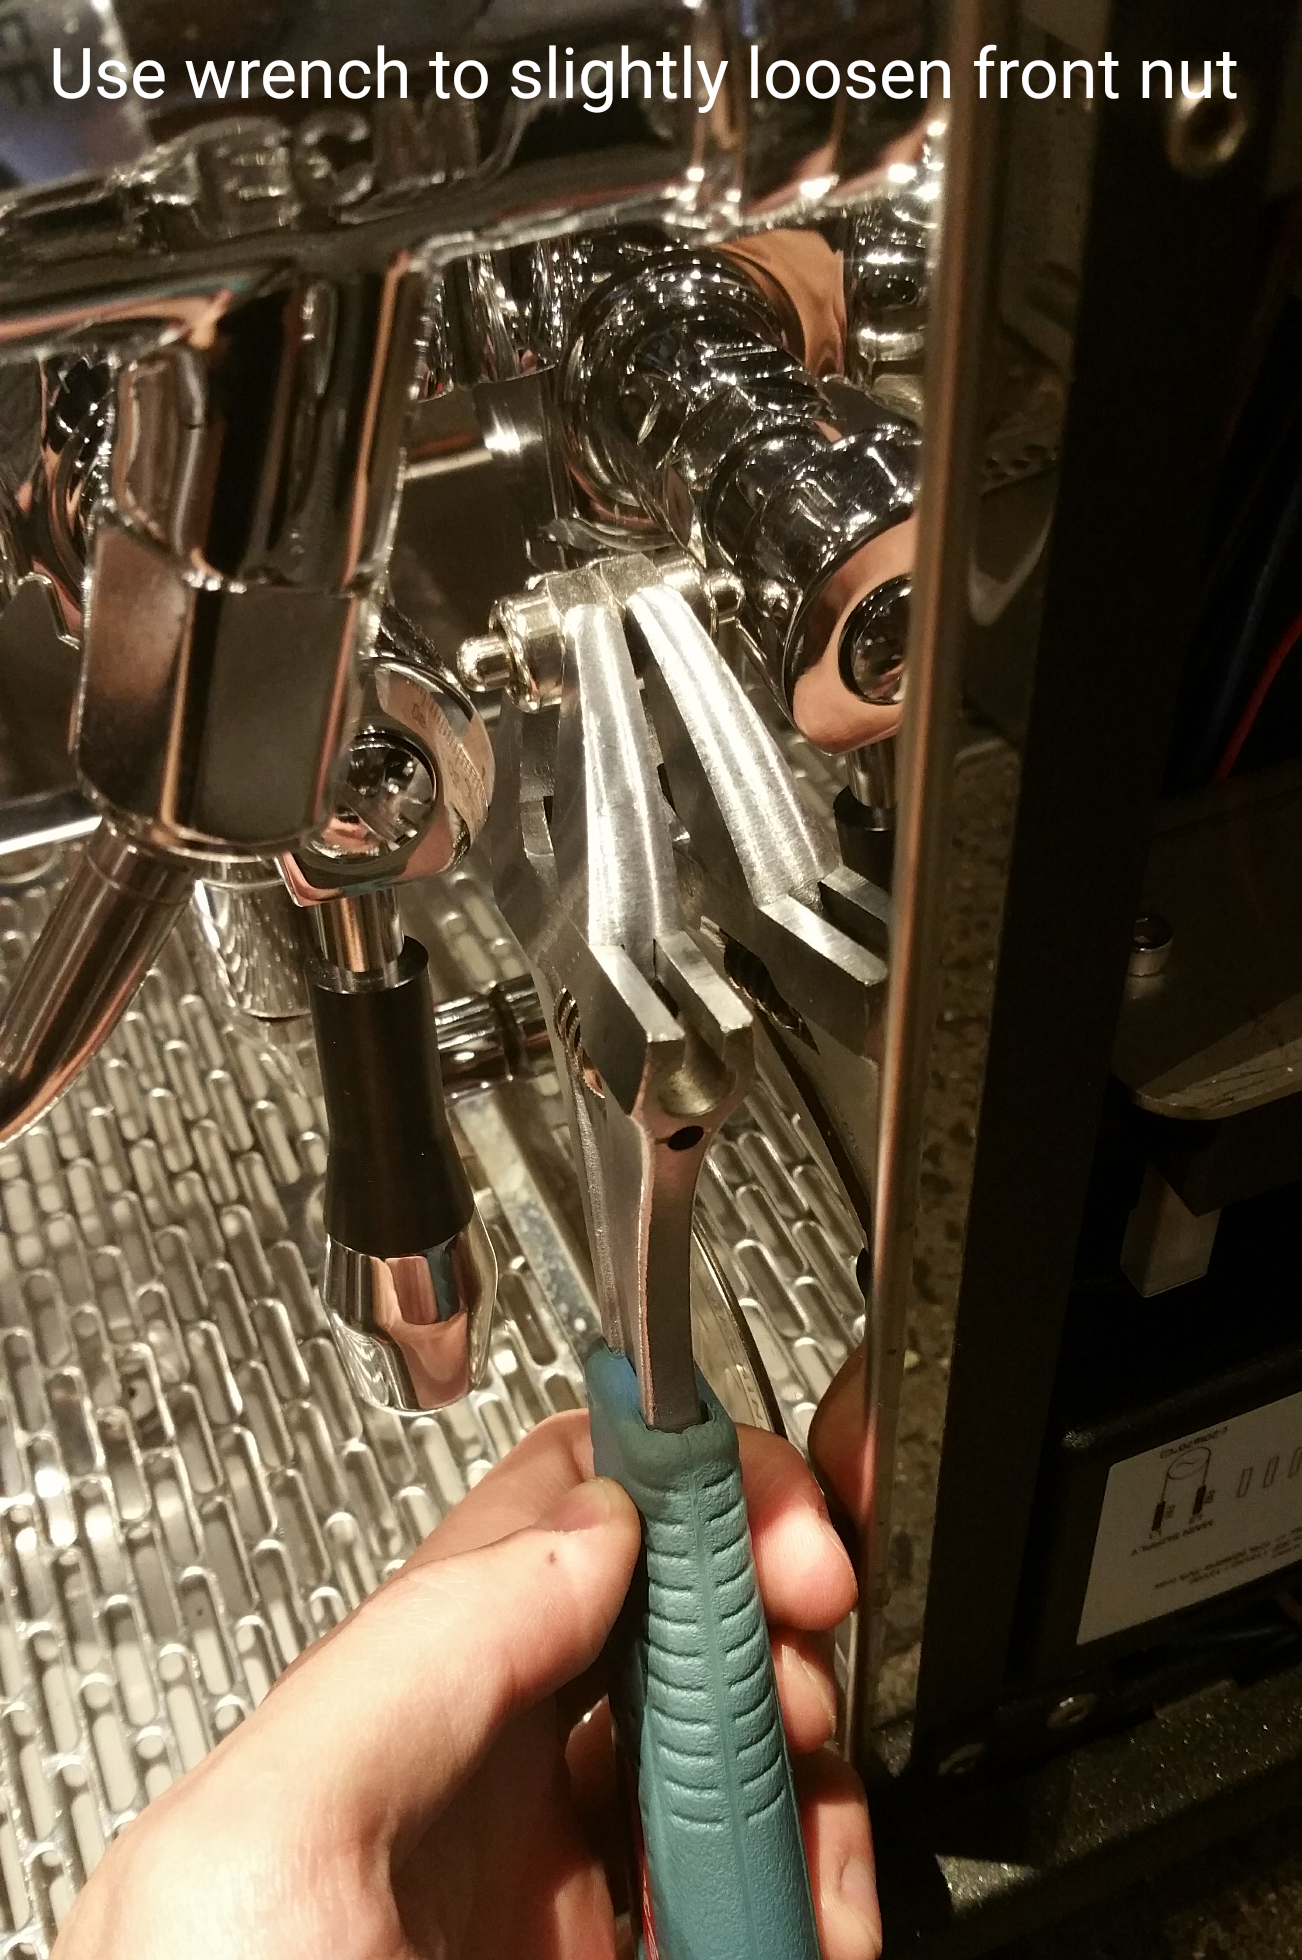
3. Loosen the front nut with the adjustable wrench to allow easier adjustment of inner nut.

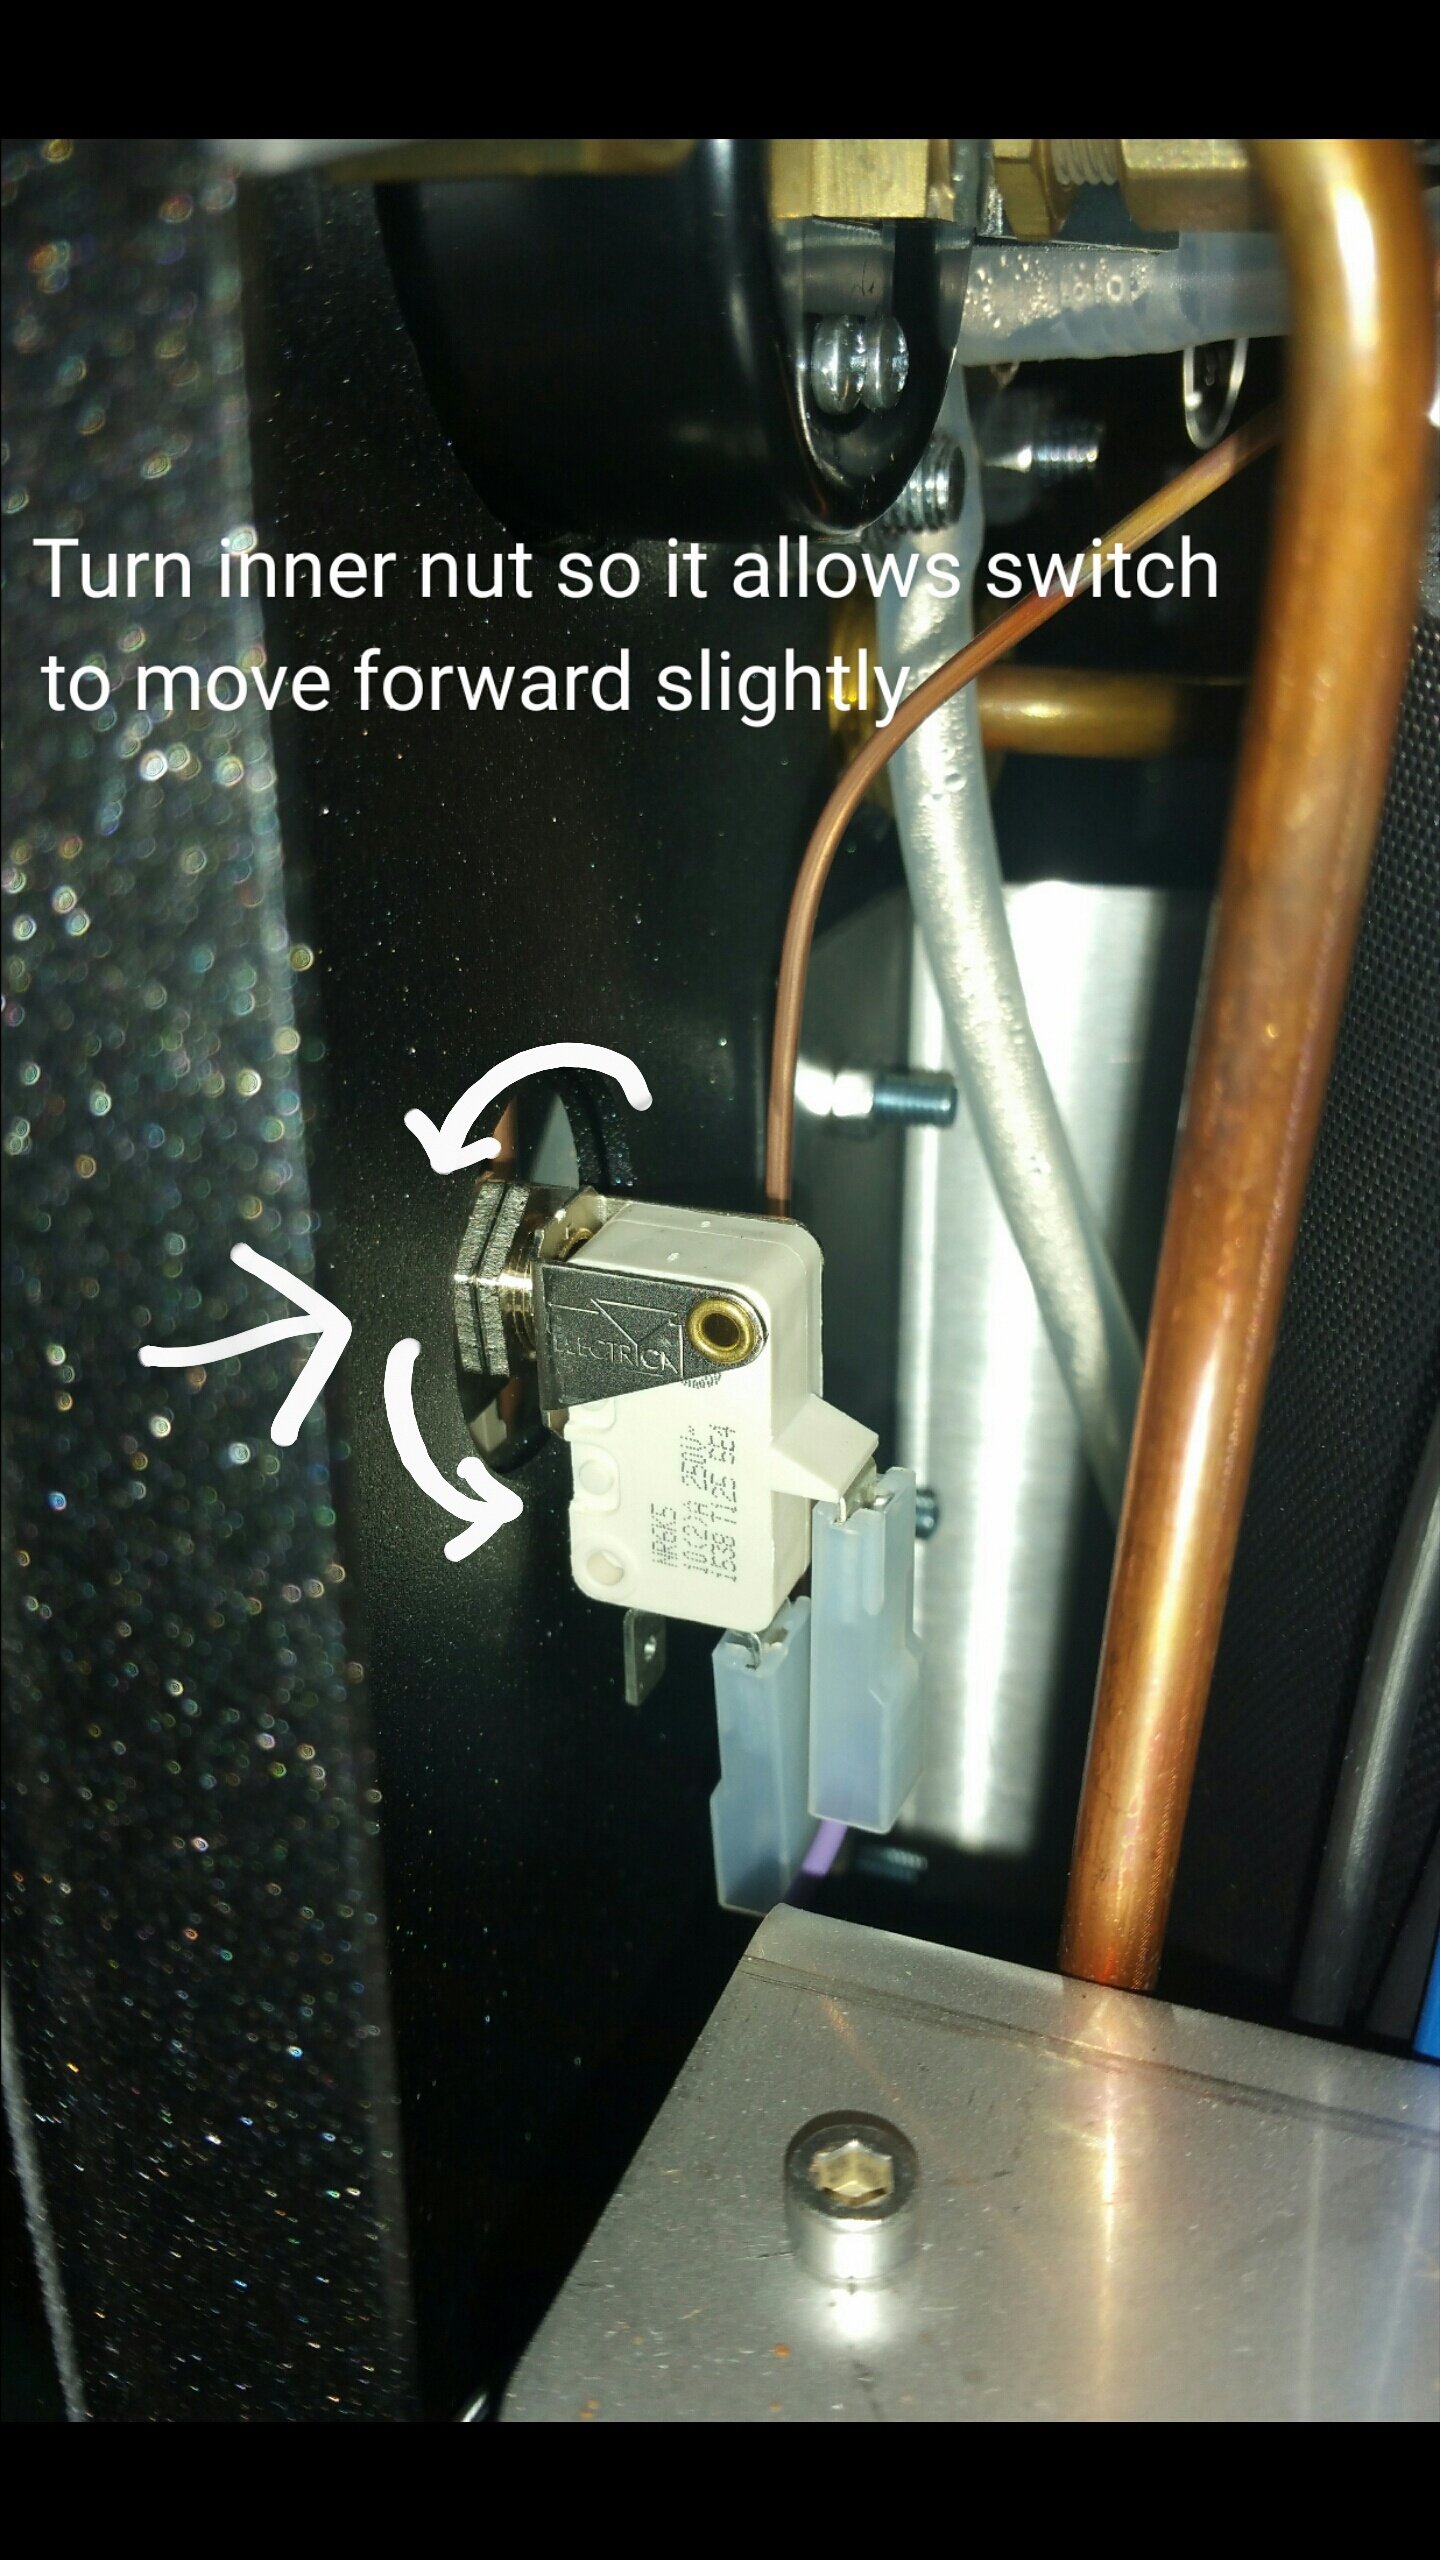
4. Make small adjustments. A little goes a long way when it comes to adjusting the depth of the switch, as you may only need to make the smallest of adjustments to get the switch in the right spot. This photo indicates the direction for moving the switch farther out.

5. When the switch is at the desired point, tighten the front nut back down and put the side panel back onto the machine.