Tools needed:
- Phillips head screwdriver (long-reach driver recommended if available)
- Wirecutters
- Flathead screwdriver
- 7mm deep socket
- 12mm deep socket
- 17mm deep socket
- 22mm deep socket
- Ratchet/Breaker bar
- 17mm wrench
- 18mm wrench
- 20mm wrench
- 22mm wrench
- 6mm Allen key
- Teflon plumbers tape
- Zip ties
Make sure your machine is unplugged, fully cooled, and depressurized.
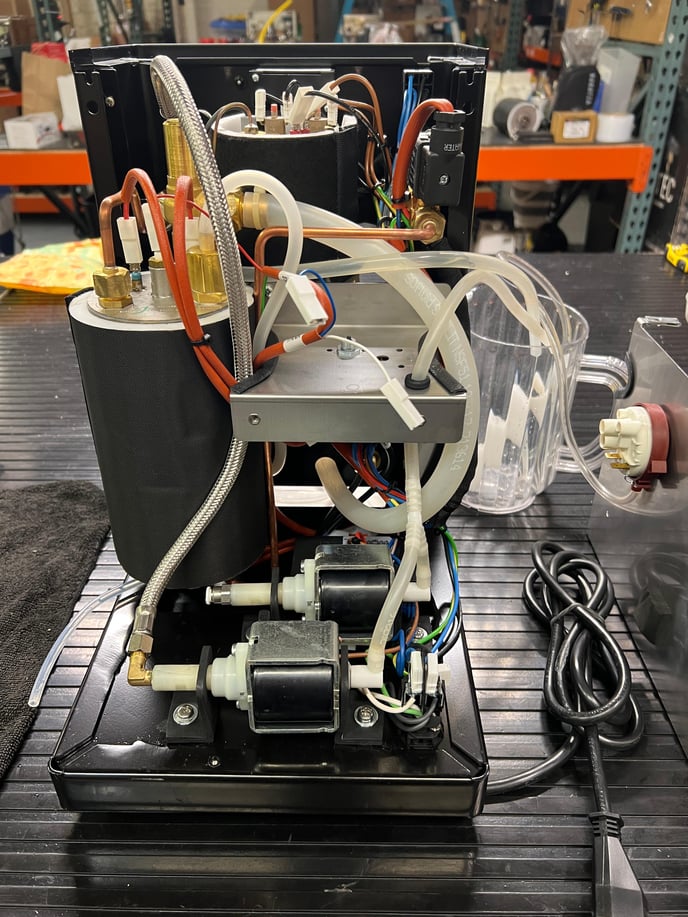
- Remove the panels of your Silvia Pro or Pro X
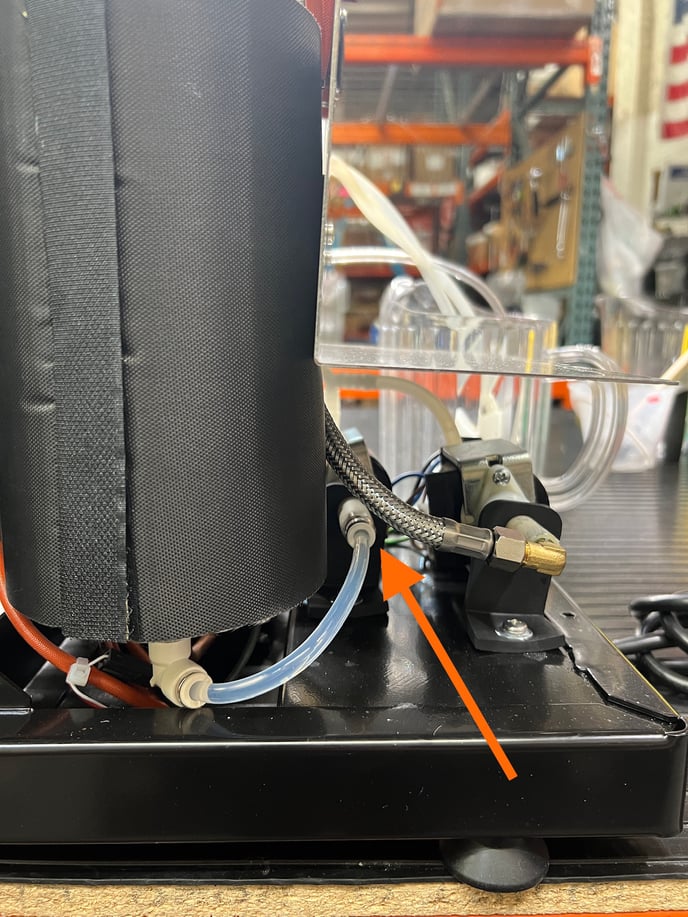
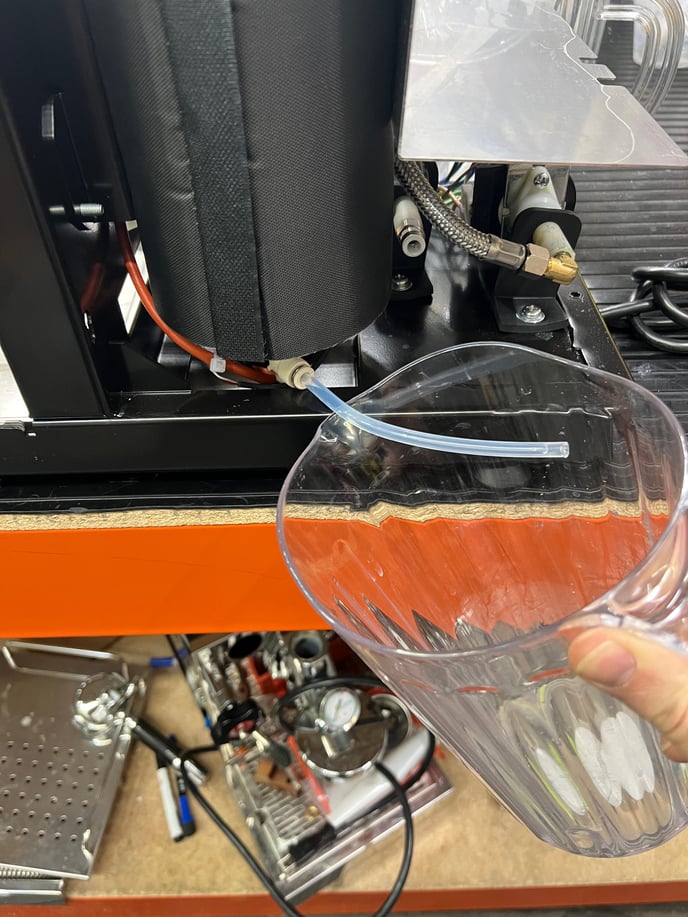
- Drain the steam boiler by disconnecting the push-connect fitting from the pump and pushing the collar in then pulling the tube out. Place the Teflon tube into a pitcher. Open the steam valve to allow water to flow through the Teflon tube.
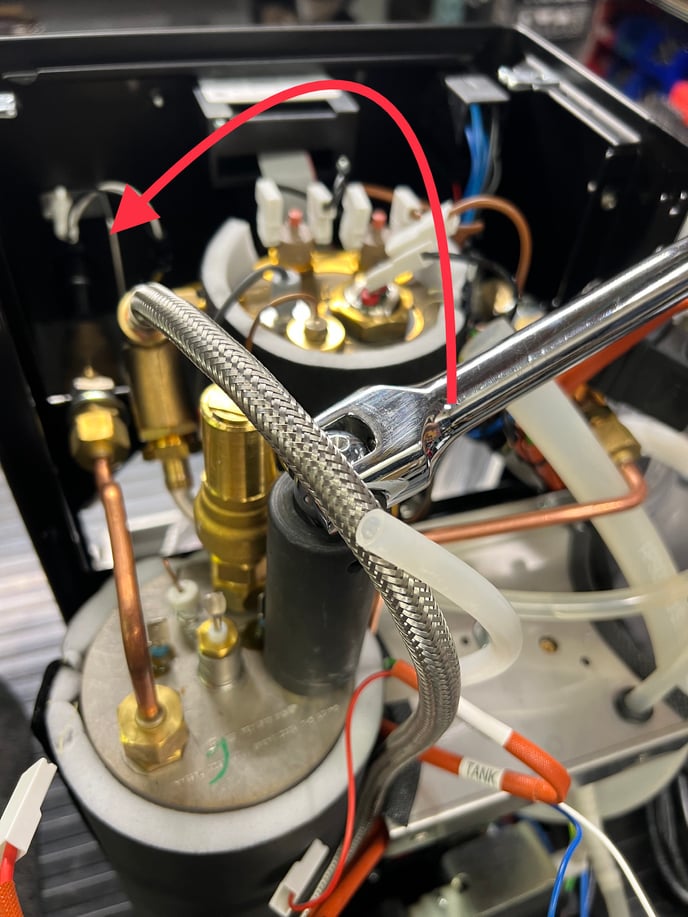
3. Disconnect the steam boiler temperature probe.

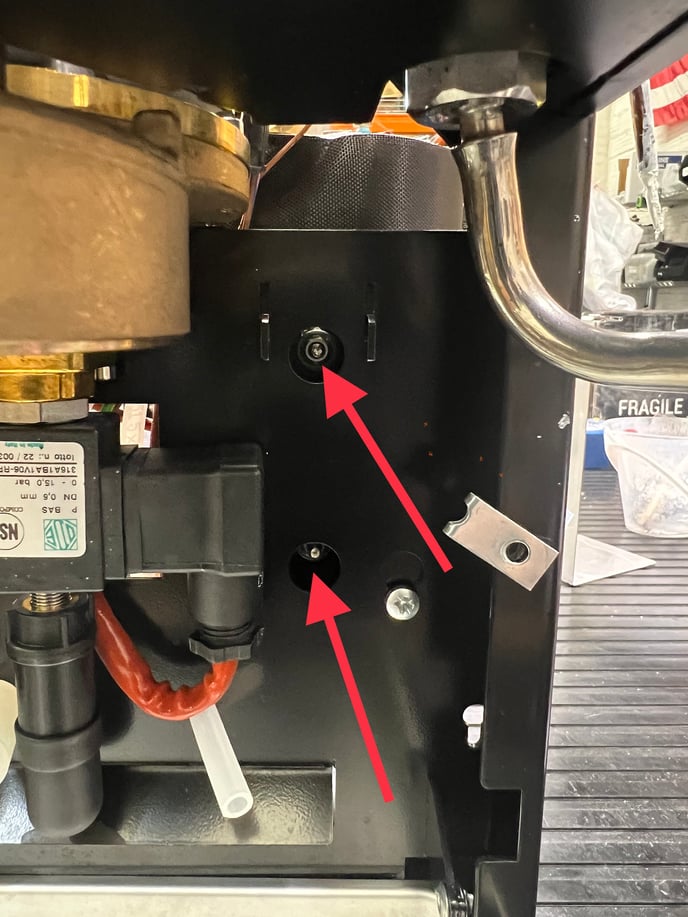
4. Remove the 2 Phillips head screws that attach the water reservoir holder to the frame.
5. Note the position of the wires attached to the pressure switch and remove them. Set the water reservoir holder to the side.
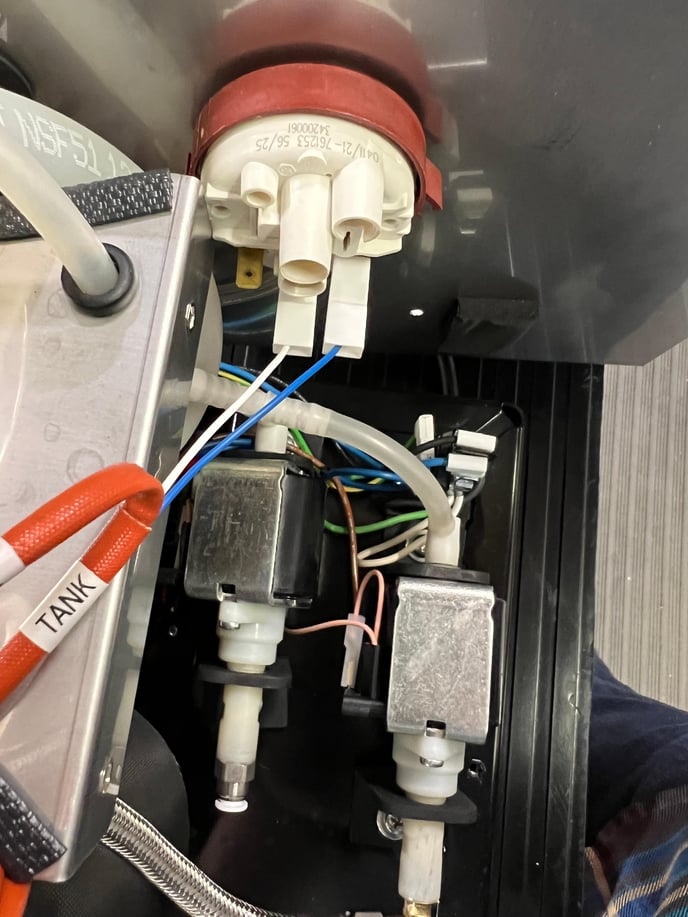

6. Snip the zip tie that secures the silicone tube to the safety valve. Carefully remove the silicone tube from the safety valve. Using a flathead screwdriver to help pry the tube away might be helpful.
7. Disconnect the wires from the heating element legs and the fill probe.
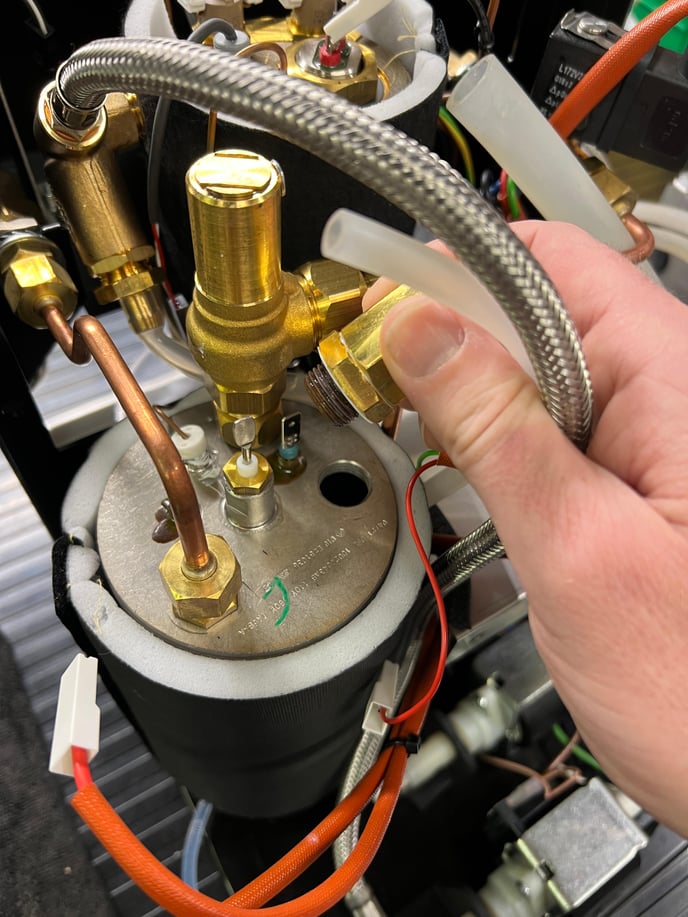
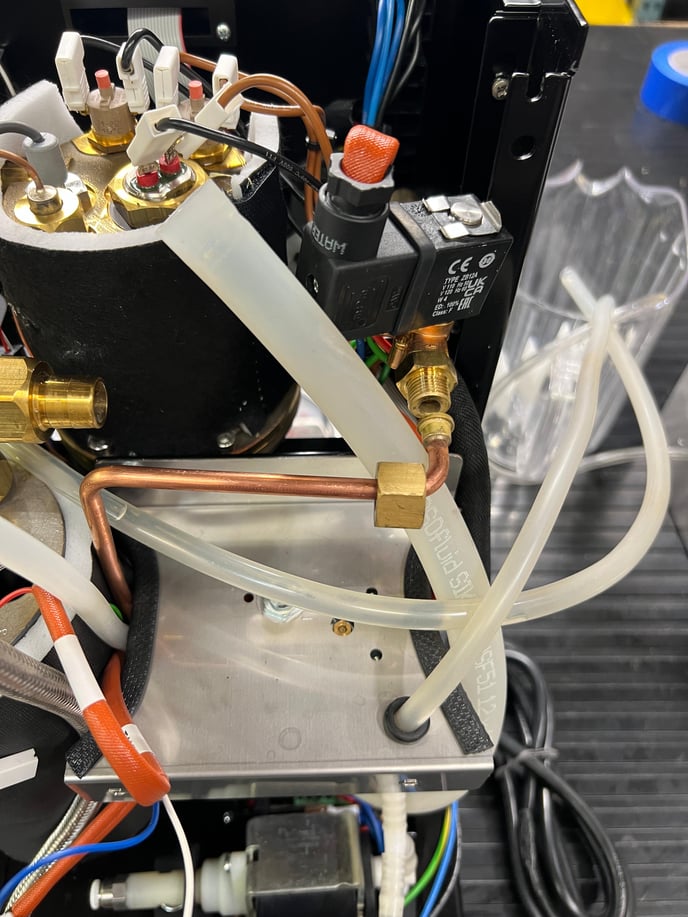
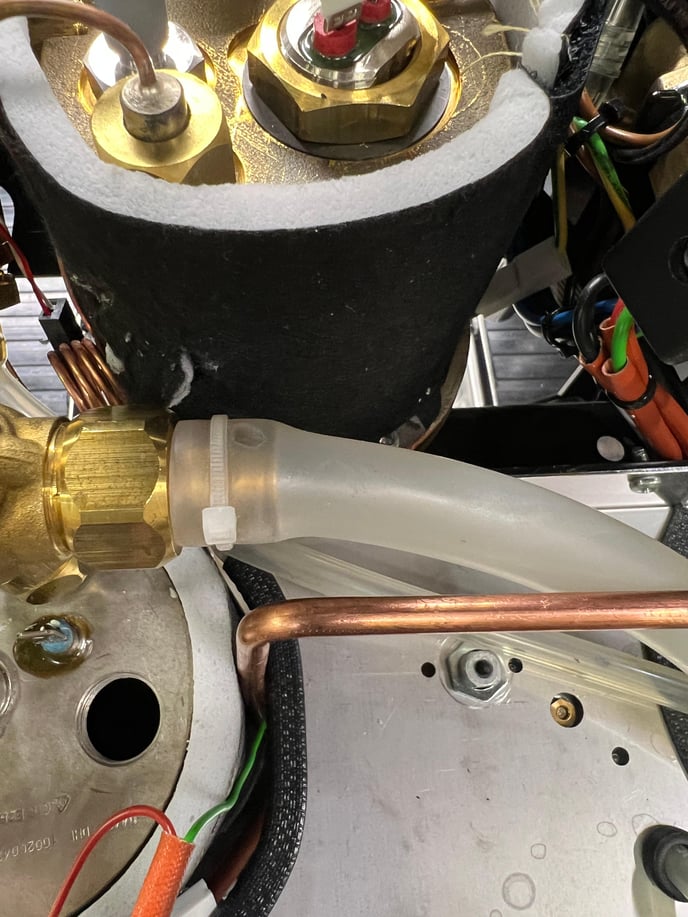
8. Remove the silicone tube from the vacuum breaker. It may be helpful to use a flathead screwdriver to pry up the tube.
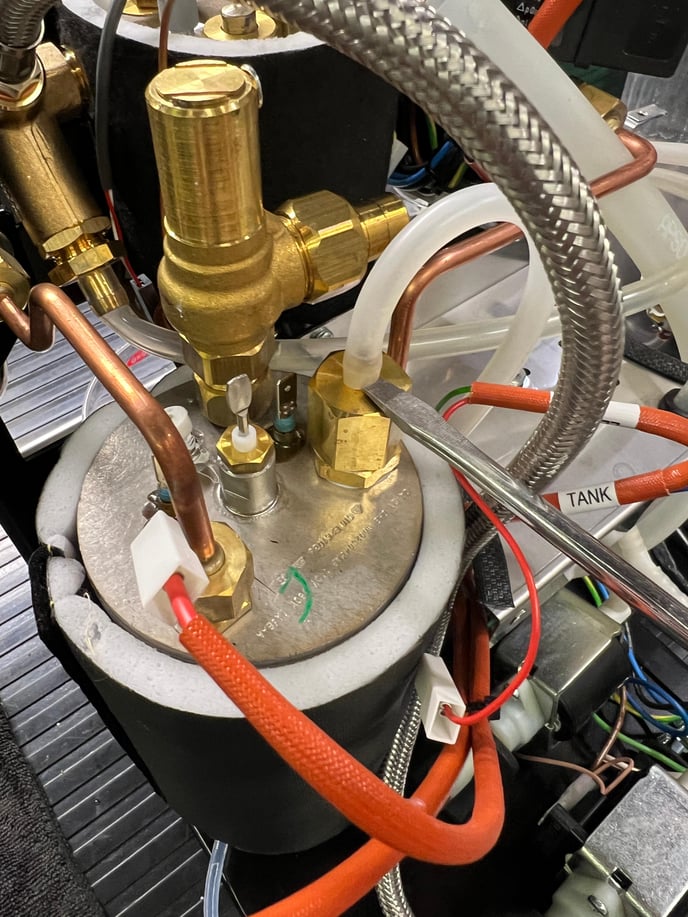
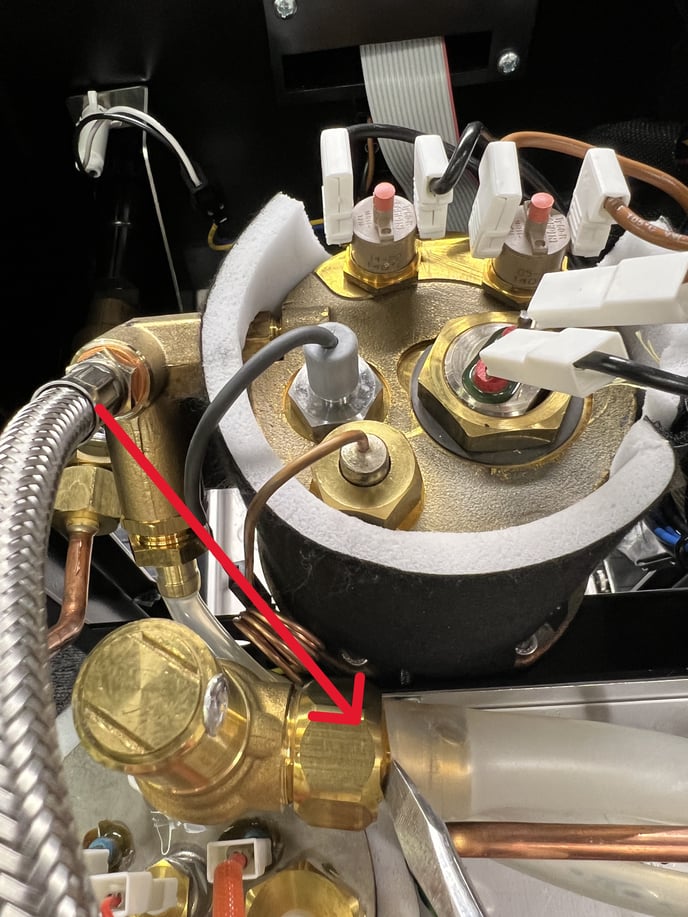
9. Using a 22mm deep socket and ratchet or breaker bar, remove the vacuum breaker from the top of the steam boiler.
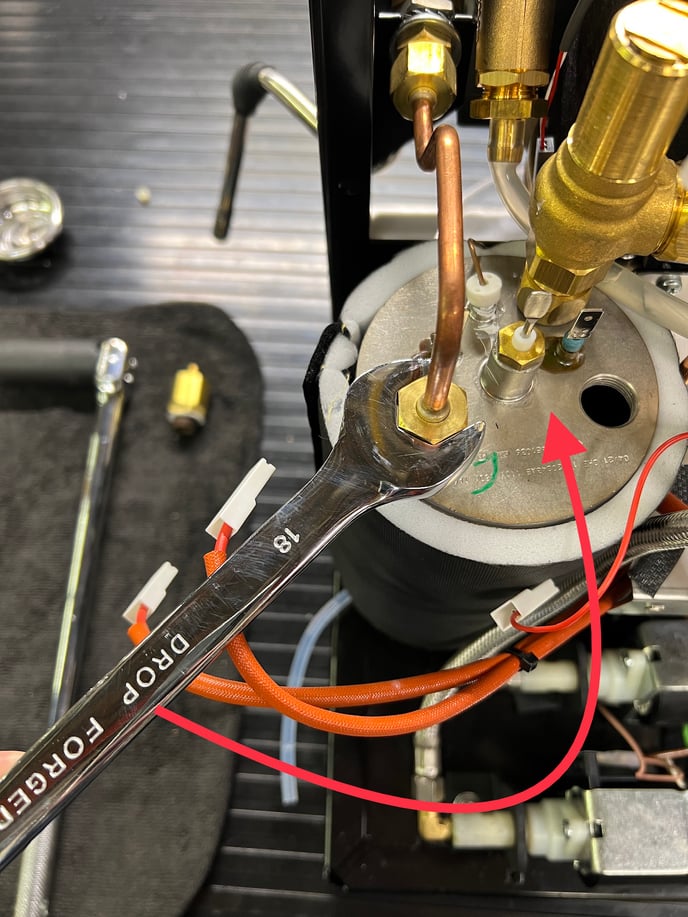
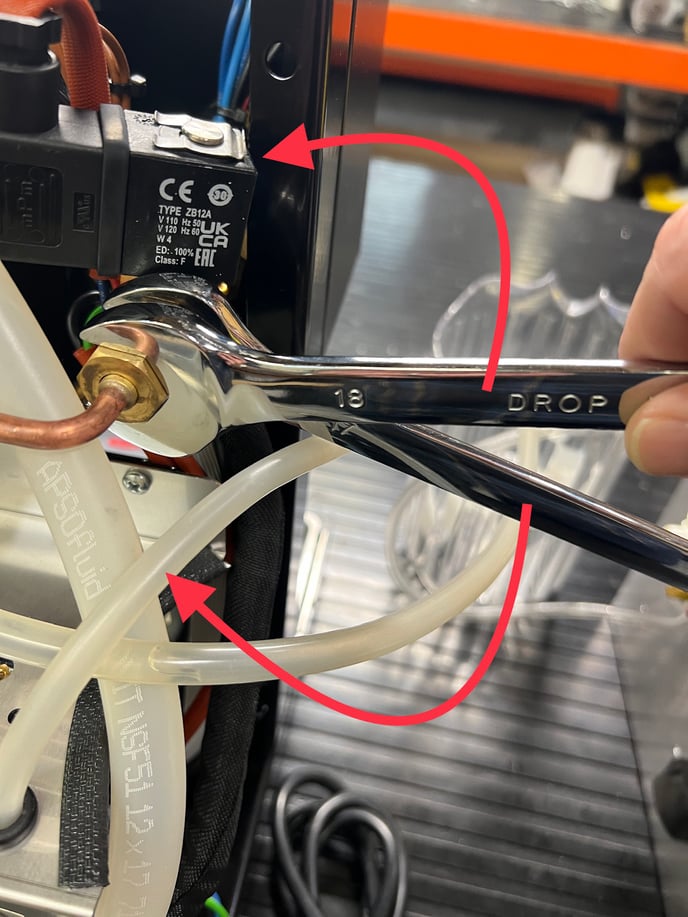
10. Using an 18 mm wrench, loosen the nut that attaches the steam delivery tube to the boiler. Bend the tube up and out of the way. Then use a 17mm deep socket to remove the fitting from the boiler.
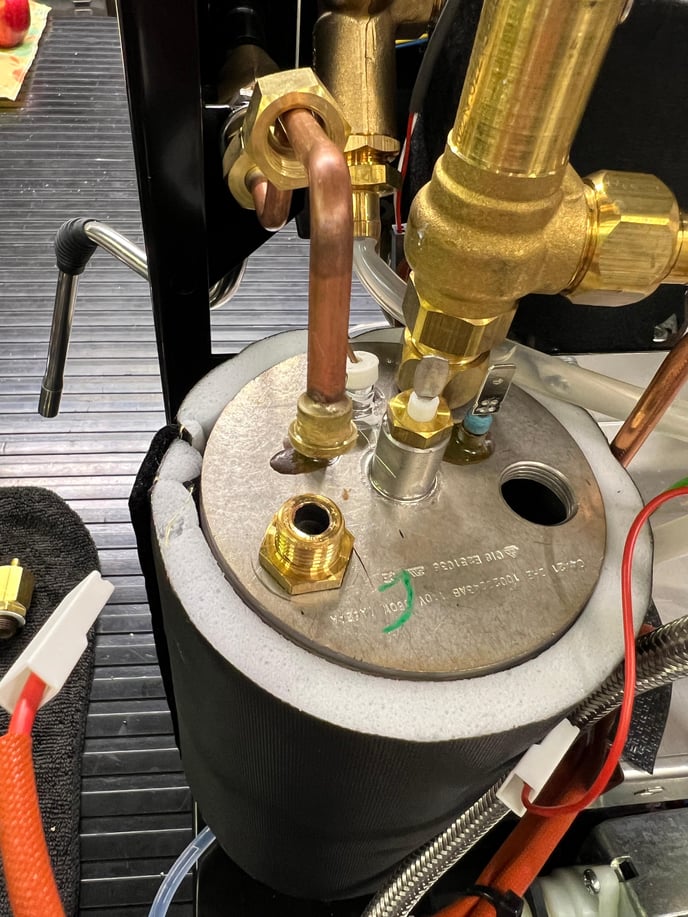
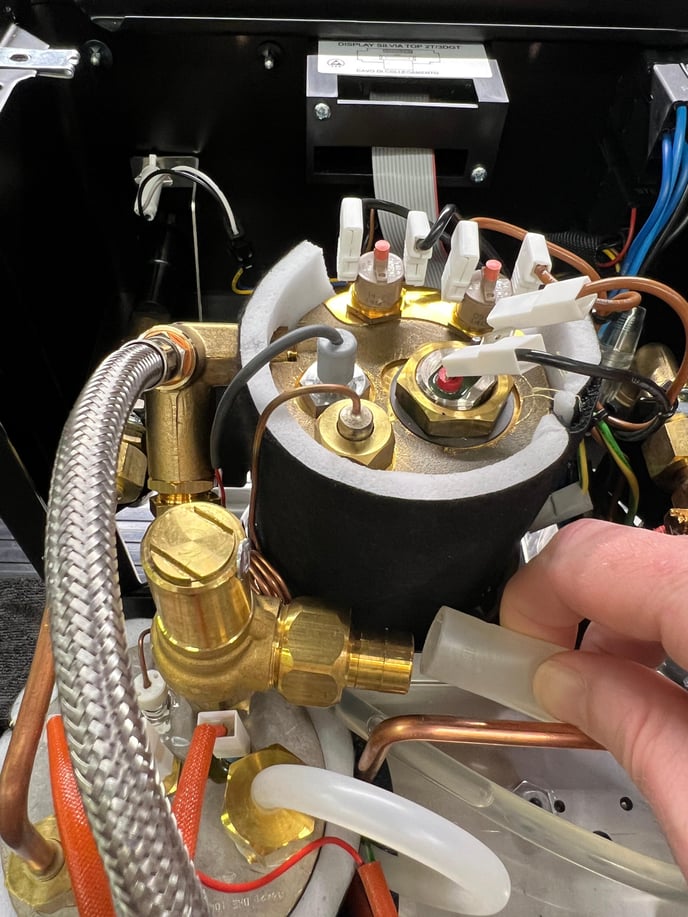
11. Use a 12 mm deep socket to loosen and remove the fill probe.
12. Use an 18mm wrench to loosen the nut connecting the steam delivery tube to the hot water solenoid Using a 17mm wrench to hold the fitting behind the nut might be helpful.
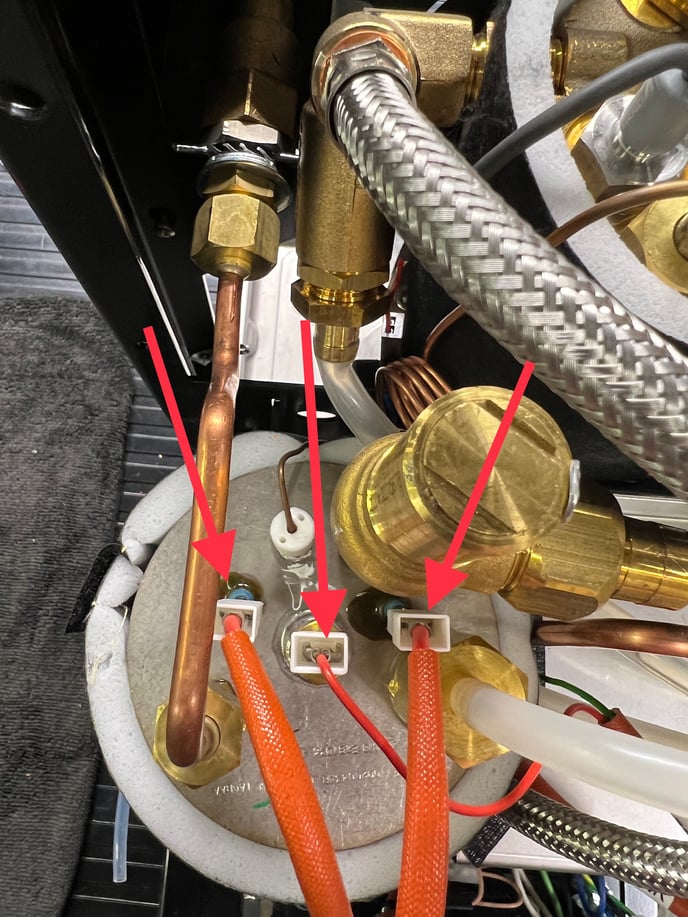
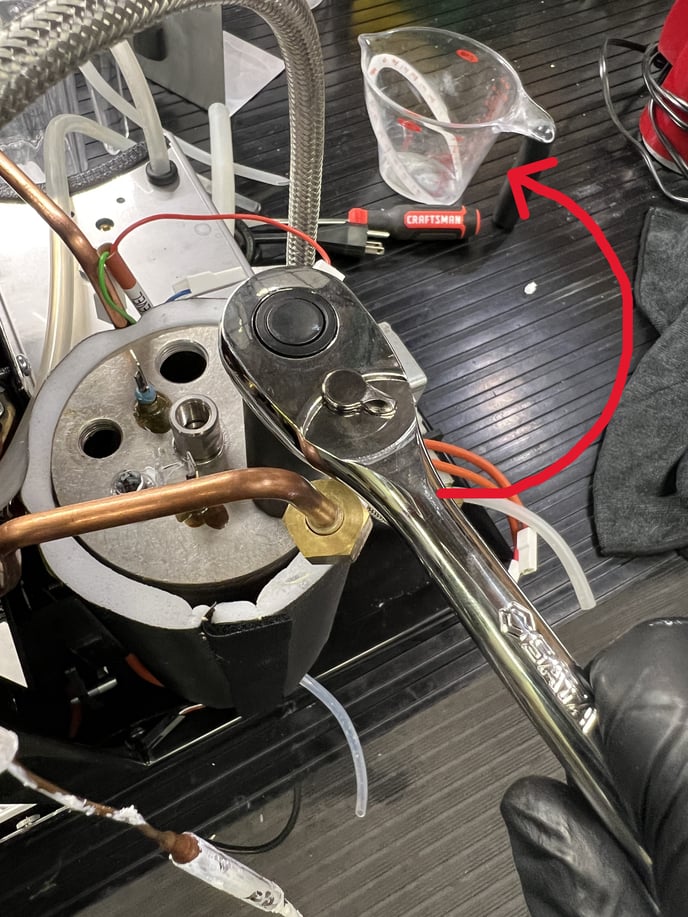
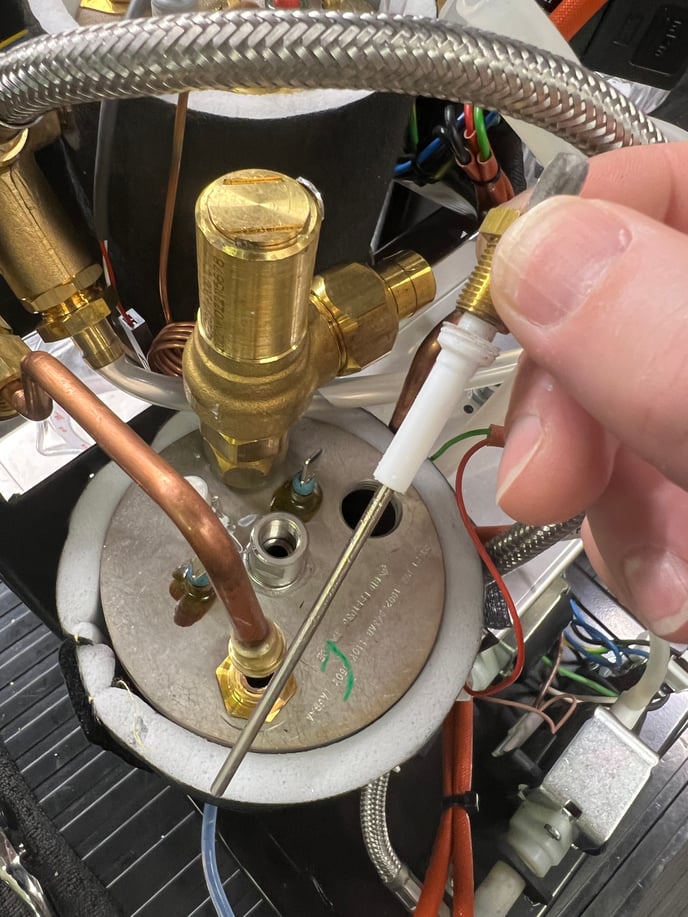
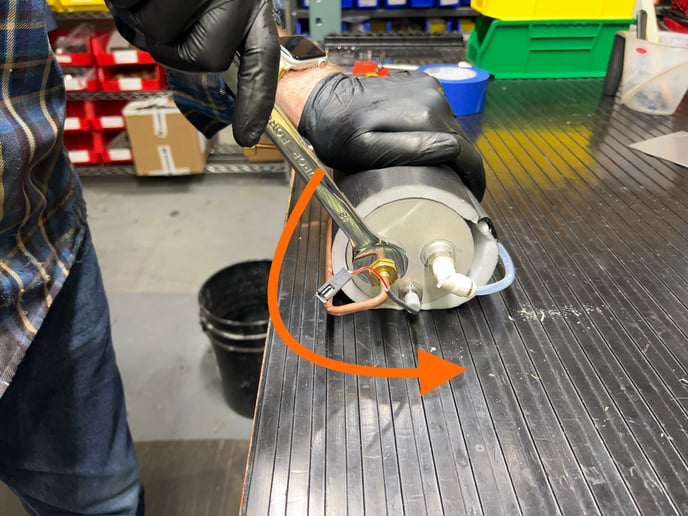
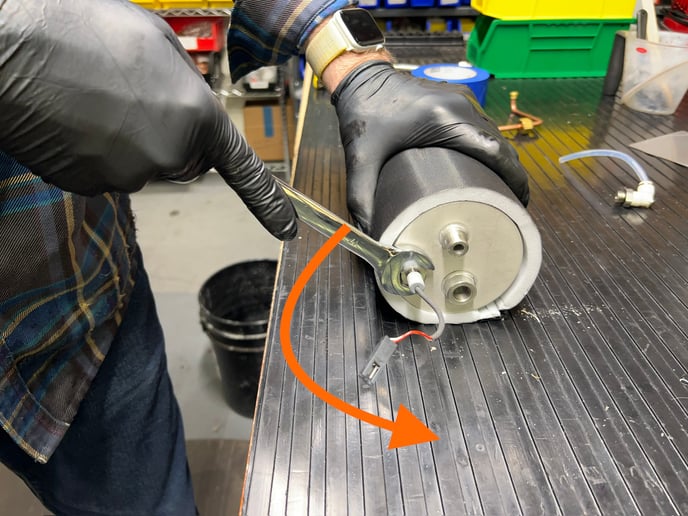
13. Remove the thermal probe and rubber stopper from the top of the boiler, and bend the probe out of the way.
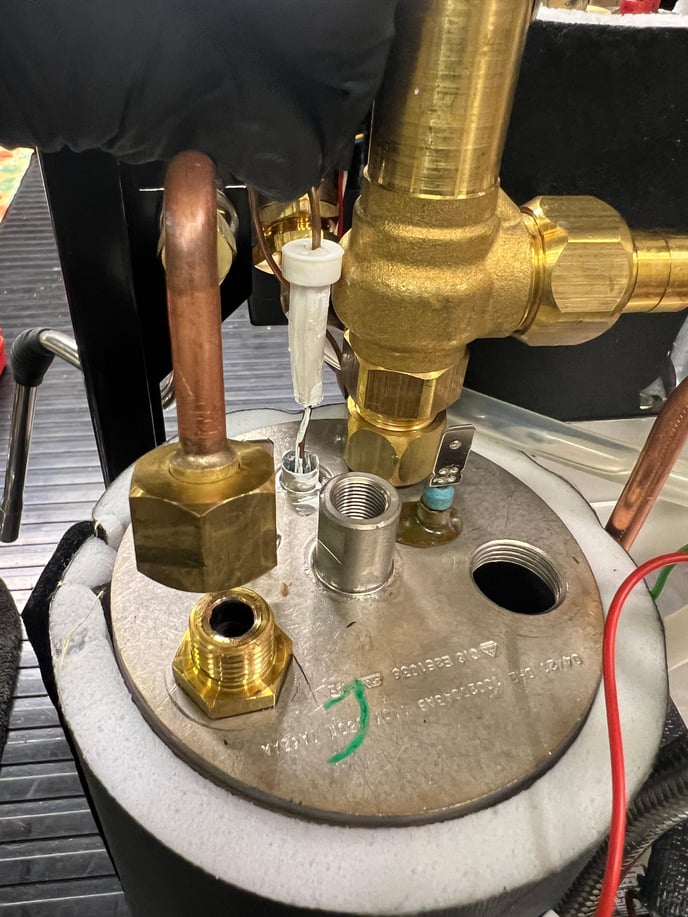
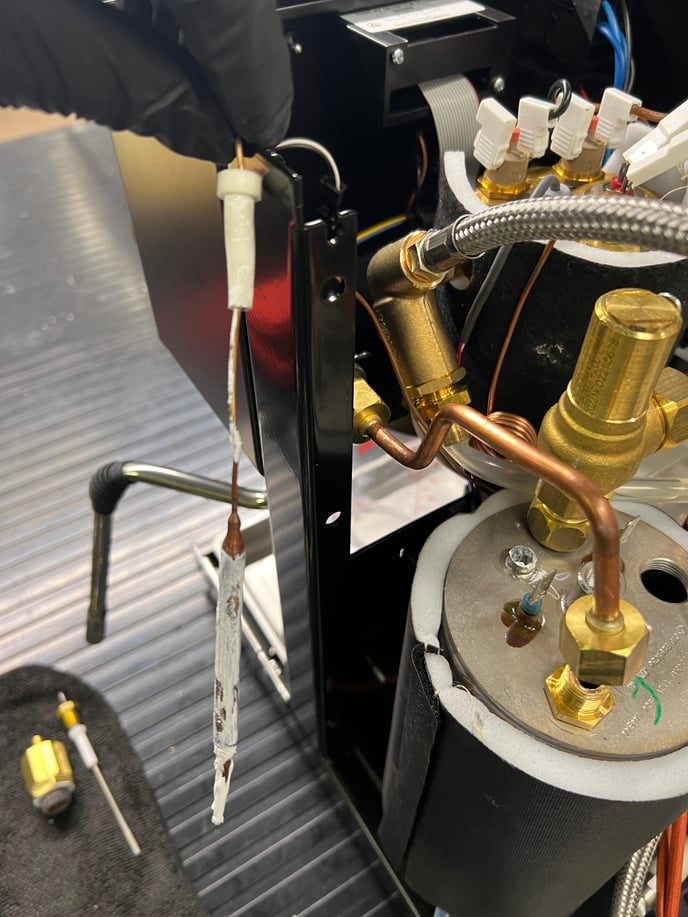
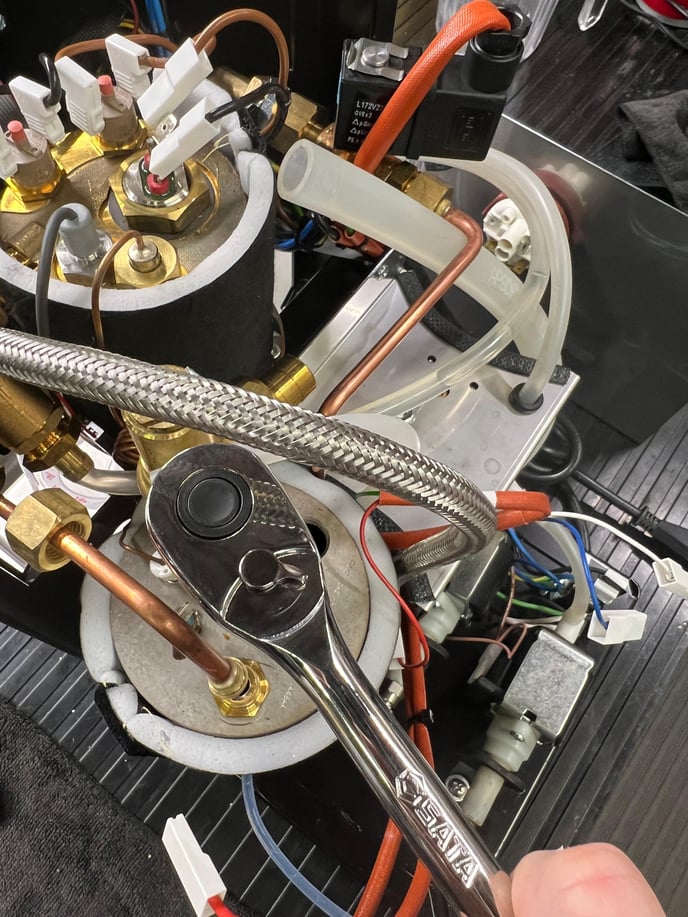
14. Use a 7mm deep socket to remove the boiler mounting nuts.

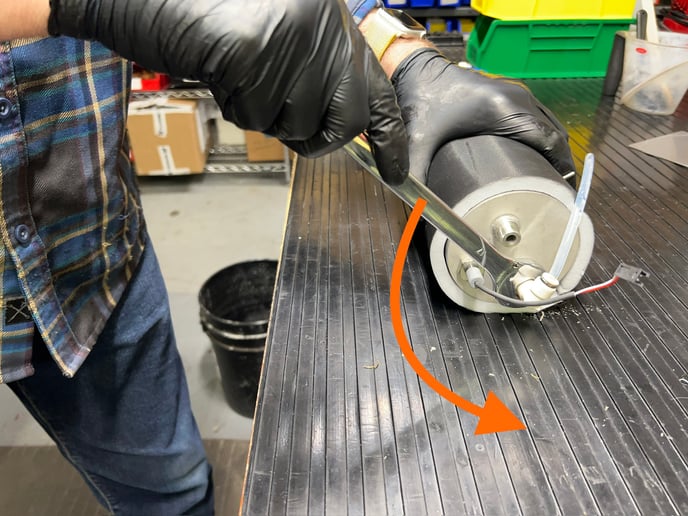
15. Lift the boiler out of the frame.
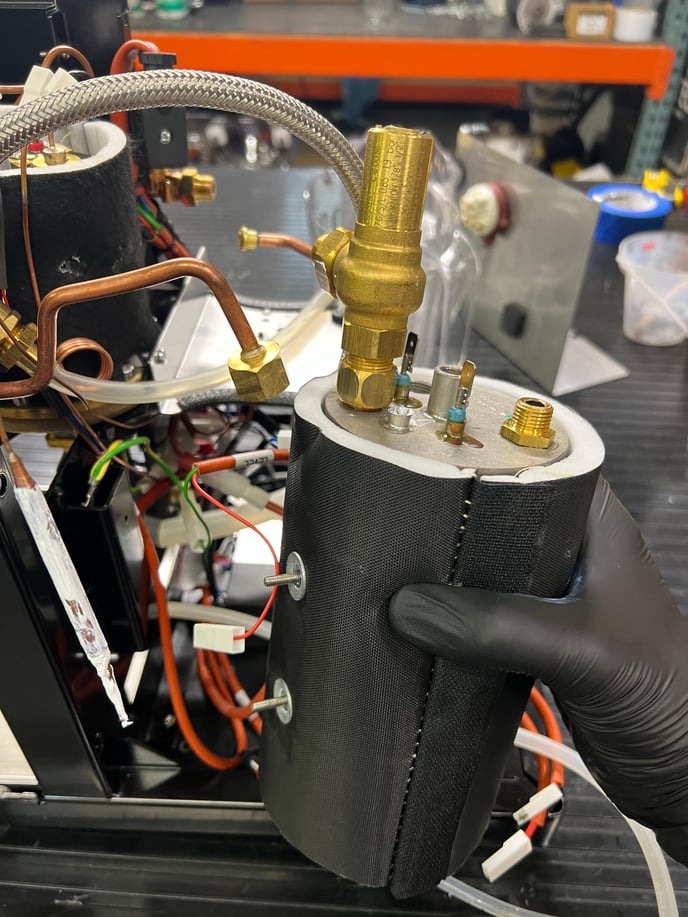
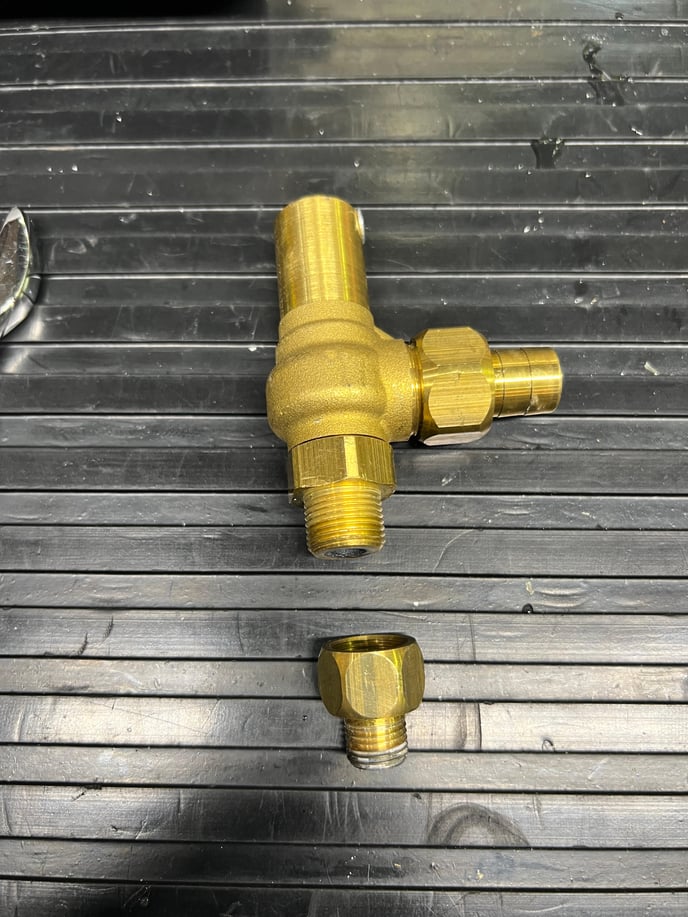
16. Hold the boiler with one hand and use a 20mm wrench on the lower fitting to remove the safety valve from the steam boiler.
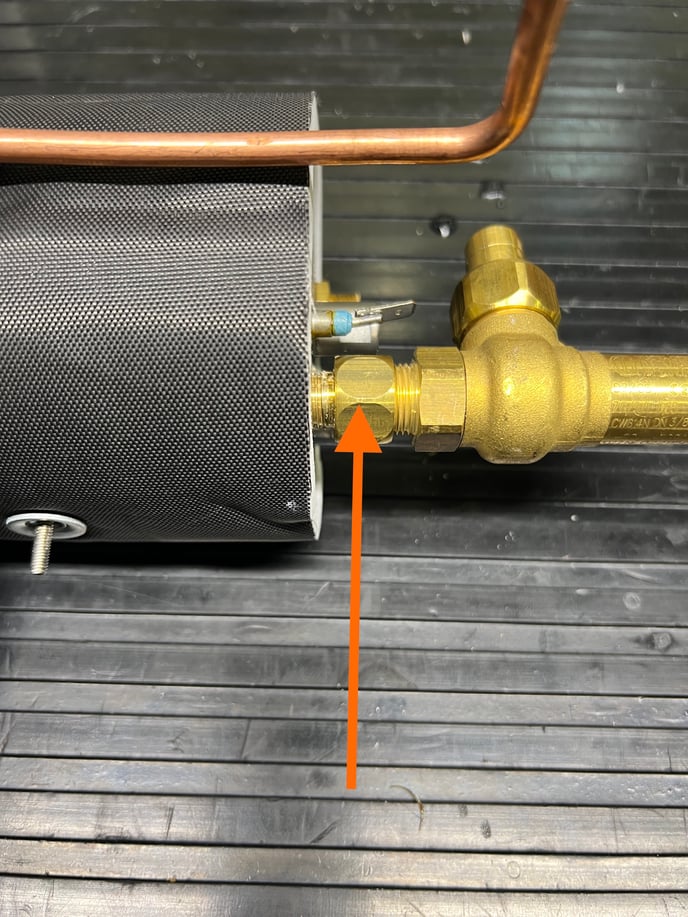

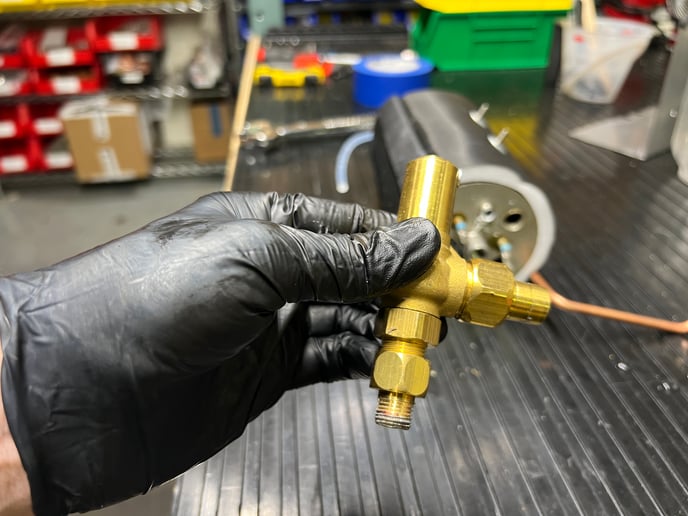
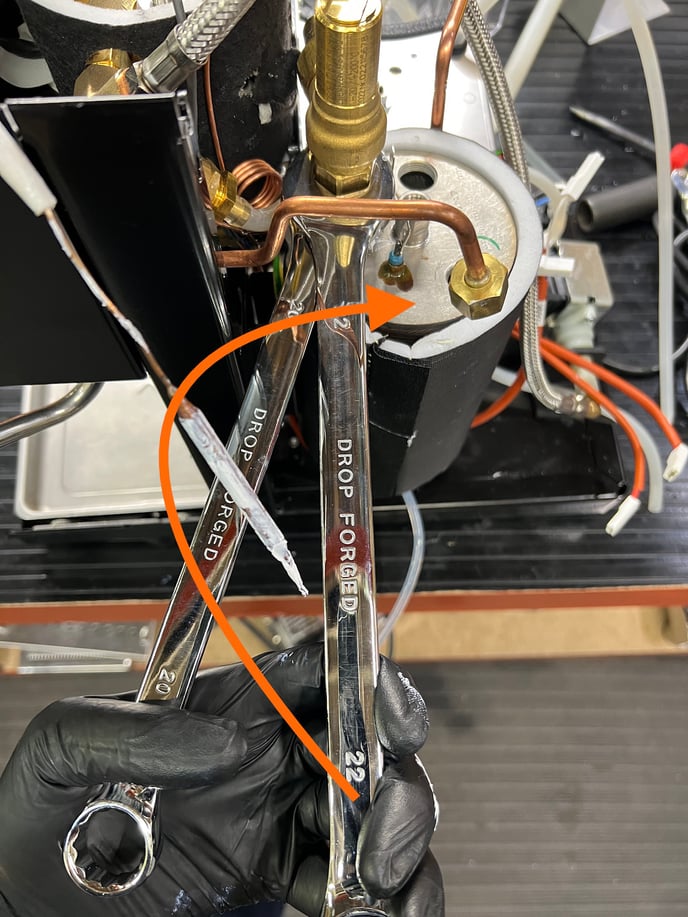
17. Hold the safety valve with a 22mm wrench and use a 20mm wrench to separate the coupler from the safety valve.

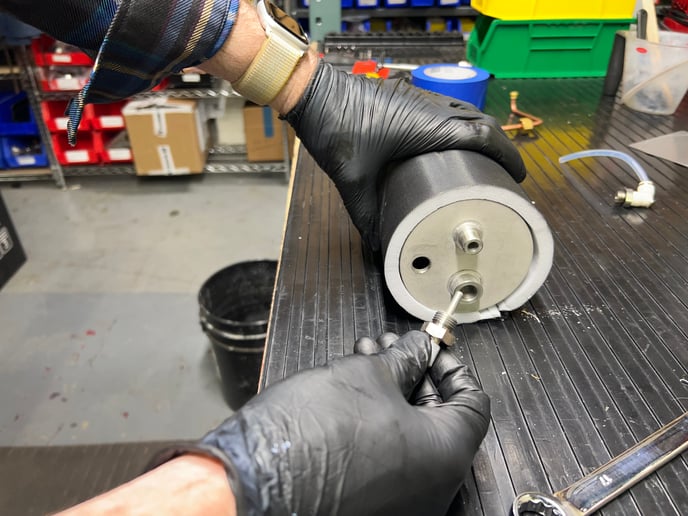
18. Use an 18mm wrench to remove the hot water delivery tube from the bottom of the boiler.
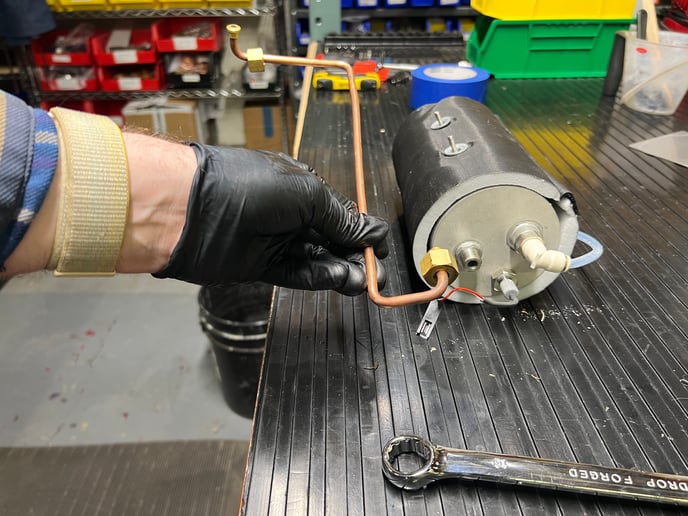
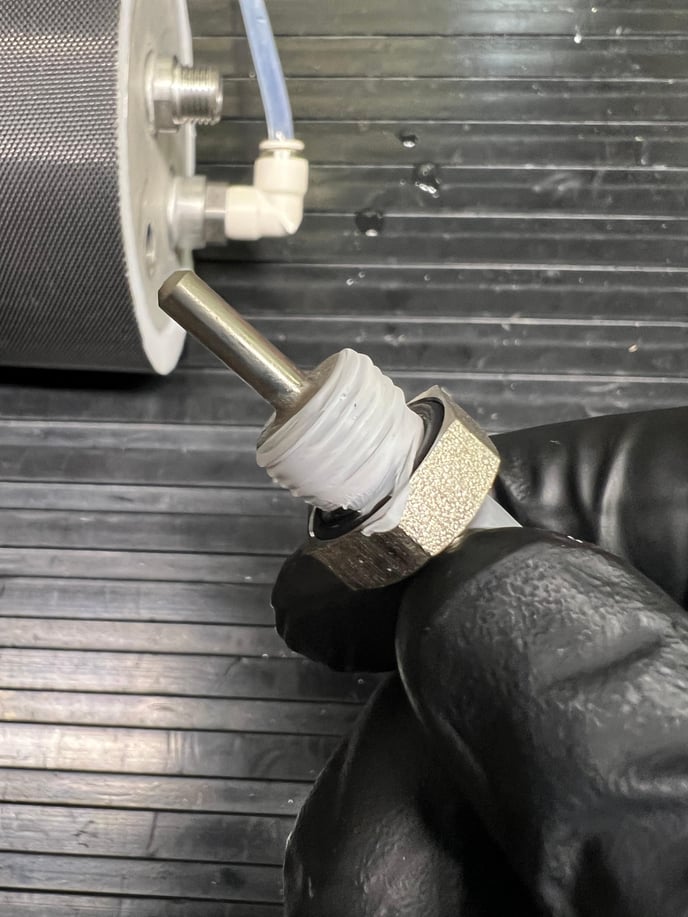
19. Use a 17mm wrench to remove the elbow fitting and temperature probe from the bottom of the boiler.
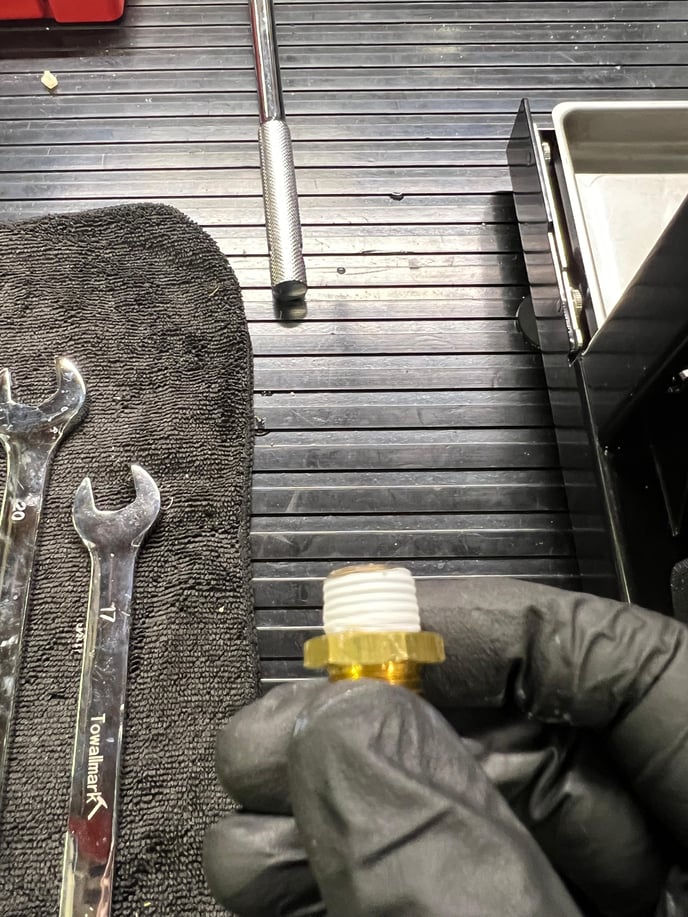
20. Install the elbow fitting and temperature probe into the bottom of the new boiler. Wrap the threads of the temperature probe with Teflon tape.
21. Install the hot water delivery tube into the bottom of the new boiler. Do not fully tighten so the position of the tube can be adjusted.
22. Re-mount the boiler onto the frame, being sure that the grounding wires are secured to the top mounting post.
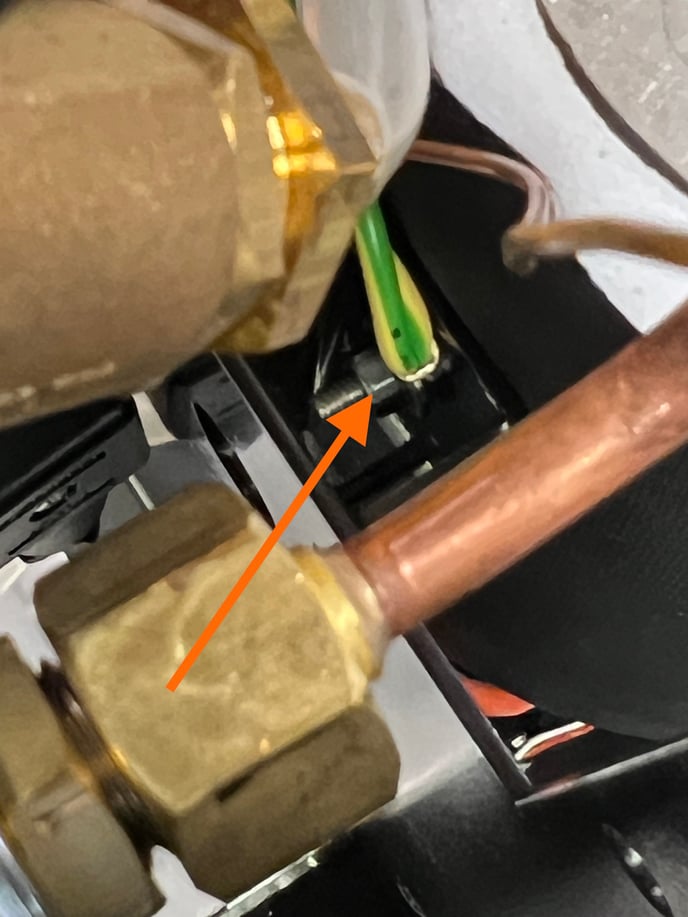
23. Wrap the threads of the safety valve coupler fitting with Teflon tape and thread it into the top of the boiler. Use a 6mm Allen key to tighten the fitting down.


24. Thread the safety valve into the coupler fitting ensuring the outlet is pointing towards the middle of the machine. Use a 20mm wrench to hold the coupler and snug the safety valve up with a 22mm wrench.
25. Reconnect the safety valve tube and secure it with a zip tie.
26. Re-insert the thermal probe and rubber stopper
27. Reconnect the hot water delivery tube to the solenoid and tighten the fitting on the bottom of the boiler at the hot water delivery tube.
28. Wrap the boiler end threads of the steam delivery tube fitting with Teflon tape and thread the fitting into the boiler. Then, reconnect the steam delivery tube.
29. Wrap the threads of the vacuum breaker and re-thread the vacuum breaker into the top of the steam boiler. Re-attach the silicone tube.
30. Reconnect the fill probe and the heating element legs.
31. Reconnect the pressure switch wires and reattach the water reservoir holder to the frame.
32. Reconnect the Teflon tube to the push-connect fitting on the pump.
Congratulations, you have replaced the steam boiler of your Rancilio Silvia Pro/Pro X.
We recommend that your machine be tested and checked for leaks before re-paneling. To do this set your reservoir off to the side of the machine and fill it with water.