If you are repackaging the machine without the original packaging, please follow our instructions here for Repackaging with Instapack.
It is extremely important to repackage machines correctly. If machines are repackaged incorrectly and damaged upon arrival at Clive for repair or return Clive will not cover the cost of the damages. You will first need to drain your machine. Watch our video for how to drain the boilers for your Direct Plumbed A53. Or if you have the water reservoir model, check out the instructions for draining your A53 Mini/Mini Vivaldi boilers.
Once the machine is drained, follow these steps:
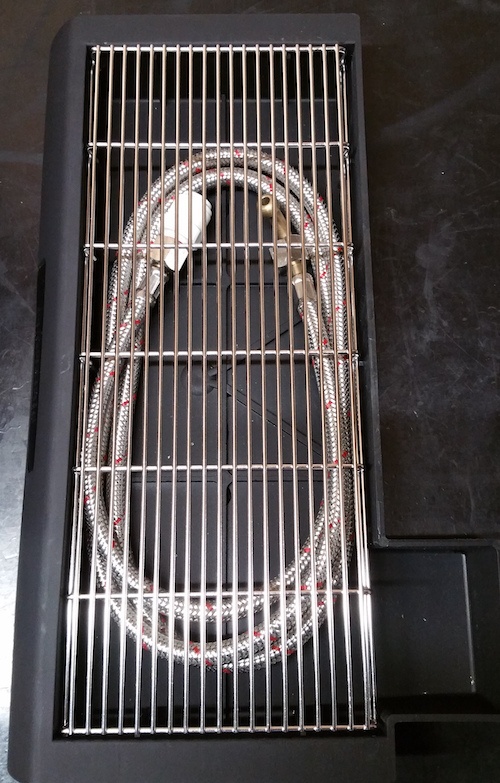
1. For Plumbed in units: Remove braided line from machine, coil it up and place it underneath the drip tray grate.
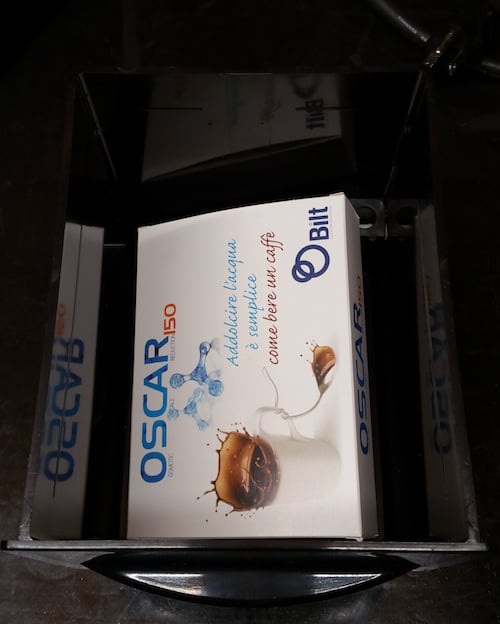
1. For water reservoir models: Place the water softening pouch in the water tank (if you still have it).
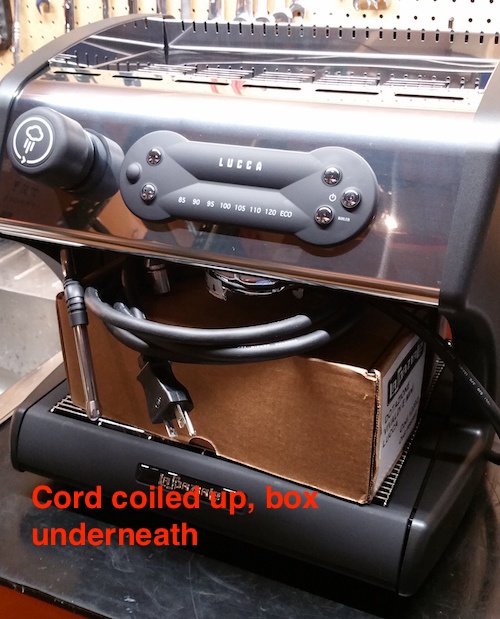
2. Coil up the power cord, place it around the grouphead and put the accessory box underneath it to hold it in place. It is important for the end of the power cord to be facing away from the machine so it doesn't scratch the machine.
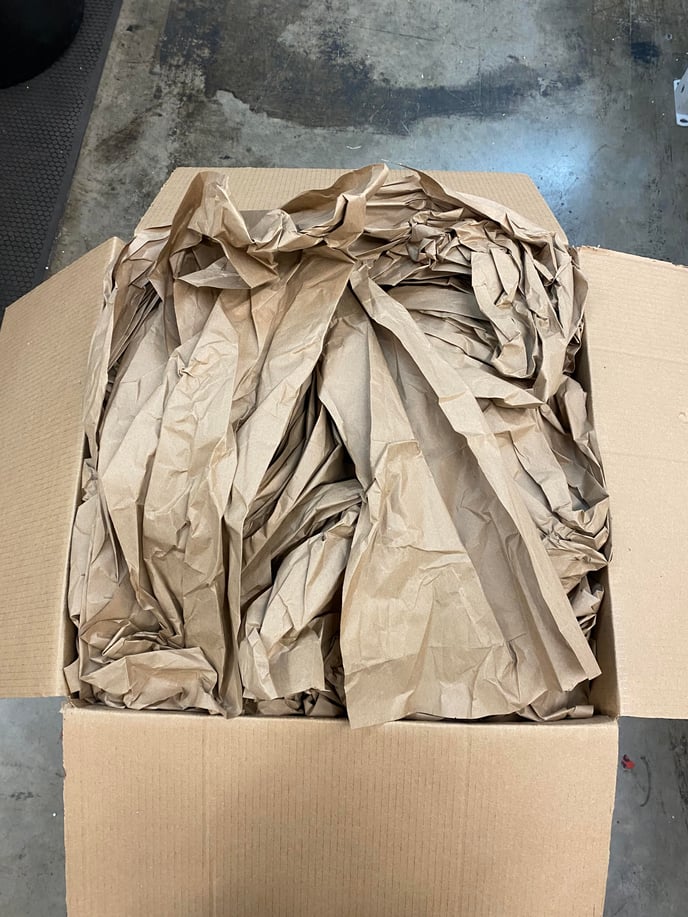
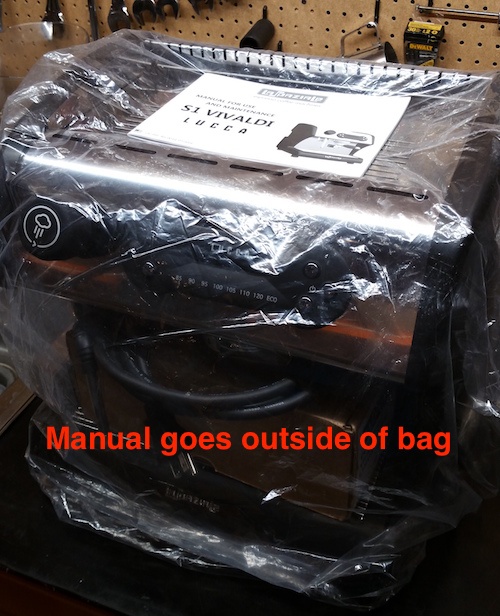
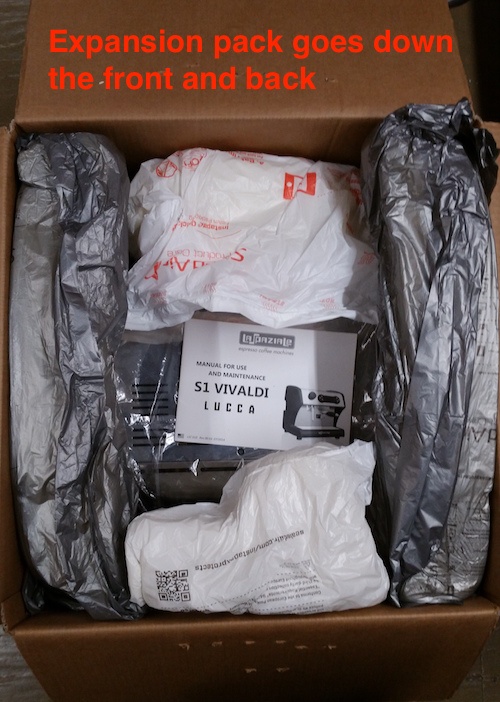
3. Place bag over the top of the machine, put the user manual on top of the machine outside of the bag.
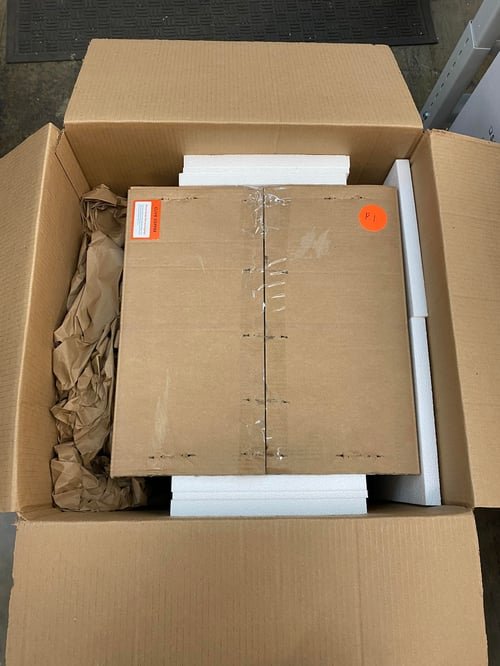
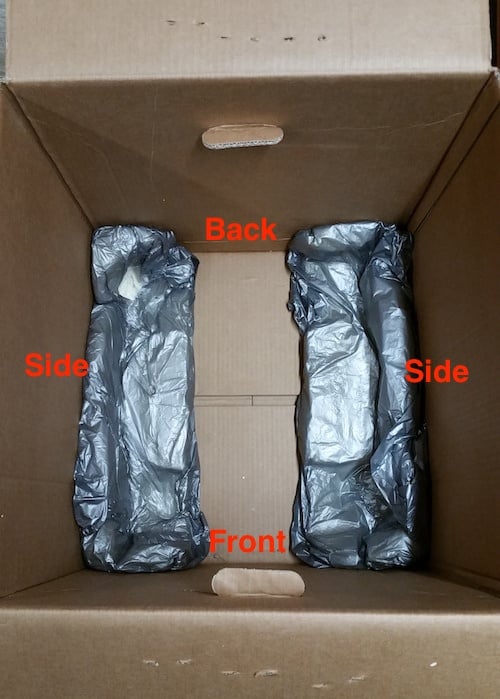
4. Bottom pieces of foam inside box will go along sides of machine.
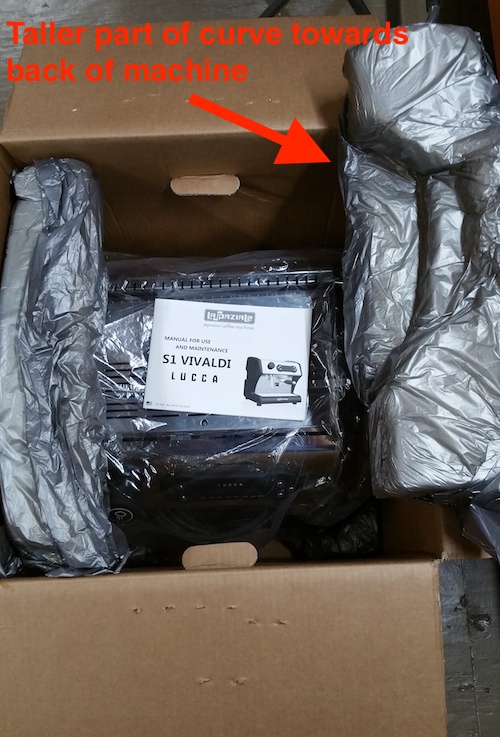
5. Place machine in the box, then use top 2 pieces of foam, also along the sides of the machine. The foam has a specific orientation that you can see in the picture, where the taller part of the curve fits along the back of the machine.
6. Expansion foam goes down the front and back sides of the machine.
7. Place the machine box into a larger, outer box with padding on all sides, top and bottom before shipping.