Tools needed: 2.5mm + 3mm allen wrench, small phillips screwdriver, small flathead screwdriver
While it's not necessary, you may opt to remove the panels of the machine so you can get a better look at what you're doing.
1. Turn the machine off, let it completely cool down.
2. Unplug it and remove the water tank from the unit.
3. If you'd like, now is a good time to remove the panels of the machine.
4. Tip the machine onto its right side. It helps to put down a towel or padding to avoid scratching the machine or the workspace surface.
5. On the bottom of the PID bracket, there are two 3mm allen screws. If you loosen them, you'll be able to slide the bracket out and remove the entire PID unit from the bottom of the machine.
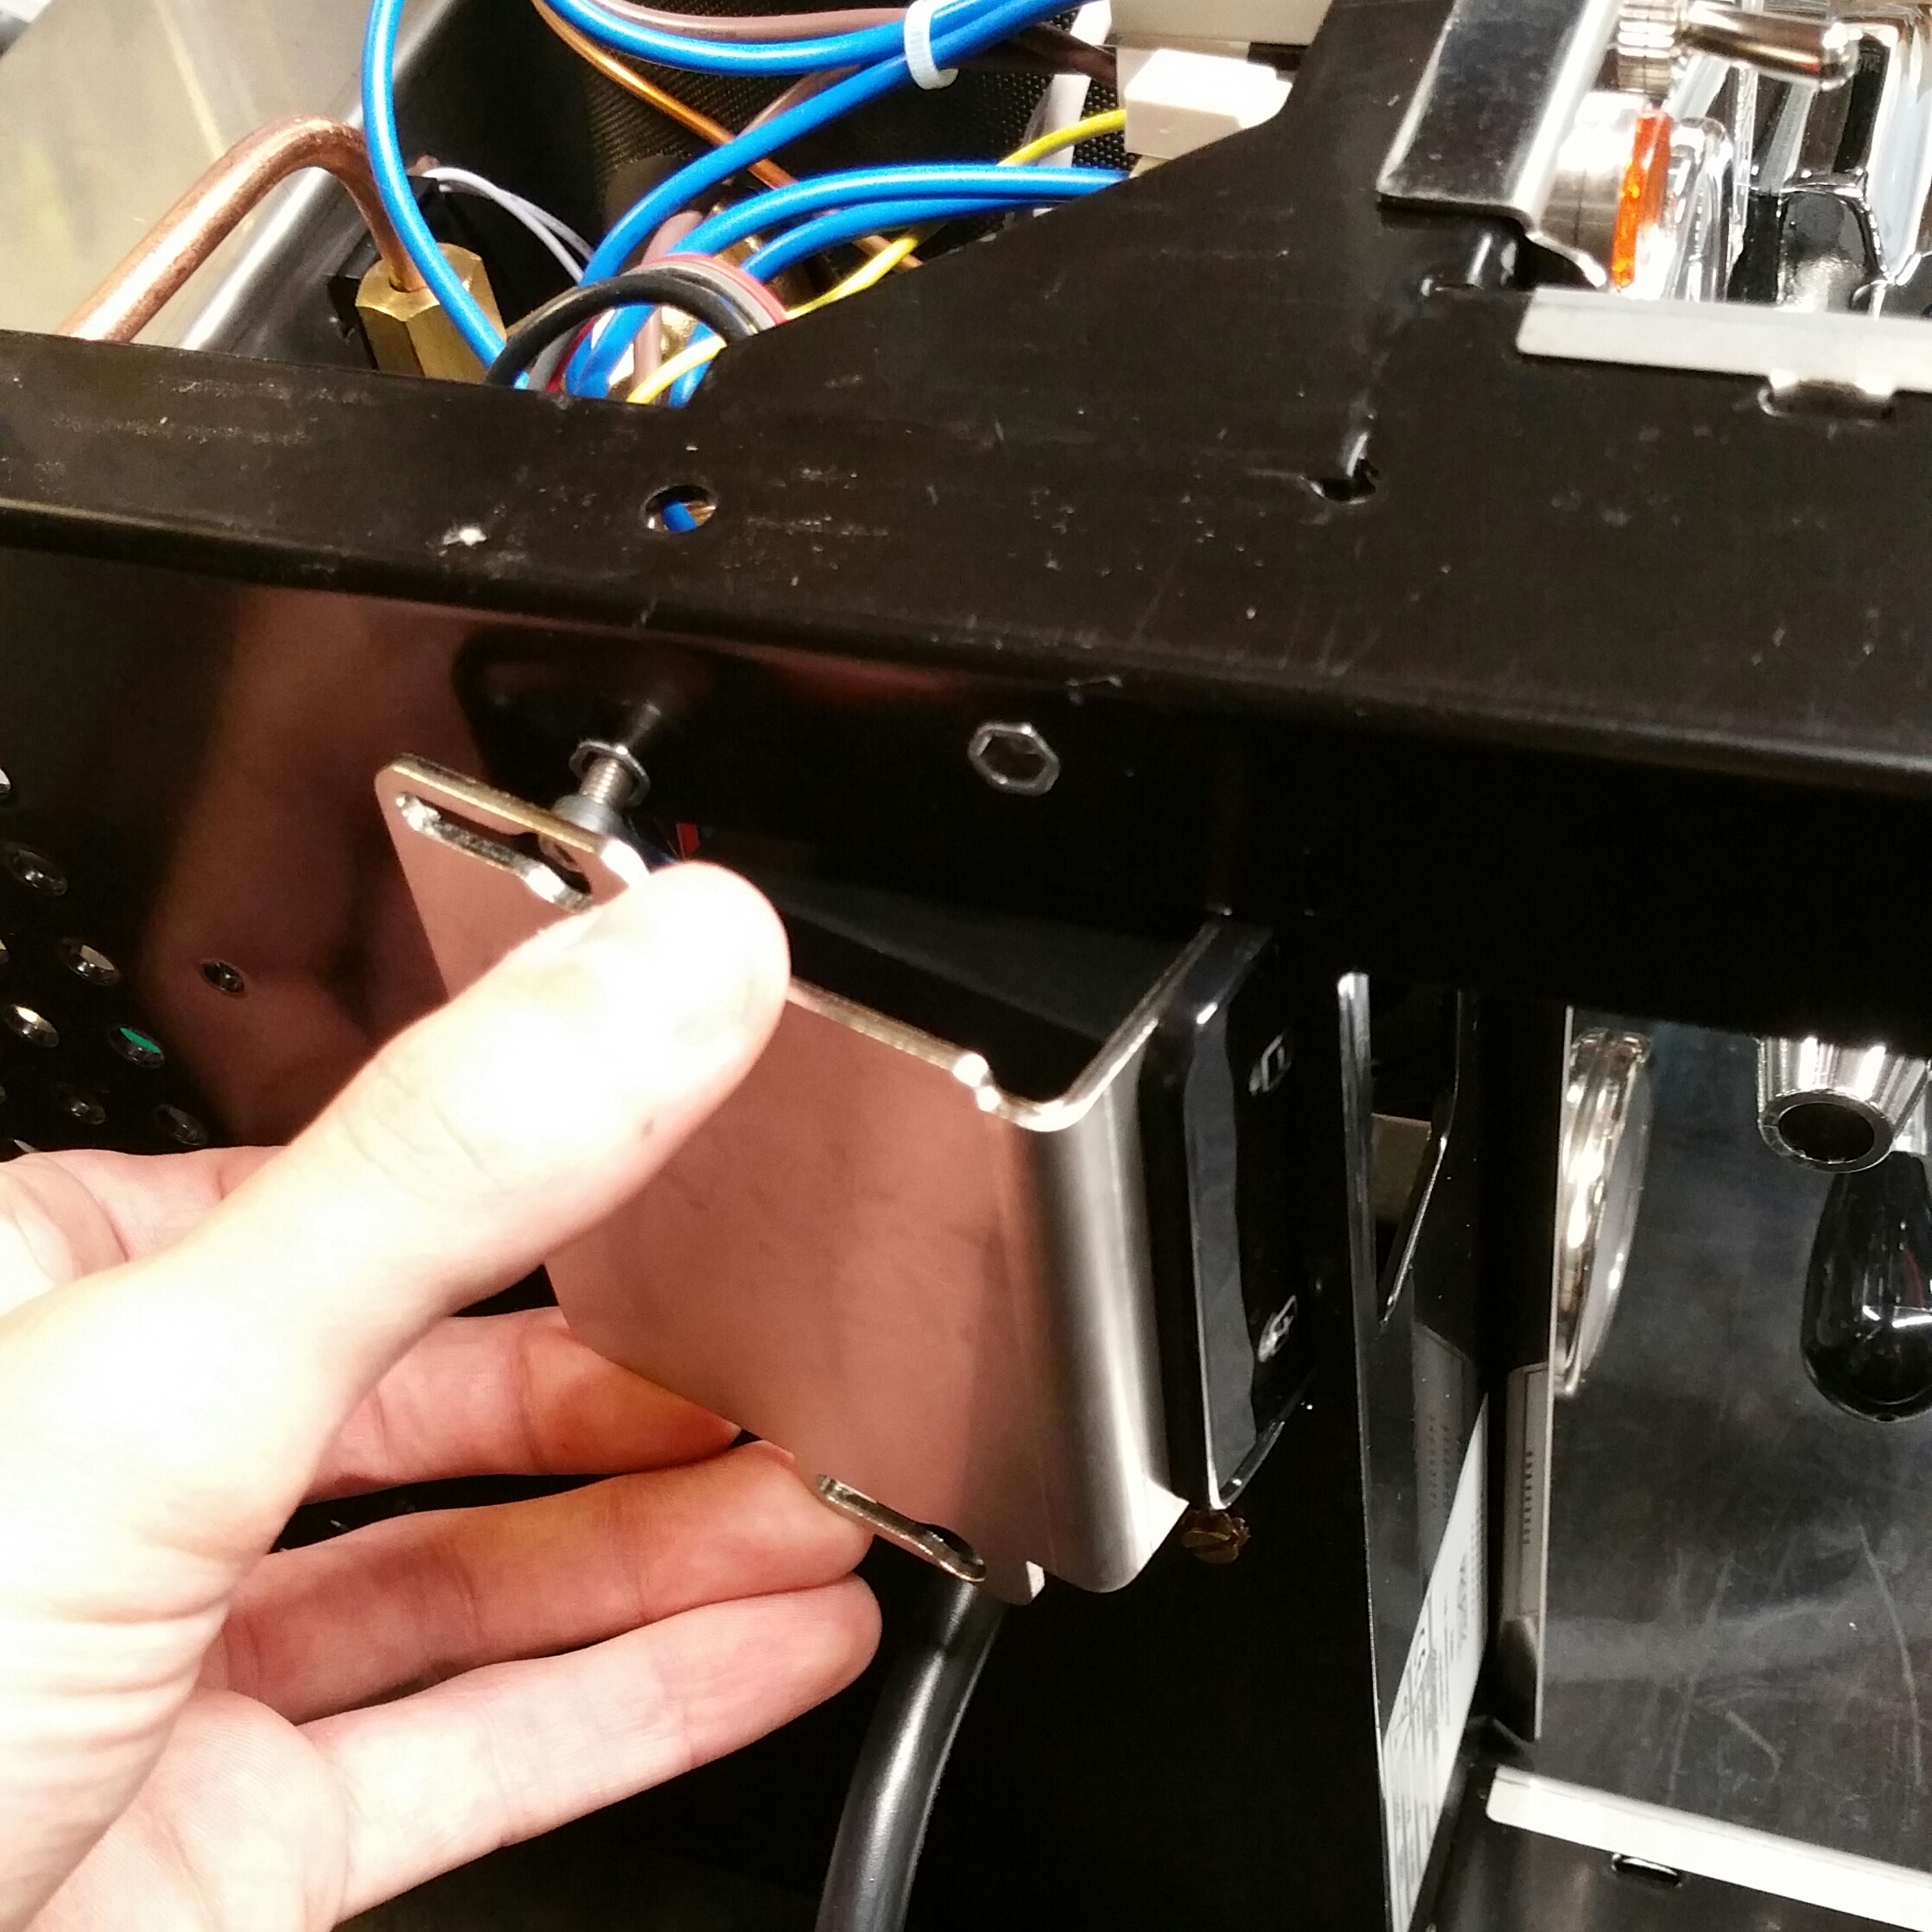
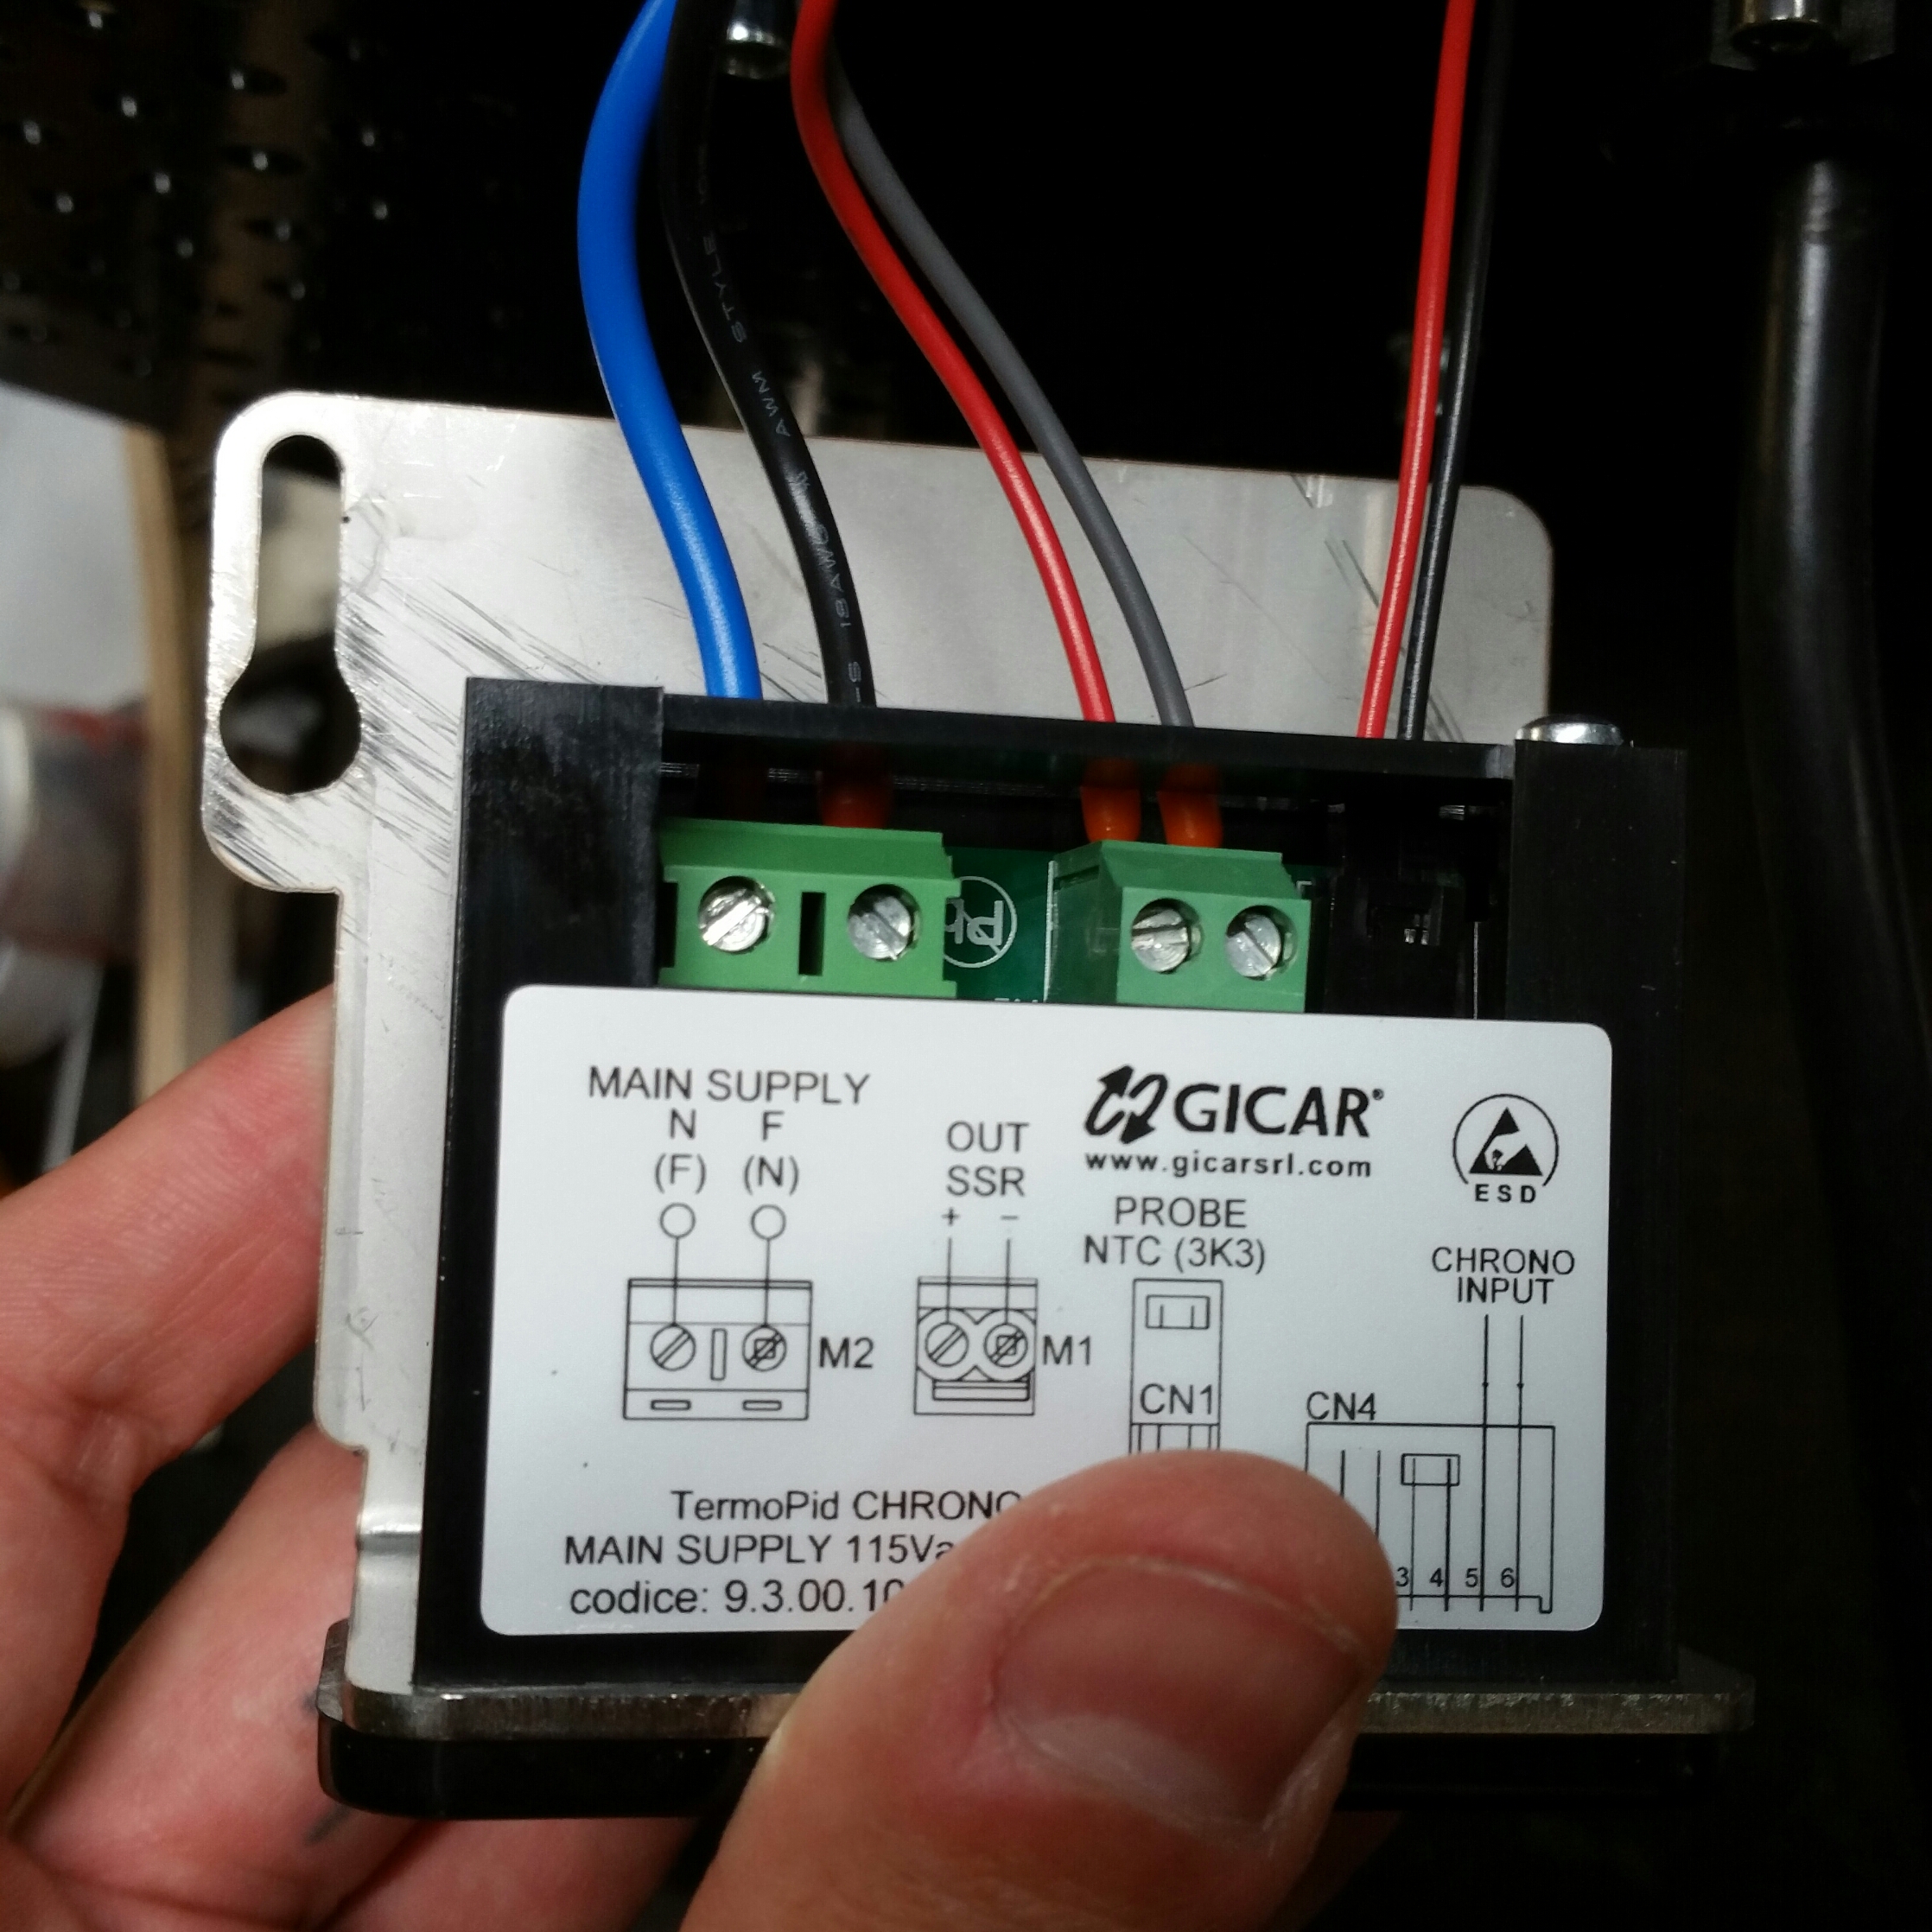
6. With the PID outside of the machine, you can easily access the screws holding the 4 wires in place and unplug the 5th wire.
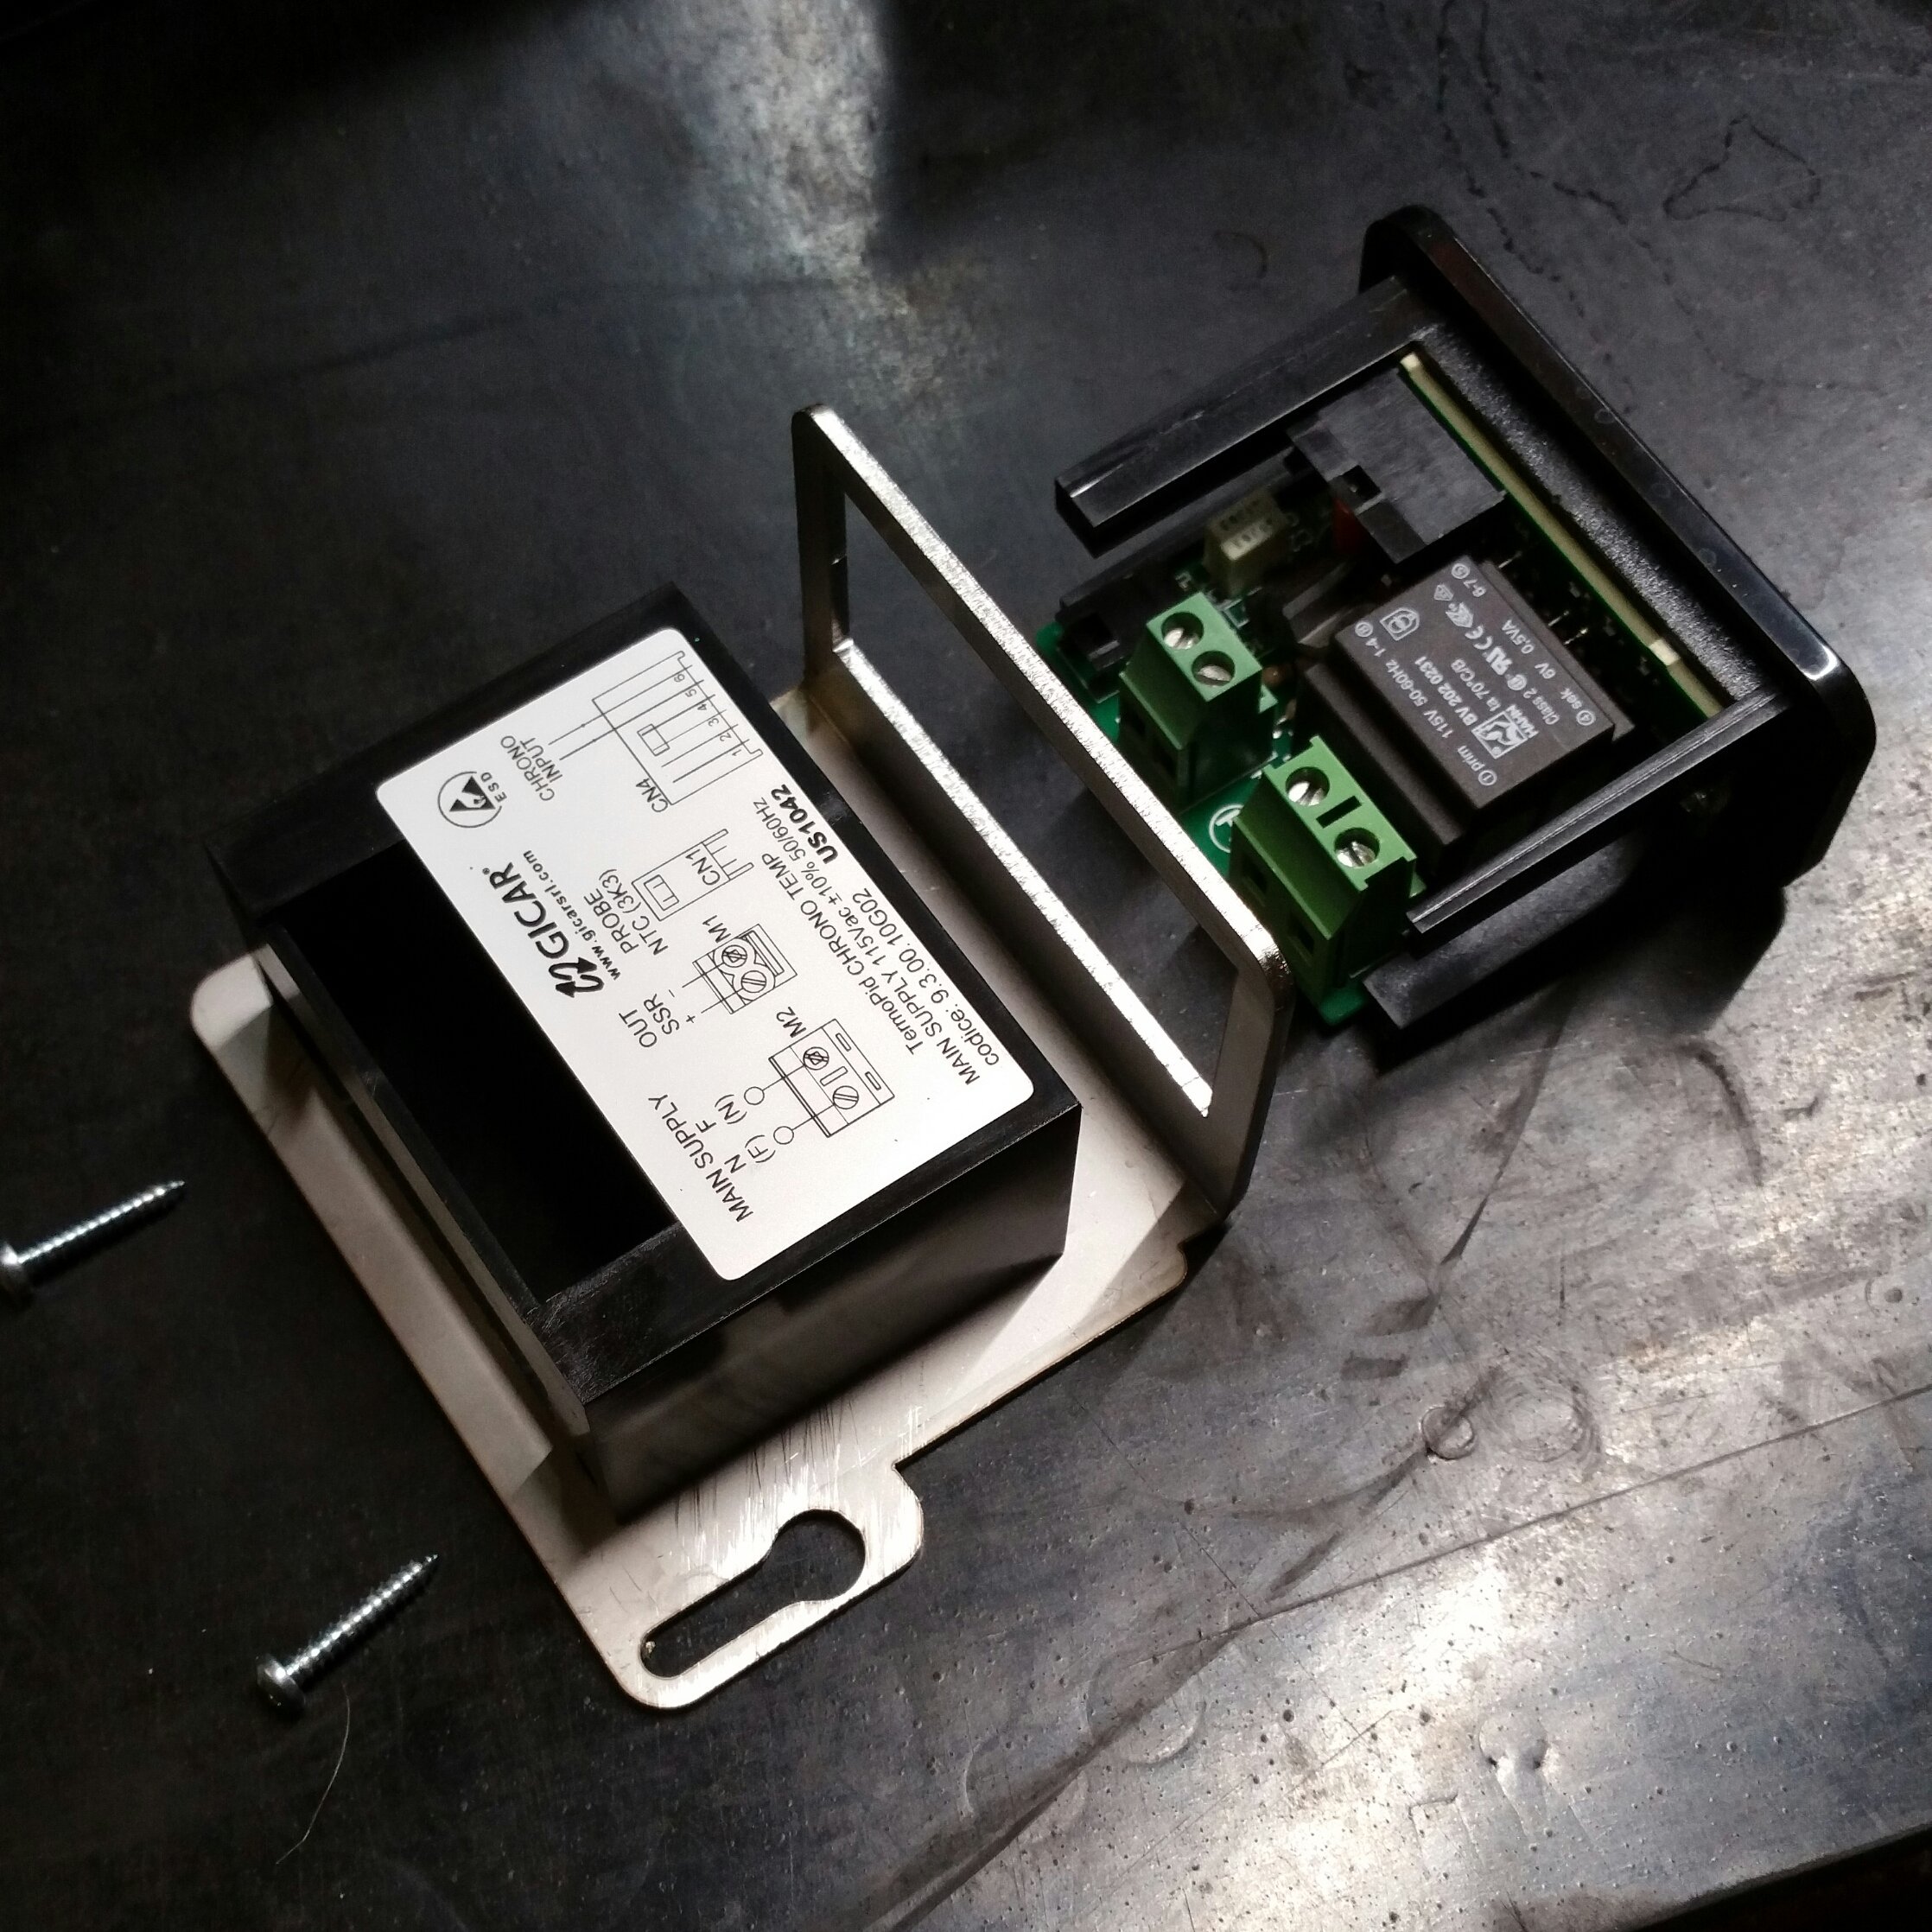
7. When you remove the two small screws in the back of the PID case, it will allow you to pull the case back and the PID out of the front of the bracket.
8. From here, install the new PID in the bracket and connect the wires in the same order. Reinstall the bracket with the PID attached back into the machine.
9. Ensure the PID settings are accurate: Clive Recommended PID Settings