- Help Center
- ECM Synchronika & Synchronika II
- Panel Removal & Draining Boilers
-
Getting Started
-
Espresso 101
-
Warranty, Ordering & Returns
-
Like New & Trade-In Program
-
General Troubleshooting
-
LUCCA A53 Direct Plumb
-
LUCCA A53 Mini/Mini Vivaldi
-
LUCCA M58 by Quick Mill
-
LUCCA X58 by Quick Mill
-
LUCCA Solo
-
LUCCA Accessories
-
LUCCA S58 by Profitec
-
La Marzocco Linea Mini
-
La Marzocco GS3
-
Lelit Mara X
-
Lelit Bianca
-
Lelit Elizabeth
-
Lelit Victoria
-
ECM Synchronika & Synchronika II
-
ECM Special Edition Classika PID
-
ECM Mechanika V Slim
-
ECM Mechanika VI Slim
-
ECM Casa V
-
ECM Puristika
-
Profitec MOVE
-
Profitec JUMP
-
Profitec GO
-
Profitec Pro 300
-
Profitec Pro 400
-
Profitec Pro 500
-
Profitec Pro 600
-
Profitec Pro 700
-
Profitec Pro 800
-
Profitec Drive
-
Rocket Appartamento
-
Rocket R58 / Cinquantotto
-
Rocket Giotto
-
Rocket R Nine One
-
Rocket Boxer
-
La Spaziale S2 EK
-
Rancilio Silvia
-
Rancilio Silvia Pro
-
Rancilio Silvia Pro X
-
Sanremo YOU
-
Ascaso Steel DUO
-
Breville Barista Pro
-
Breville Oracle Touch
-
Flair Classic Espresso Maker
-
Flair 58 Pro 2
-
Flair 58 Plus Espresso Maker
-
LUCCA Grinders
-
Baratza Grinders
-
Eureka Grinders
-
Eureka Mignon Zero
-
ECM Grinders
-
Fellow Grinders
-
Fellow Tally Precision Scale
-
Mahlkönig Grinders
-
DF64 Grinder
-
Quick Mill
-
Izzo Alex Duetto
-
Bezzera BZ10
-
Bezzera Duo DE
-
Bezzera Duo MN
-
Dalla Corte Mina
-
Compak Grinders
-
Dalla Corte Grinders
-
Profitec Grinders
-
Breville Grinders
-
Macap Grinders
-
Fiorenzato Grinders
-
Slayer
-
WEBER WORKSHOPS Grinders
ECM Synchronika: Panel Removal
Below you will find step by step instructions and video instructions for removing the panels of the ECM Synchronika Espresso Machine.
Tools needed:
- 3mm Allen Wrench
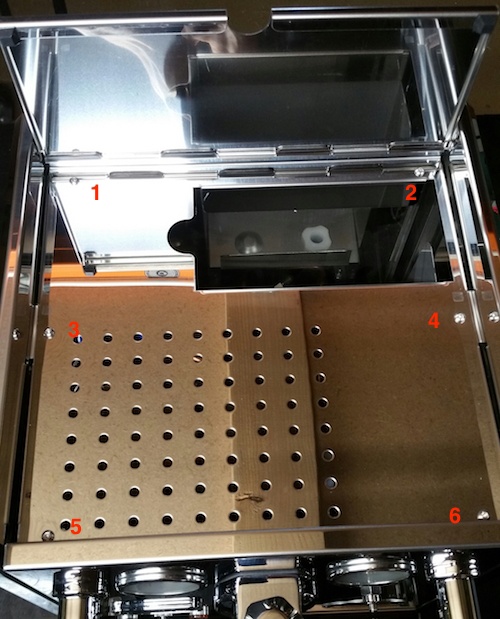
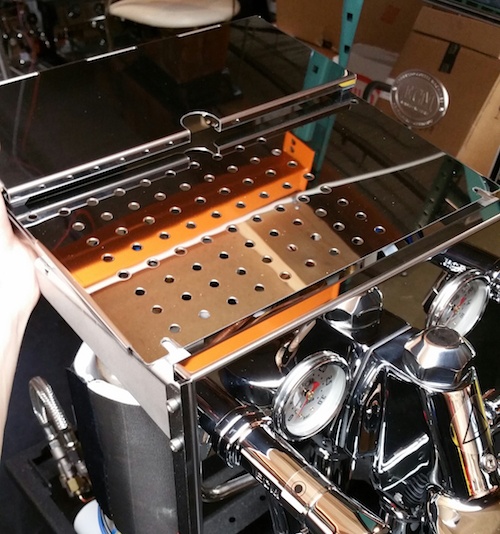
1. Remove the top cup tray and lift the water tank cover, then remove the water tank. You will be able to see 6 allen screws on the top of the machine. #1 and #2 will remove the back panel, #3 and #4 will remove the side panels, and #5 and #6 will allow the top panel to be removed.
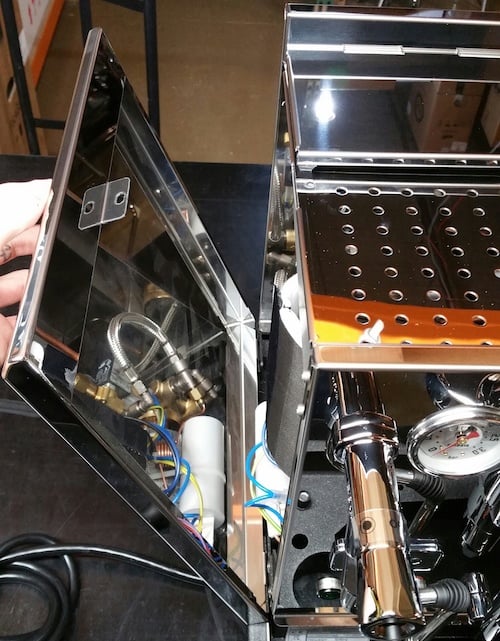
2. Remove the side panels with screws 3 and 4. The panels will easily tip out to the side.
3. Remove the back panel from the machine by removing screws 1 + 2, and tipping the panel backward out of the machine.
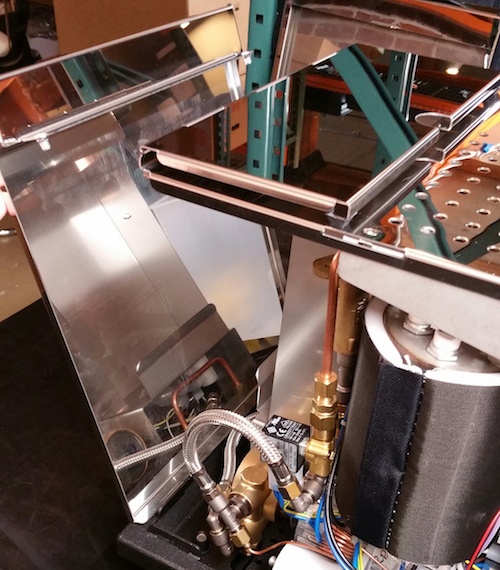
4. Remove the top panel of the machine by loosening or removing screws 5 + 6. It will lift up off the top of the machine.
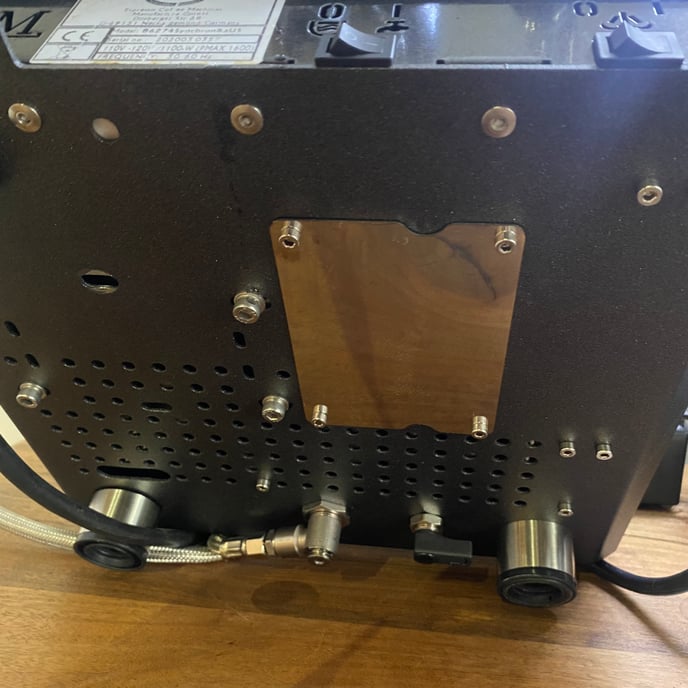
5. If you need to get to the underside of the steam boiler. Tilt the machine up and remove the mounting screws from the heating element access panel as shown.