- Help Center
- Warranty, Ordering & Returns
- Repackaging Instructions
-
Getting Started
-
Espresso 101
-
Warranty, Ordering & Returns
-
Bezzera BZ10
-
Bezzera Duo DE
-
Bezzera Duo MN
-
LUCCA A53 (Direct Plumb & Mini) by La Spaziale
-
LUCCA M58 by Quick Mill
-
LUCCA S58 by Profitec
-
LUCCA X58 by Quick Mill
-
La Marzocco Linea Mini
-
La Marzocco GS3
-
Lelit Bianca
-
Lelit Elizabeth
-
Lelit Victoria
-
ECM Synchronika
-
ECM Special Edition Classika PID
-
ECM Mechanika V Slim
-
ECM Casa V
-
ECM Puristika
-
Profitec Pro 300
-
Profitec Pro 400
-
Profitec Pro 500
-
Profitec Pro 600
-
Profitec Pro 700
-
Profitec Pro 800
-
Rocket Appartamento
-
Rocket R58 / Cinquantotto
-
Rocket Giotto
-
Rocket R Nine One
-
La Spaziale S2 EK
-
Rancilio Silvia
-
Rancilio Silvia Pro
-
Rancilio Silvia Pro X
-
Izzo Alex Duetto
-
Quick Mill
-
Breville Oracle
-
Dalla Corte Mina
-
Slayer
-
Lucca Grinders
-
Baratza Grinders
-
LUCCA Atom 75
-
Eureka Grinders
-
ECM Grinders
-
Compak Grinders
-
Fellow ODE Grinder
-
Mahlkonig Grinders
-
Profitec Grinders
-
Breville Grinders
-
Dalla Corte Grinders
-
Macap Grinders
-
Fiorenzato Grinders
-
General Troubleshooting
-
Like New & Trade-In Program
-
Eureka Mignon Libra
-
Eureka Mignon Libra User Manual
-
Rocket Boxer Setup Guide
-
Rocket Boxer Timer User Manual
-
Baratza Encore ESP Setup Guide
-
Baratza Encore ESP User Manual
-
Fellow Opus User Manual
-
Fellow Opus Setup Guide
Repackaging the Eureka Atom 65 / 75
Here are the step by step instructions for properly repackaging your Eureka Atom grinder for safe shipping.
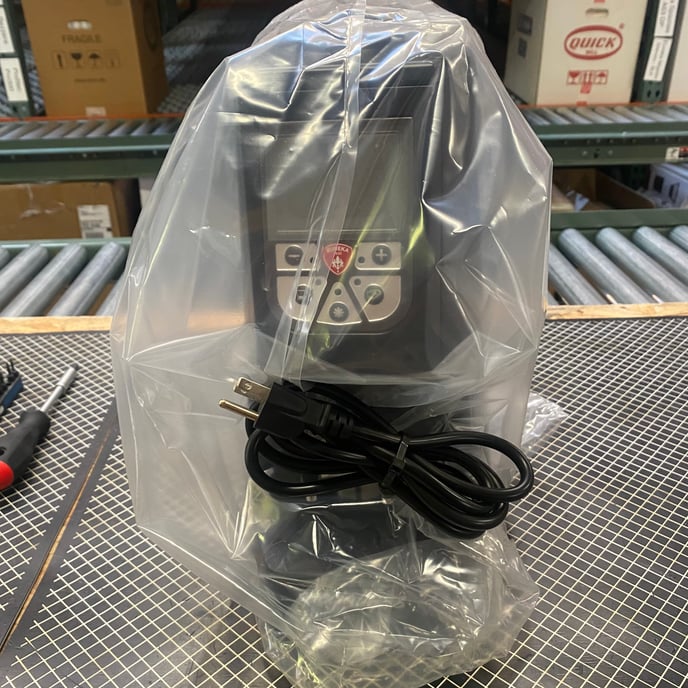
1. Place the bag over the grinder, secure the cord underneath the chute.
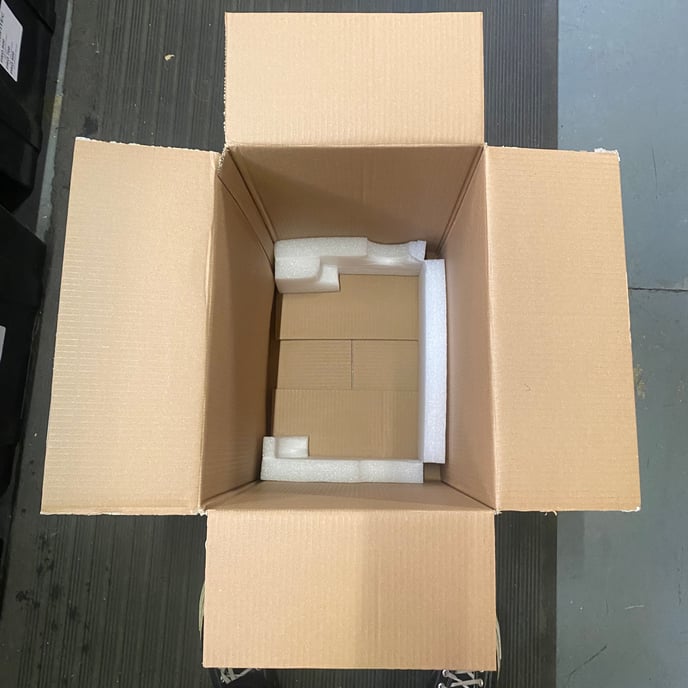
2. Place the lower foam in the bottom of the box.
3. Place the grinder on its side, paying special attention to put the grinder in the correct direction so that it fits into the foam cutouts.
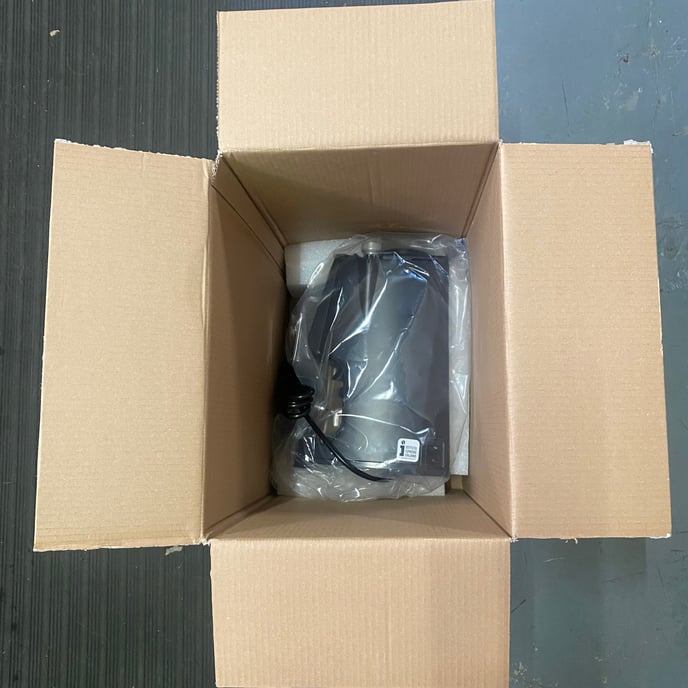
4. Place the top foam on the grinder, again ensuring you are following the cutouts for the foam to match the shape of the grinder.
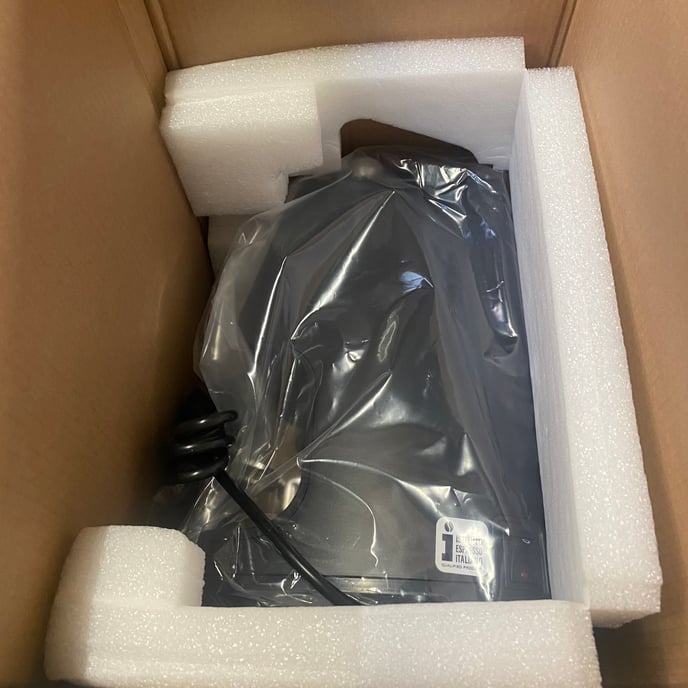
5. Top view of the grinder with the top foam in place in the box.
6. Put the hopper + lid into the small plastic bag.
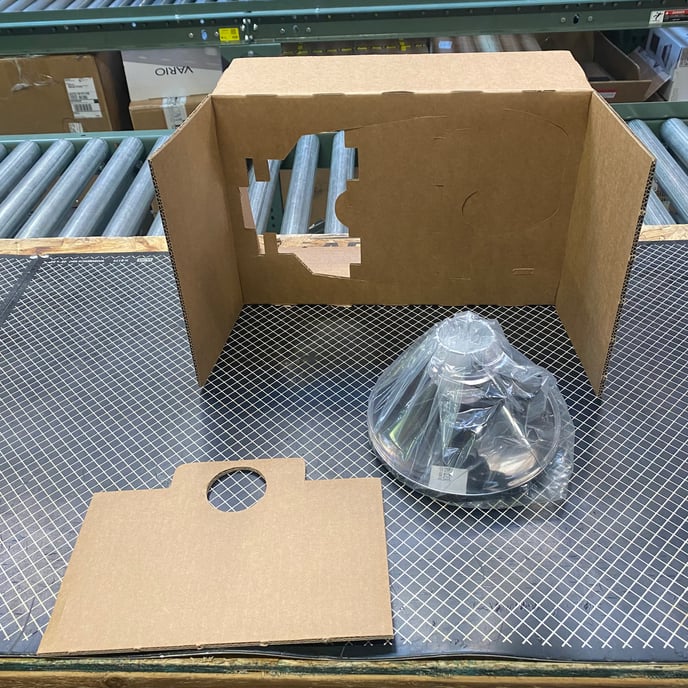
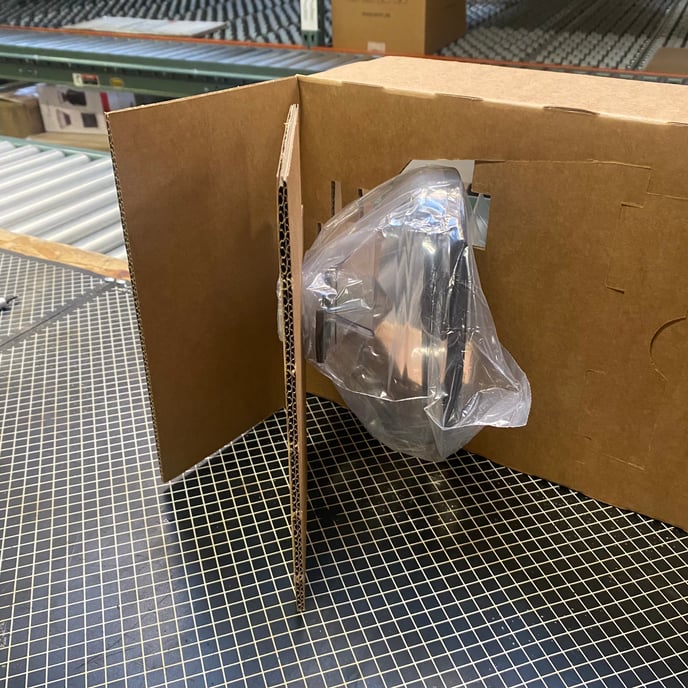
7. Put the neck of the hopper into the cardboard cutout.
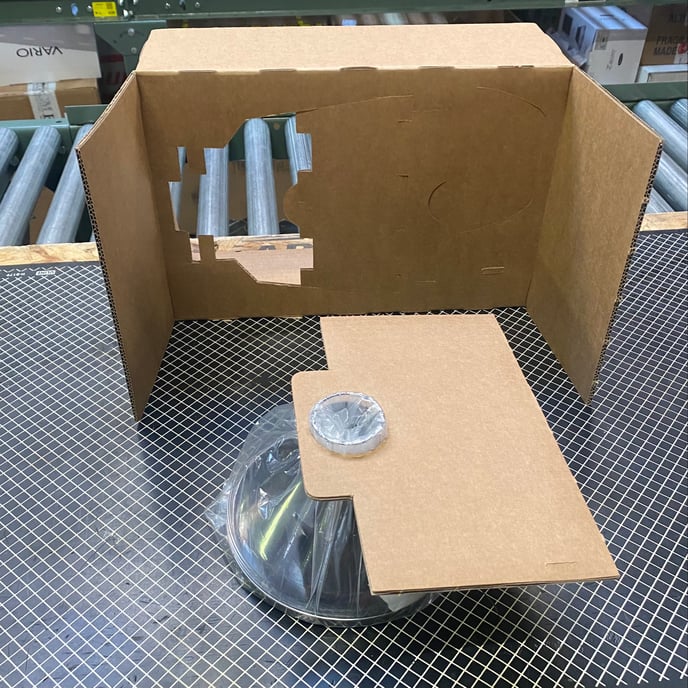
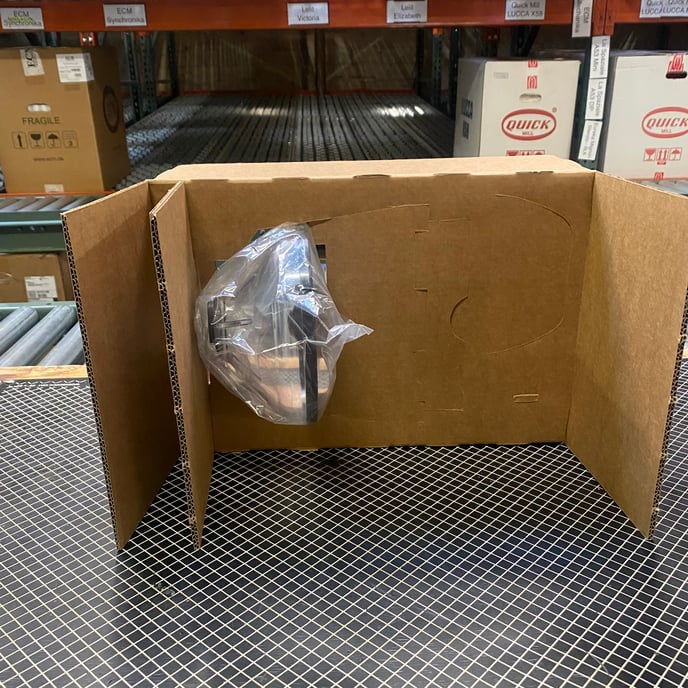
8. Hopper will fit into the larger cardboard piece, using the smaller piece that the hopper neck is in as a guide to keep it steady. Double-check the orientation of this, as the hopper can easily crack if not packaged properly.
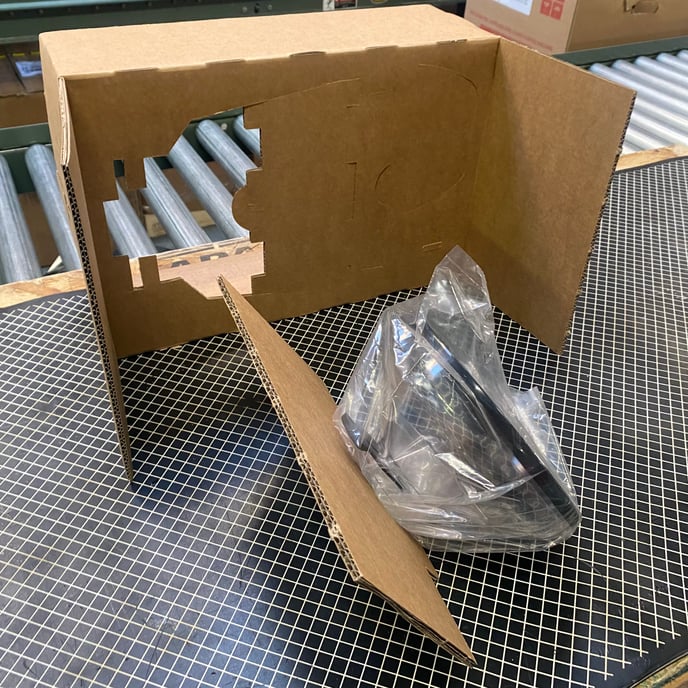
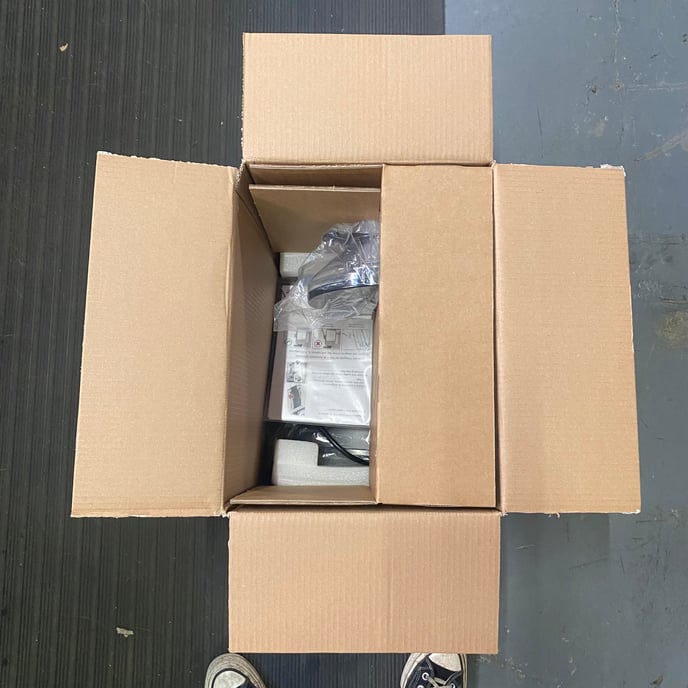
9. The hopper enclosure and manual can now be placed into the box.