Tools needed:
- #2 Philips head screwdriver
- Large flat head screwdriver
- Microfiber towel (or another type of scratch resistant surface to rest your machine on)
1. Turn the machine off, disconnect from the power source, and allow it to cool down completely.
2. After removing the water reservoir and top grate, remove the spring-loaded screw at the top of the unit.
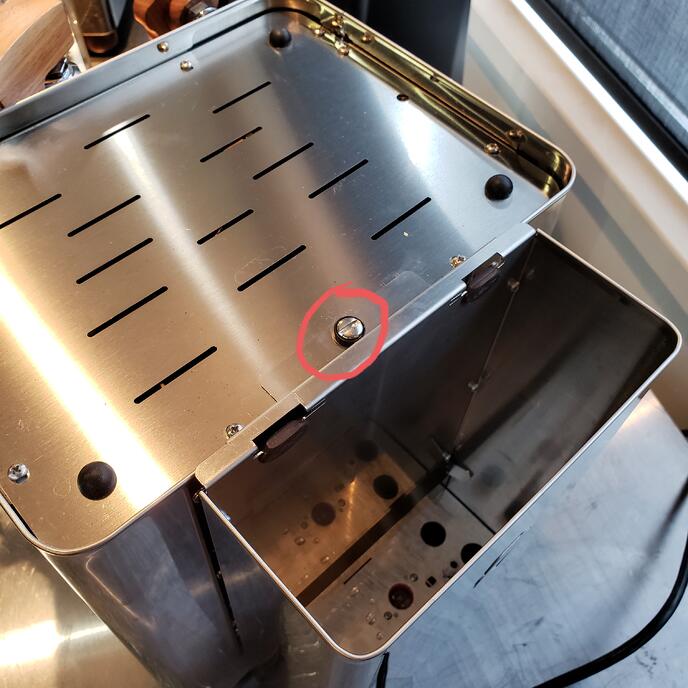
3. Unplug the power cord and sensor wire, and then remove the second spring-loaded screw at the bottom.

3. Remove the top panel via the ten Phillips head screws.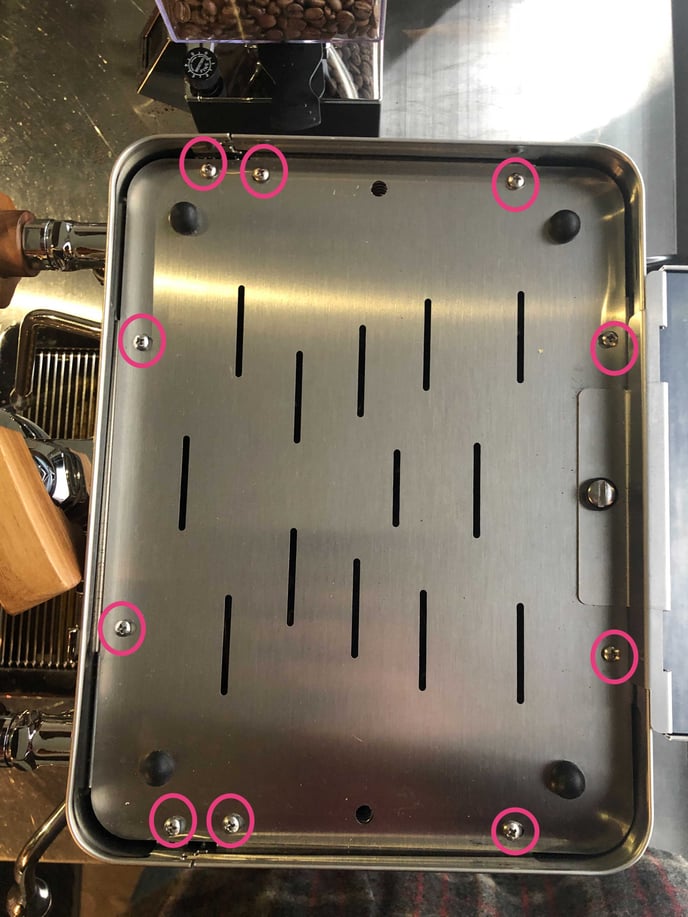
4. Pull the water reservoir holder away from the bottom of the machine, then lift up and out to remove the water reservoir holder assembly from the machine. You can now lift off the top panel.
- Stop here and re-attach the reservoir if all you need is access through the top panel. -
5. Tilt the machine forward, resting the machine on its drip tray bracket and group head. Use a towel to protect your counter and grouphead finish.
6. Now that you have access to the underside of the machine, remove the rear feet, both saving the wood legs from scratching, and allowing for easier removal of the body surround panel. While the machine is in this position, remove the 5 large Phillips head screws securing the panel to the frame of the machine. Don't forget to replace the rear feet before turning the machine upright.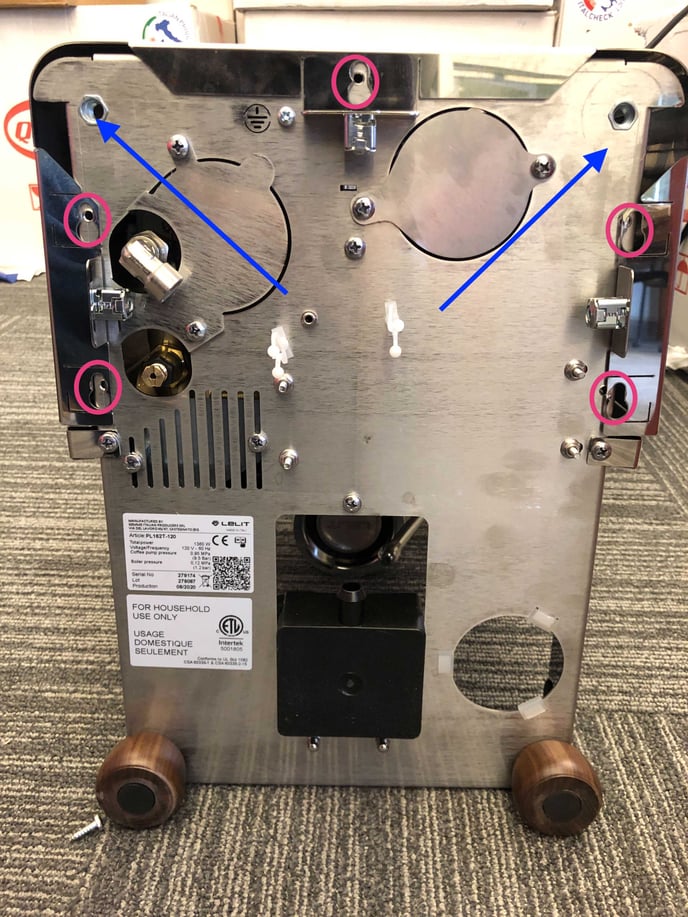
7. Now that all screws securing the panel have been removed, the panel can simply be pulled off the back of the machine. If the machine is still resting in the 90º as seen above, grab each respective side of the panel, and pull straight up to avoid accidental splicing of any wires or tubes.