Tools Needed:
- Phillips Screwdriver
- Adjustable Wrench
- Small Phillips Screwdriver
- 13mm & 14mm crescent wrench
- 17mm deep socket wrench (and attachment if necessary)
1. Remove the panels from the machine (you may leave the reservoir panel in place).
2. Identify the Fill Solenoid.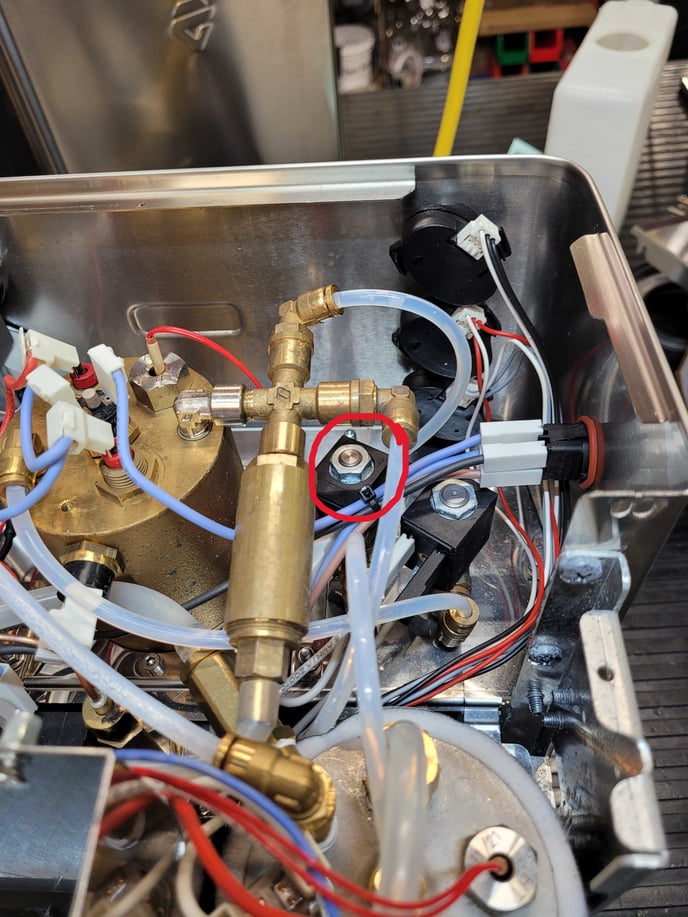
3. To gain better access to this part, you may disconnect the push-connect hose lines on the T tree fitting by pressing in on the brass ring with one hand, and pressing and then pulling the tube out with the other hand.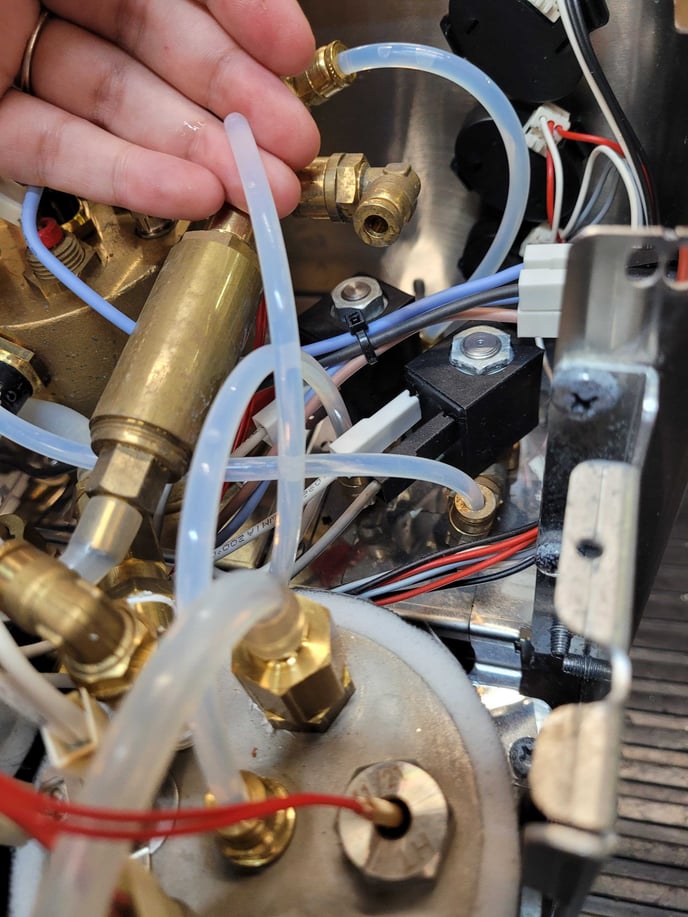
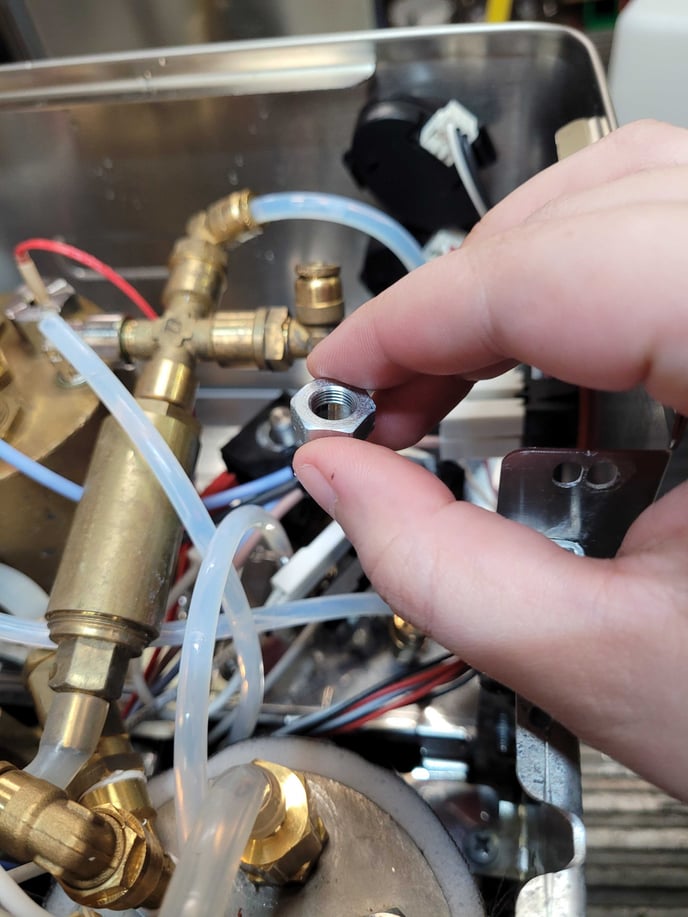
4. Remove the nut holding the solenoid body in place with a 14mm crescent wrench. 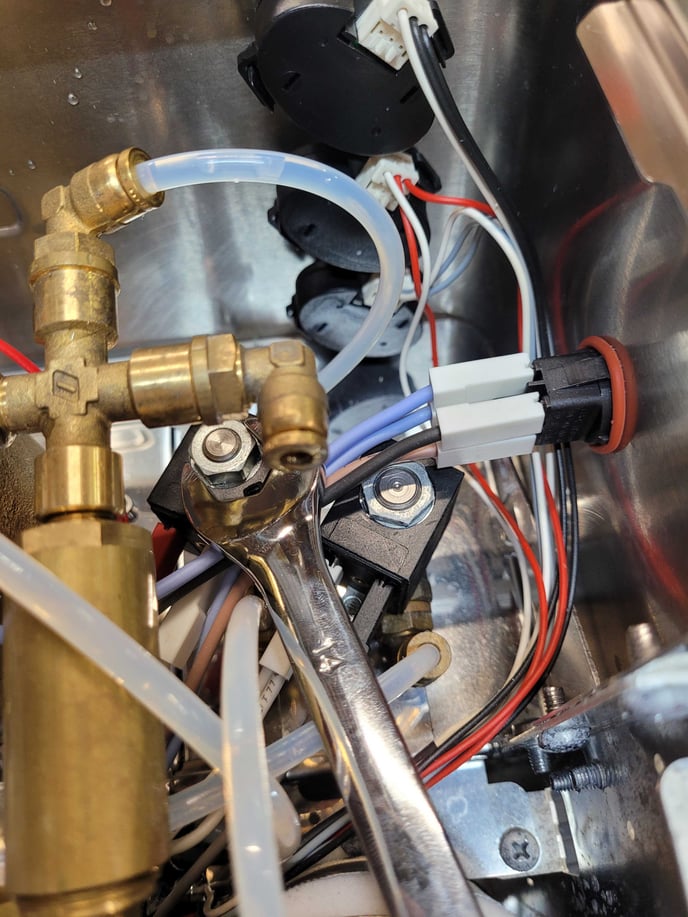
5. Now you may pull the solenoid box off of the armature and set it aside.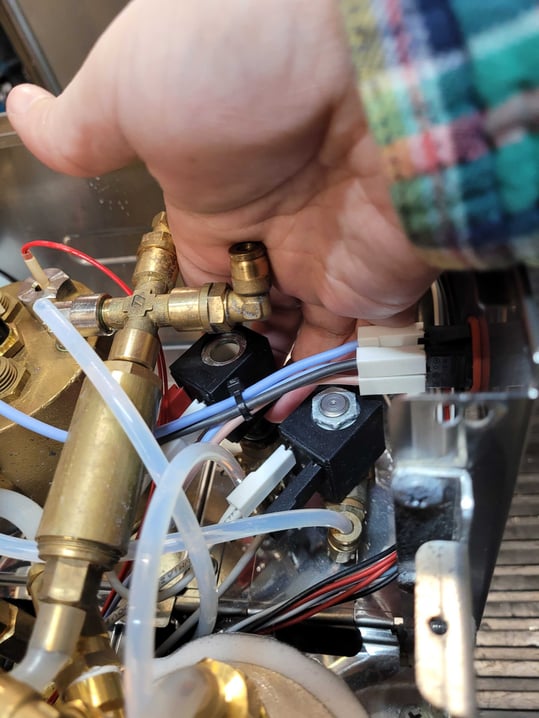
6. To gain even more access, you can slightly turn the fitting clockwise and you can also readjust the elbow fittings. .jpg?width=688&height=917&name=20240206_075925%20(1).jpg)
7. Using a 17mm deep socket (with an extension if needed) you can remove the armature from the valve body. 
8. Inspect the spring and gasket for signs of wear or buildup (the one in the photo below needs to be cleaned by soaking in a hot bath of Urnex and giving it a scrub).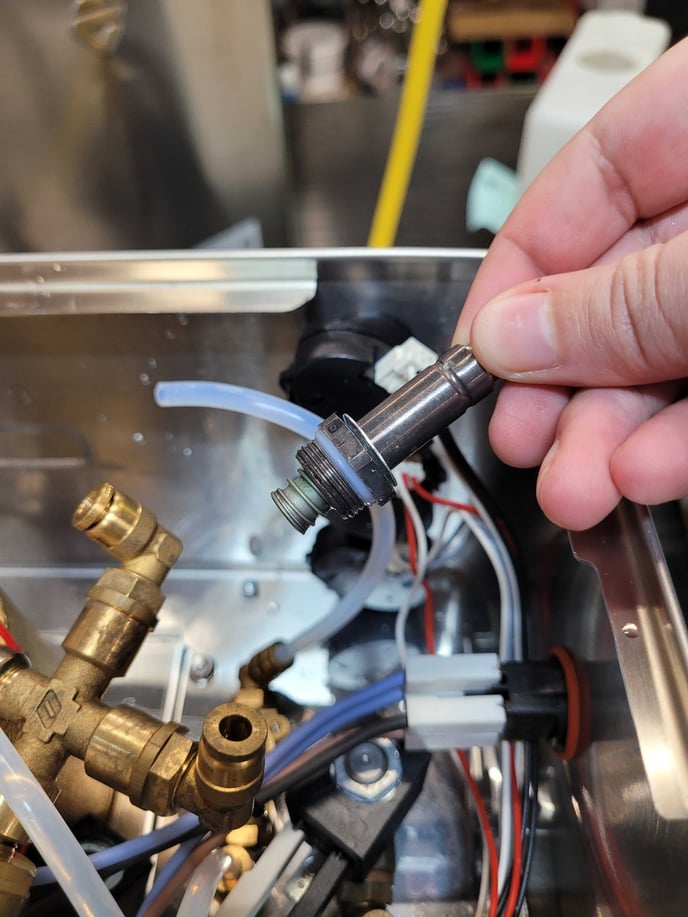
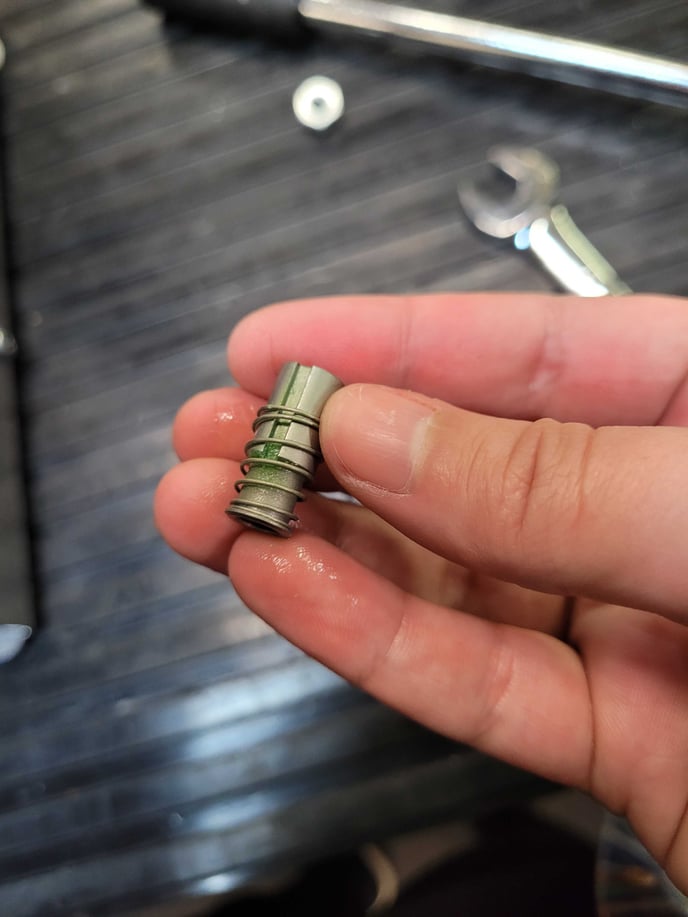
*If you only need to inspect/clean your solenoid valve, you can stop here.*
9. There will be 2 more push-connect fittings attached to the valve, you can choose to disconnect the one closest to you first, OR after removing the screws in step 10. 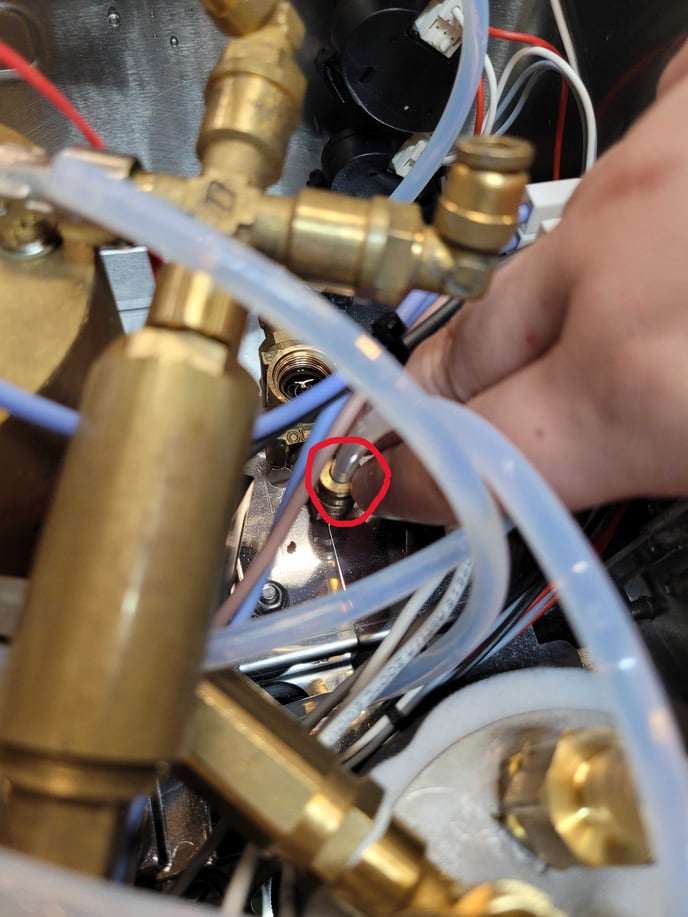
10. There will be 4 screws below the front panel, please use a small screwdriver to loosen the 2 circled in red. 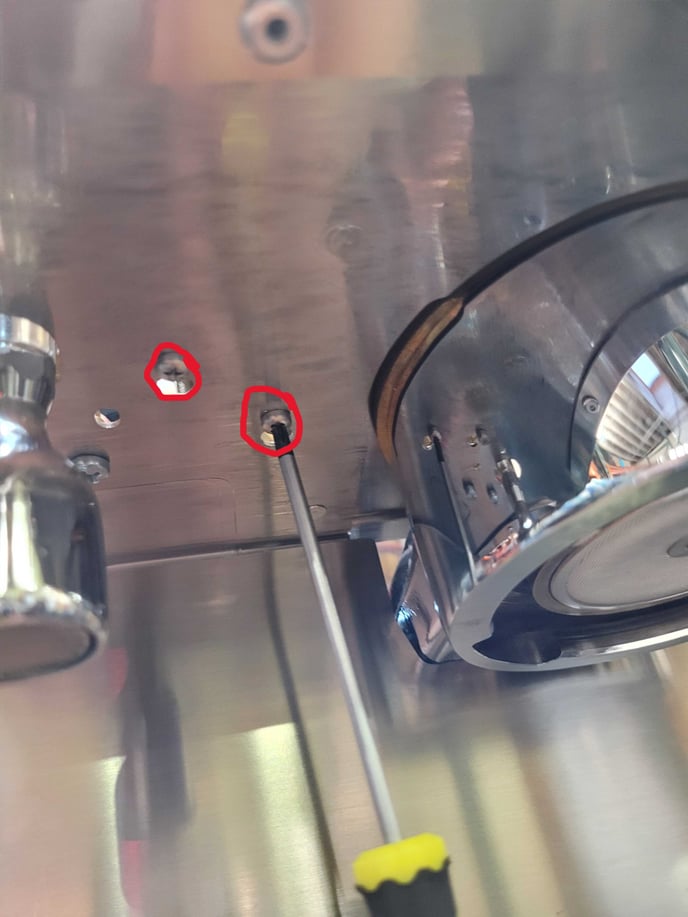
11. Now the solenoid should be free to lift up out of the machine (It will look like A or B).
(A)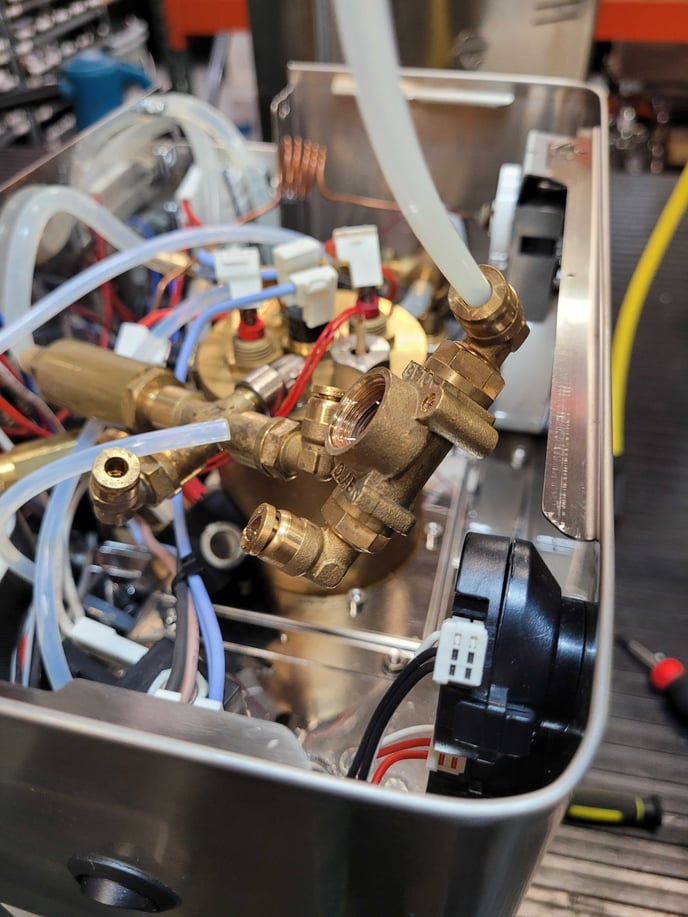
(B) - still need to remove the push connect water line -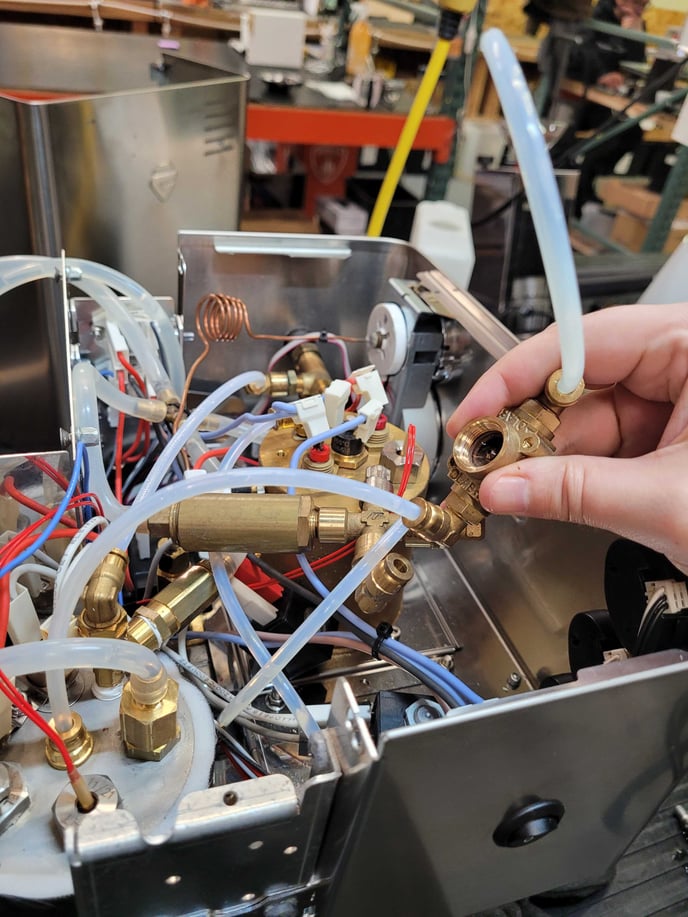
12. You will need to remove the elbow fittings from the old solenoid and attach them to the new replacement solenoid using an adjustable wrench and a 13mm crescent wrench. 
13. Follow these instructions in reverse to reassemble. Make sure all of the connections are secure before you reinsert the reservoir and turn it on to test for leaks.
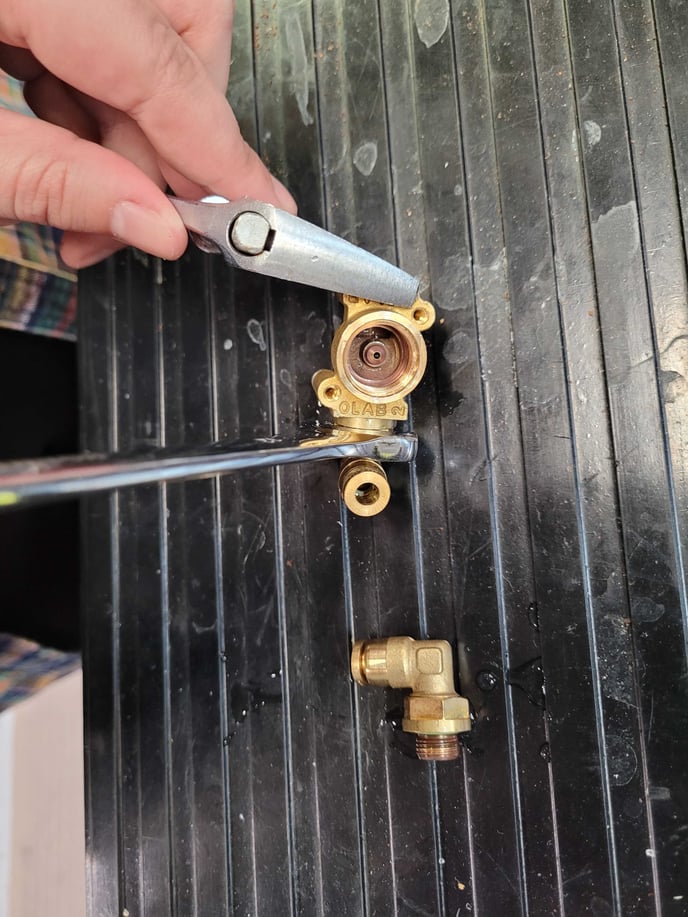
Please double check that the solenoid has been installed in the correct direction (it should say OLAB 1 on the side facing the front of the machine, and OLAB 2 on the side facing the boiler).