Lelit Elizabeth: Replacing the SSR (Solid State Relay)
If your Elizabeth is struggling to maintain temperature, showing extreme temperature swings, or not heating to its set point, you may need a new SSR. Here's how to replace it. (Difficulty ☕☕☕)
What you'll need:
- Standard Philip's Head Screwdriver
- 6 mm small socket
- Replacement Relays (5v or 12v)
First, you'll want to remove the panels of your machine.
Once open, remove the reservoir tank and the metal panel housing. There are four screws fastening it onto the machine. Slide the panel off of the back, and set it aside. 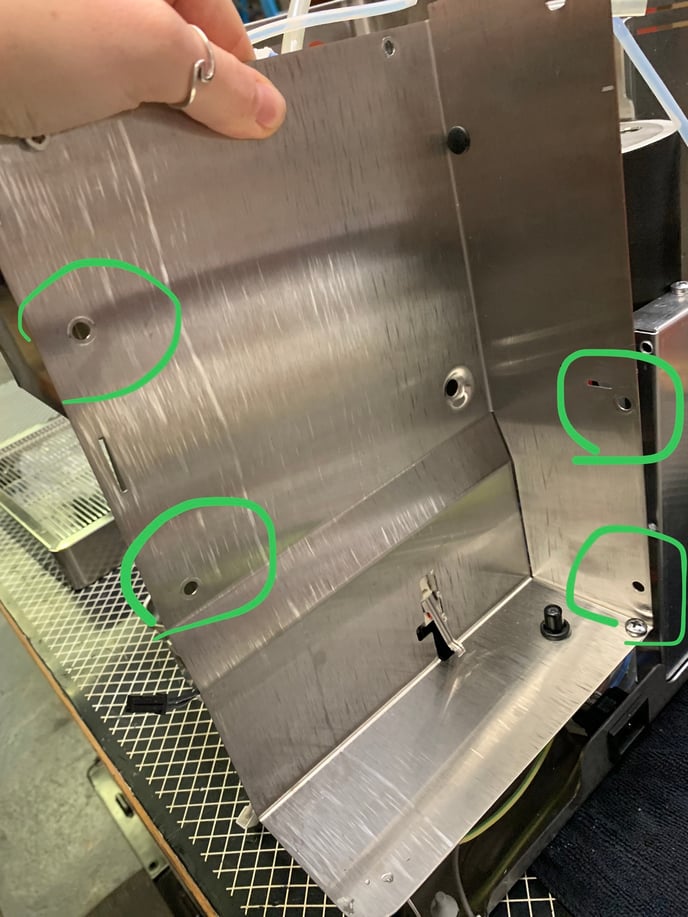
Once out of the way, look to the left. There are two small relays attached to the side panel. One will have four wired connections (top relay, 5v) and one will have five wired connections (bottom relay, 12v). The top relay connects to the brew boiler, and the bottom relay controls the steam boiler. (only the bottom relay is pictured) 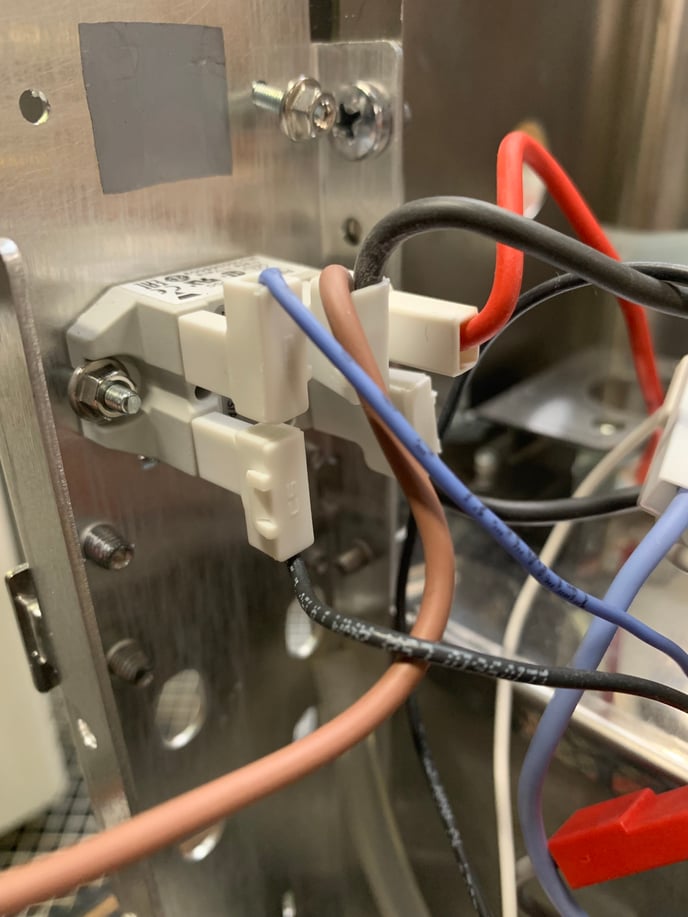
You can remove the relay from the panel using a screwdriver, and holding the nut in place with a finger, OR if you have a 6mm small socket to fit in the small space you can loosen the nut from the inside. Note that the upper two rows of smaller set of screws are the ones fastening the relay in place. 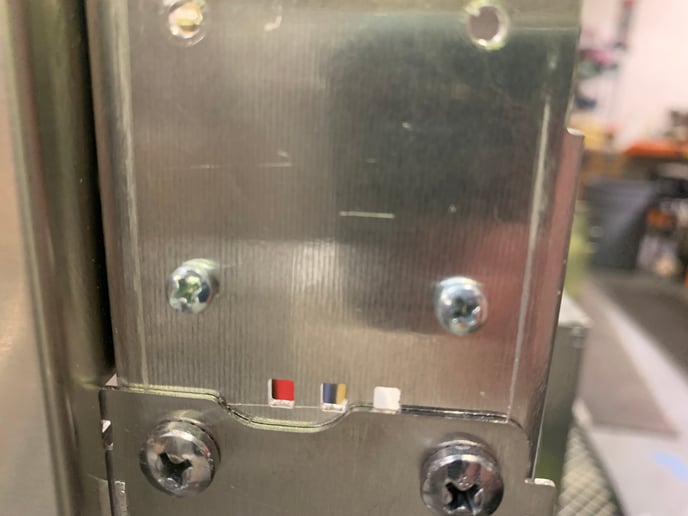
Take note of where your connections are going! Photos or markings are often helpful, before removing any connections from their posts. 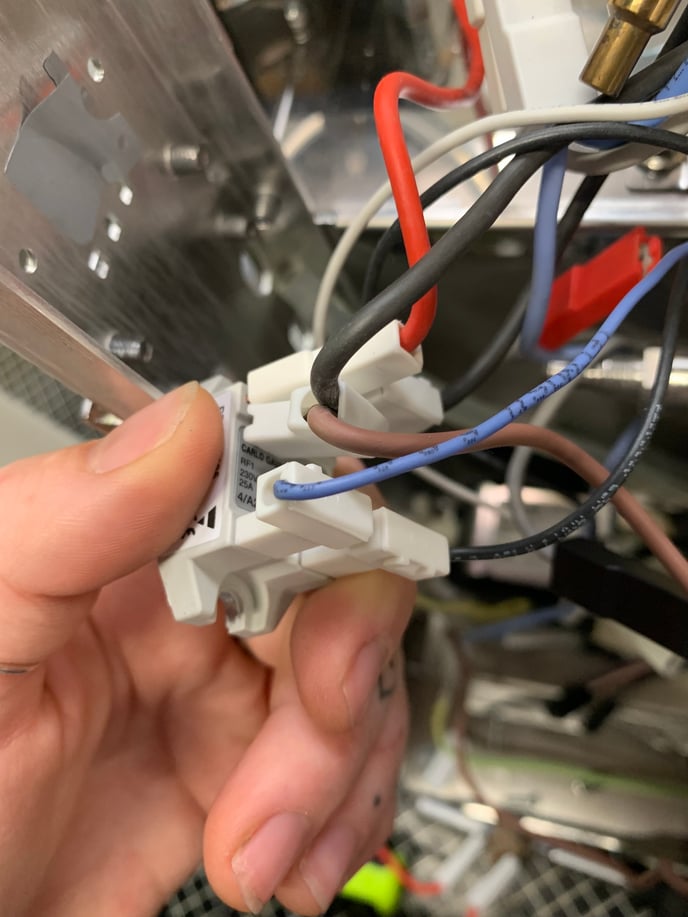
Note: The steam boiler SSR will have five wired connections. This is normal, and important to keep straight when swapping both relays simultaneously. The fifth connection is a U-bend coupler attached to another connection, and will come off in tandem. 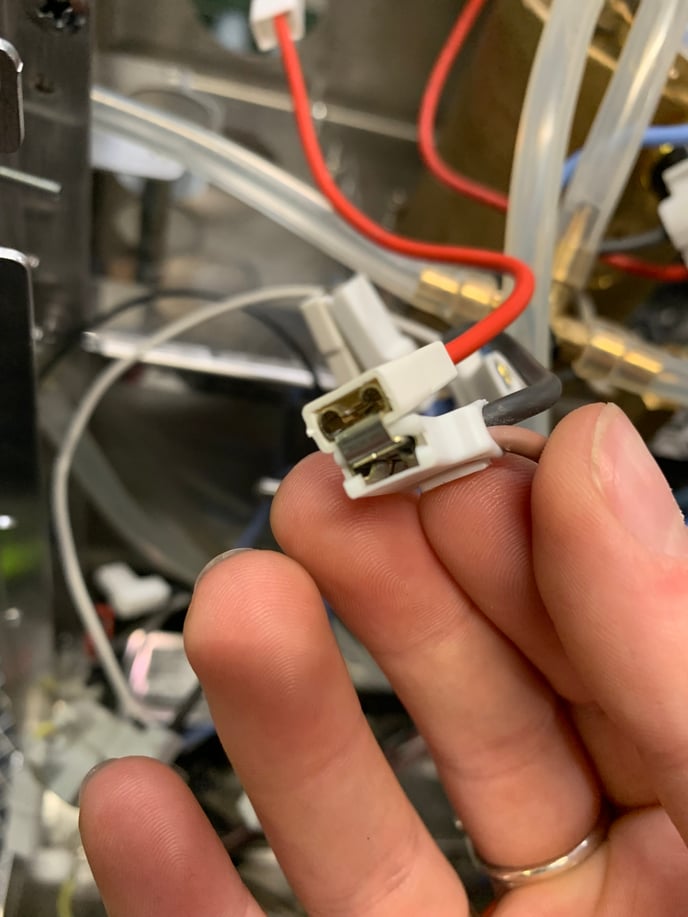
Once you have your connections off of the old and onto the new relays, you can fasten the new back onto the side panel, turn on the machine and test!
If you have any further questions, you can contact the Tech Department at support@clivecoffee.com.