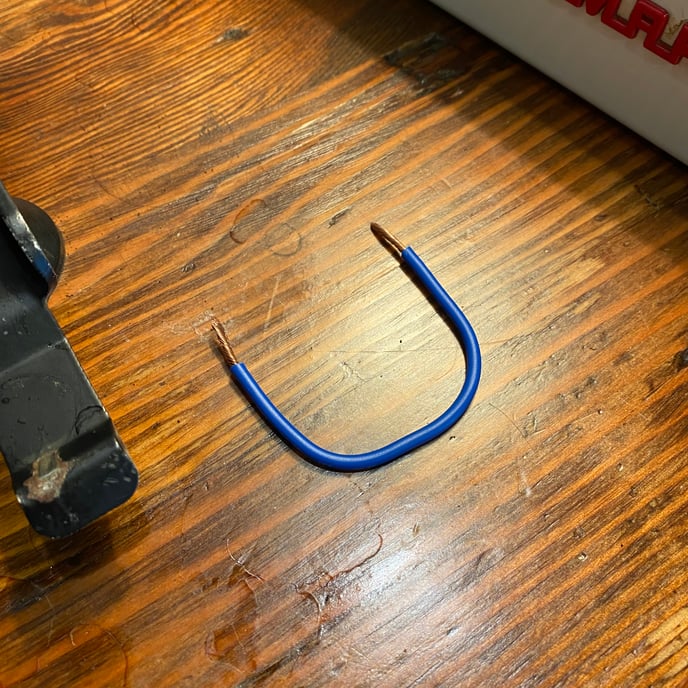
- Jumper wire, 3" to 4" in length
OR
-Butter knife
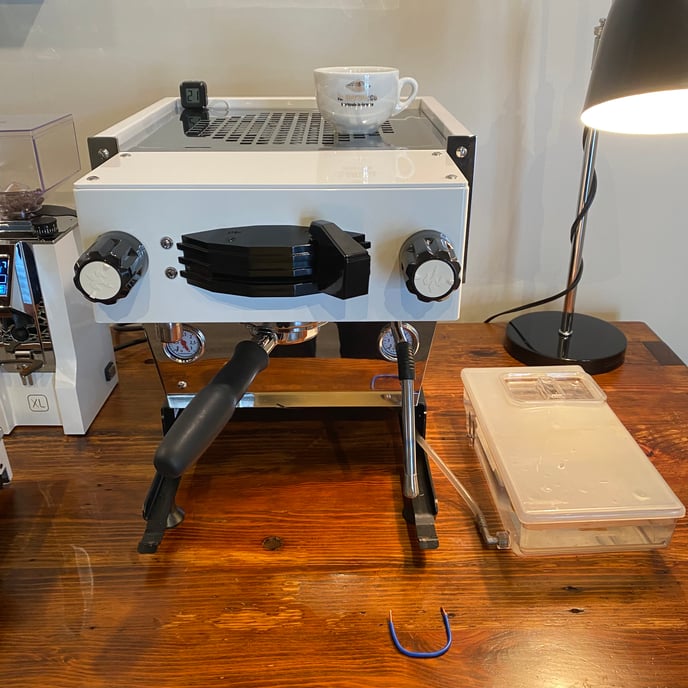
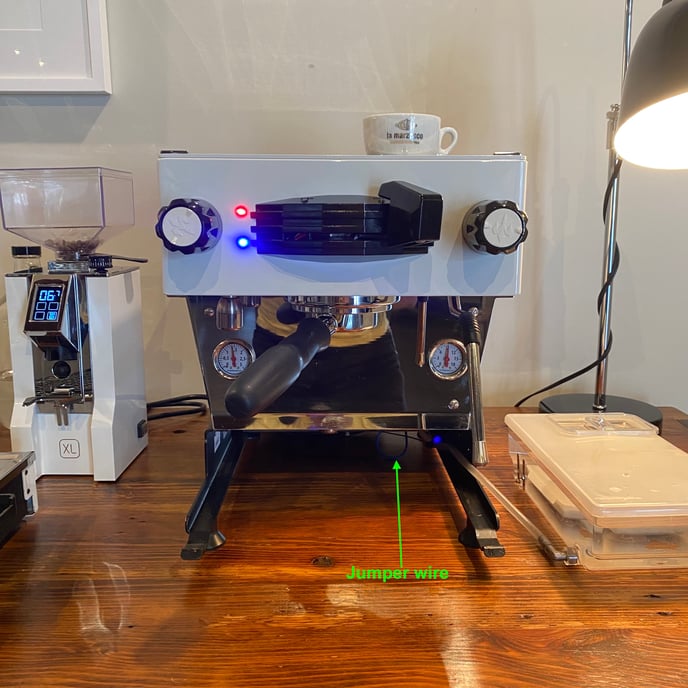
1. Start by pulling the water reservoir out of the machine and setting it aside (no need to disconnect the supply tubing). Flip the machine's power switch to the "ON" position — the blue water light should begin blinking.
2. Get your jumper wire ready by stripping both ends of a 3" to 4" length of electrical wire and bend it into a "U" shape as shown.
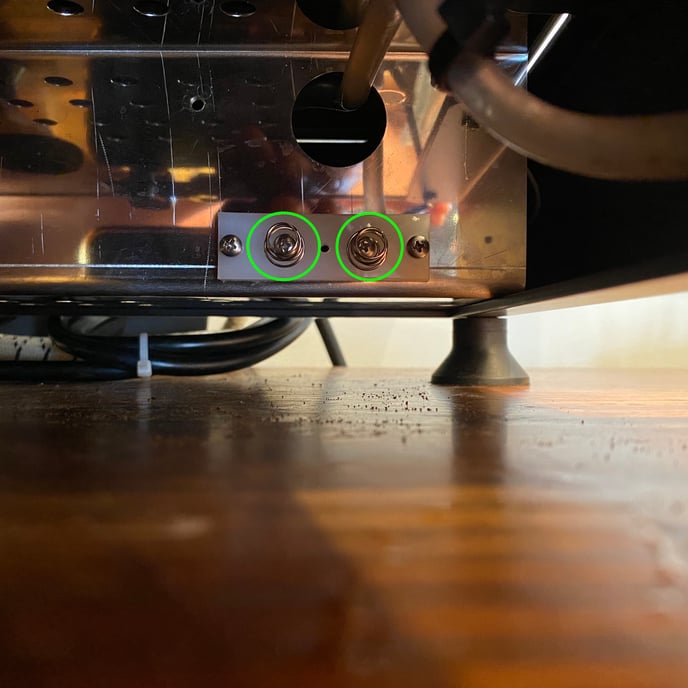
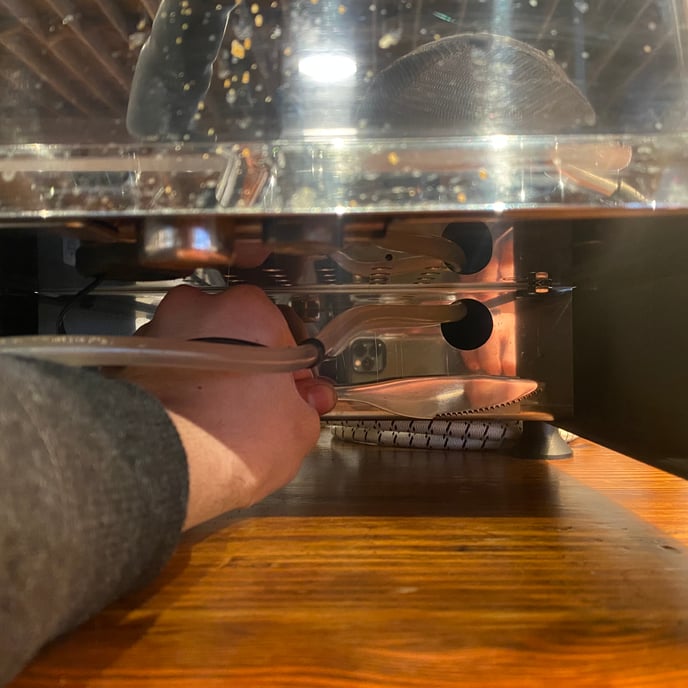
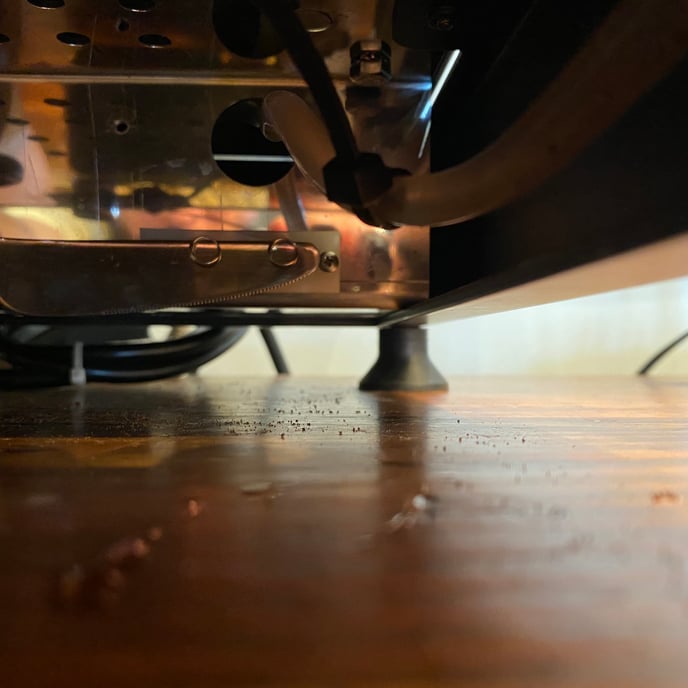
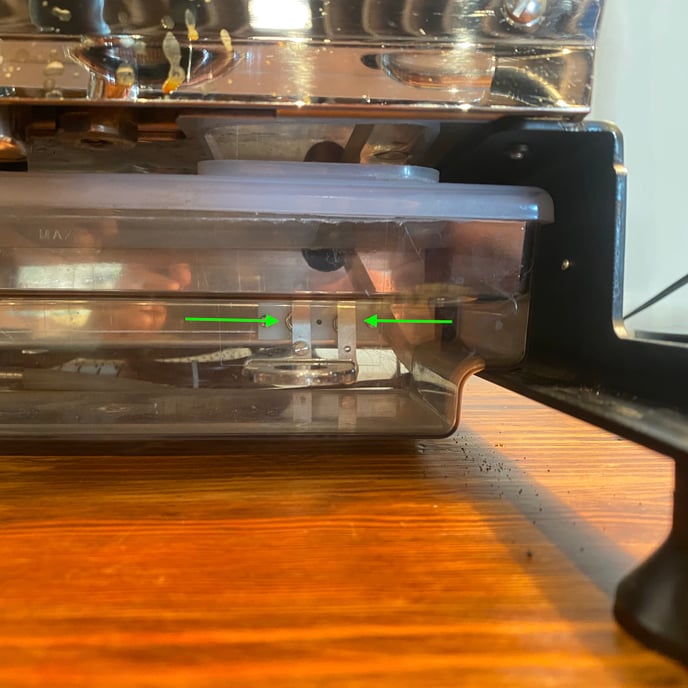
3. Peer under the machine and identify the machine-side water sensor contacts. The two Philips head screws and springs indicated are the actual contacts. The springs also act to buffer the water reservoir during installation.
4. Use the jumper wire to touch both screw heads at the same time.
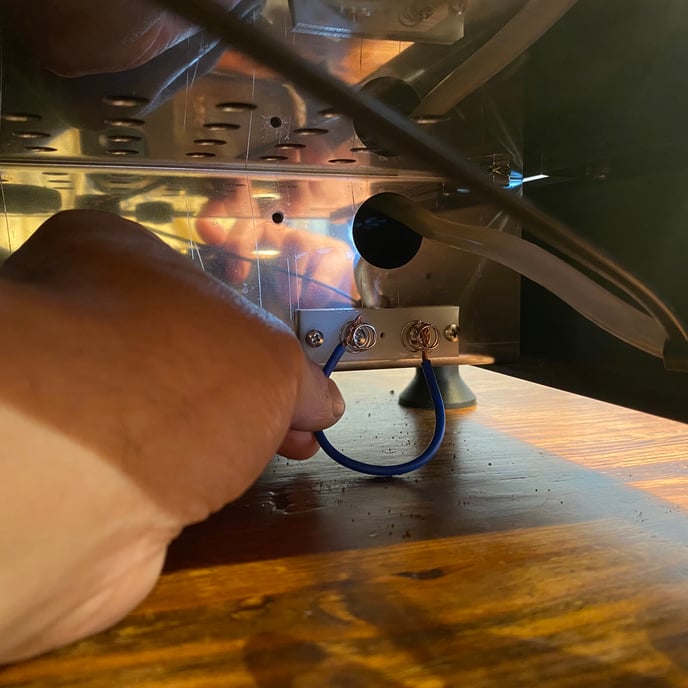
Alternatively, you can use any conductive implement to bridge the two sensor contacts. In the following example, we used a butter knife. You may need to insert the bridge implement under the spring coils to be able to touch both screw heads at the same time.
5. Observe your machine. If the water sensor is functional, the blinking blue light will turn solid when both water sensor contacts are bridged. The red light will start to blink if the group head is below temperature; if the group head is at temperature, the red light will come on solid.
6. If you've verified that your Linea Mini's water sensor works normally, but the machine continues to sense water inconsistently when the water reservoir is installed, try this checklist:
- Ensure that the water in the reservoir has sufficient mineral content to conduct electricity. Pure reverse osmosis (RO) or de-ionized (DI) water will not conduct electricity through the water sensor.
- Make sure that the water reservoir is able to slide all the way back, without being blocked by the supply line or other obstacles. Also make sure that the water reservoir rests level in the machine, not tilted to one side or the other.
- Check that the reservoir-side water sensor contacts are properly installed and positioned so that they make complete contact with the machine-side water sensor contacts when the reservoir is placed into the machine; adjust if necessary.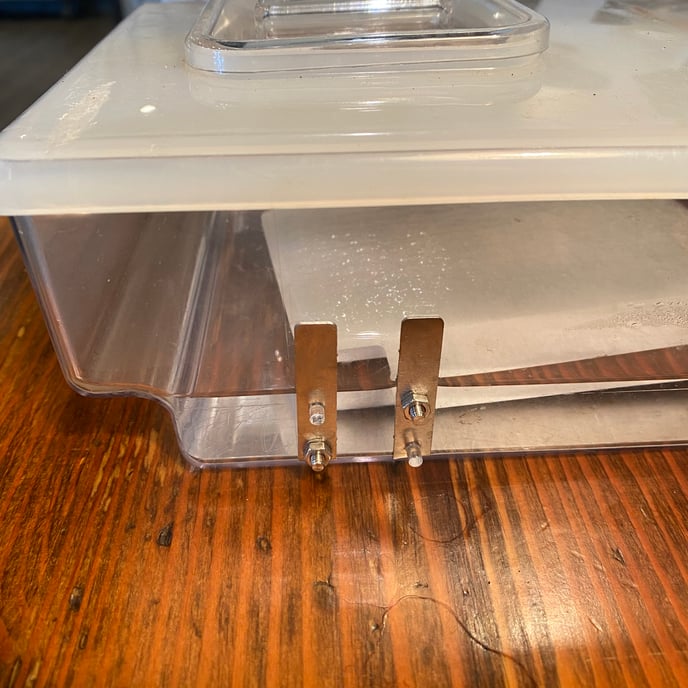
7. If the blue light remains blinking and the red light fails to illuminate, but you've verified that both water sensor screw heads are in contact with the jumper, the water sensor will need to be serviced.