You'll need:
- Standard Phillips' Screwdriver
- 7 mm wrench or socket wrench
Begin with the machine off, fully cooled, and unplugged.
First, you'll need to remove the front panel, as well as the right-side panel. To remove the side panel, you'll need to remove the top panel. Let's start there - remove the single screw from the middle of the front edge of the top panel, then lift the panel off. 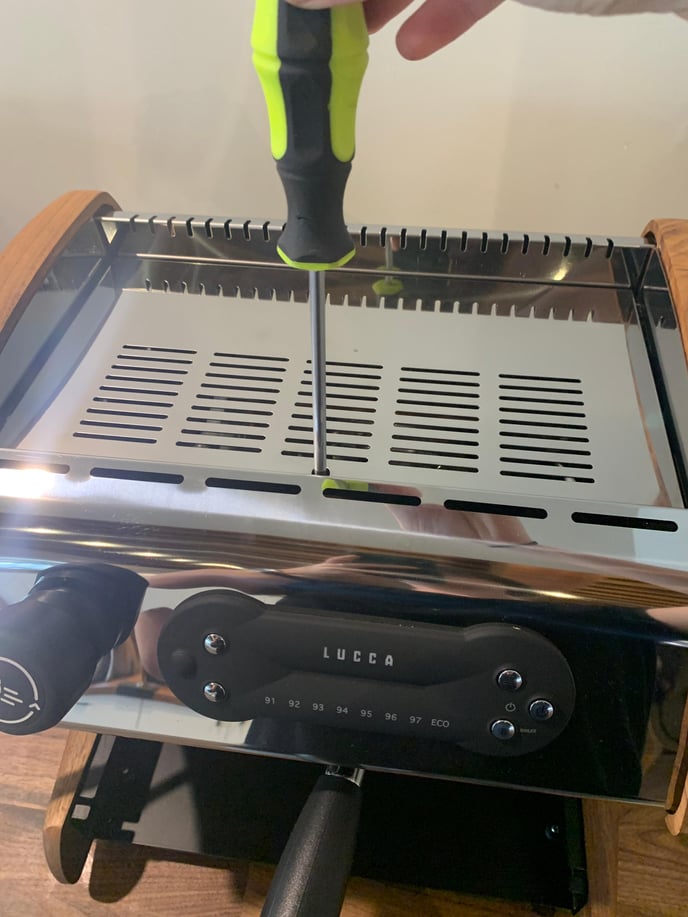
After that's off, loosen the two screws on the top and the two screws on the bottom fastening the side panel to the machine. 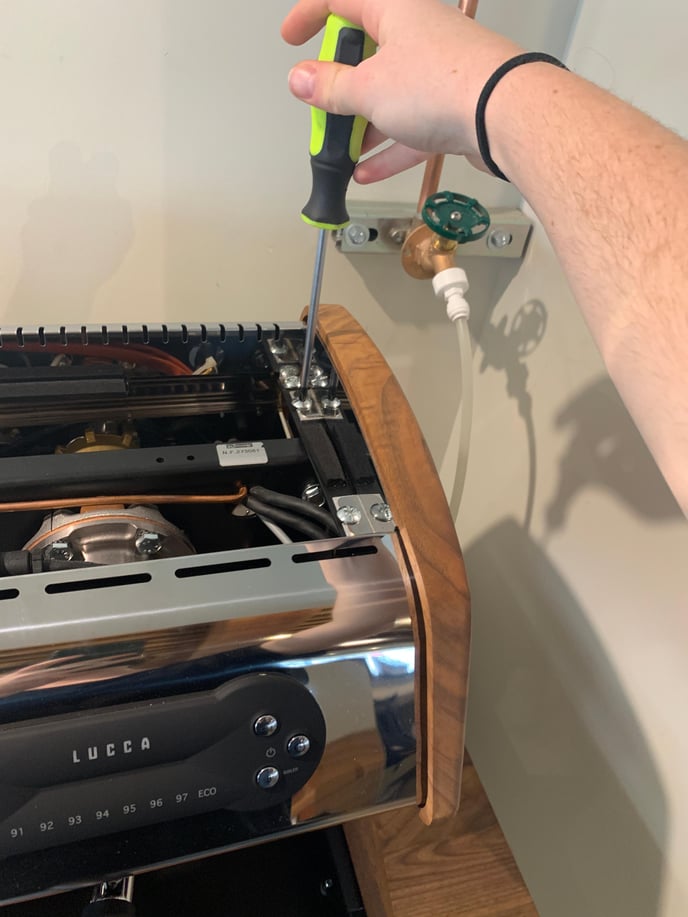
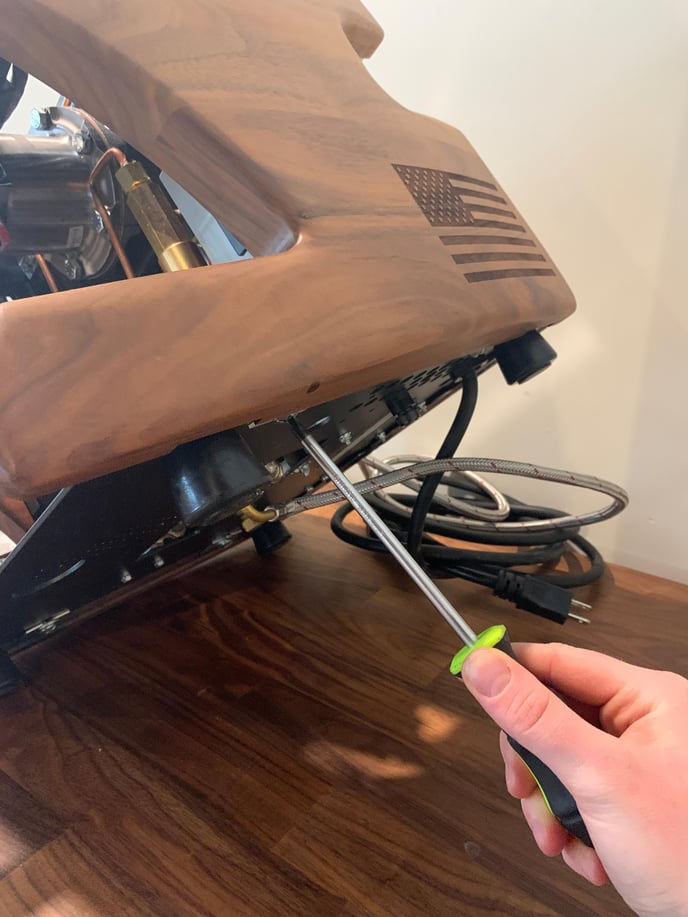
From here, you can remove the drip tray, and remove the front panel by removing the two screws on either side.
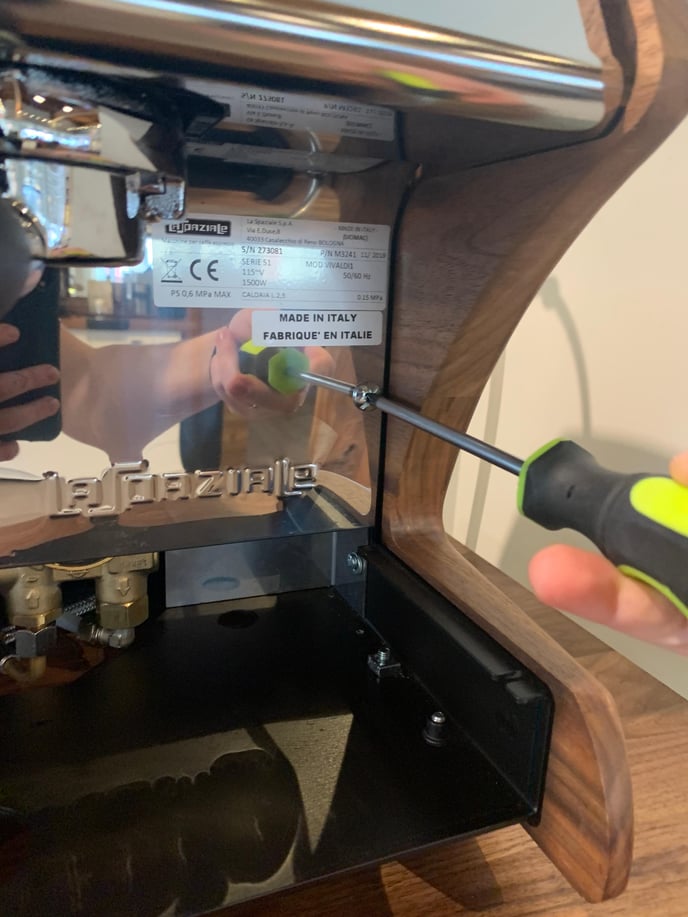
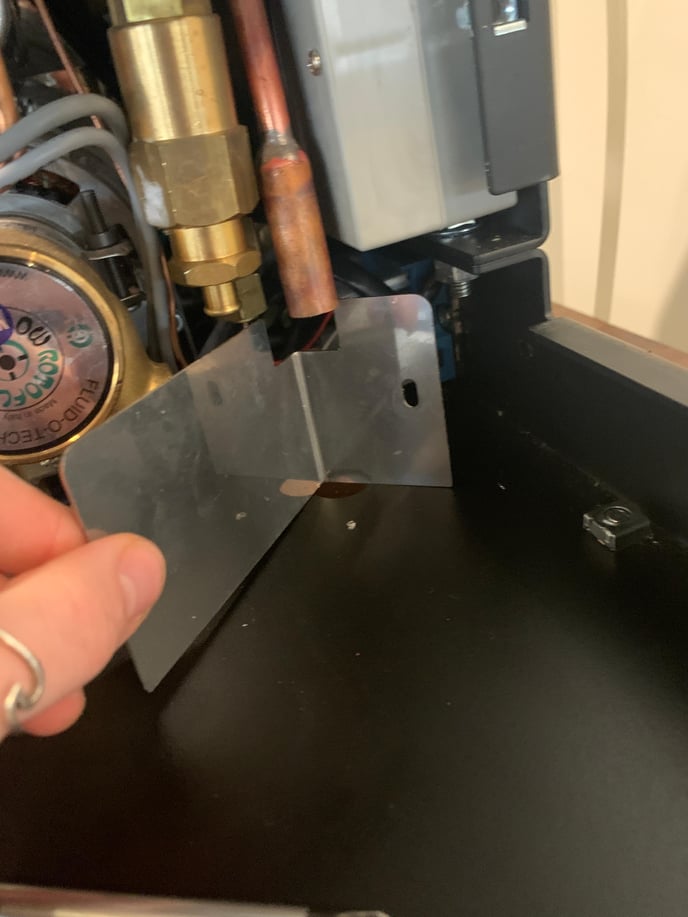
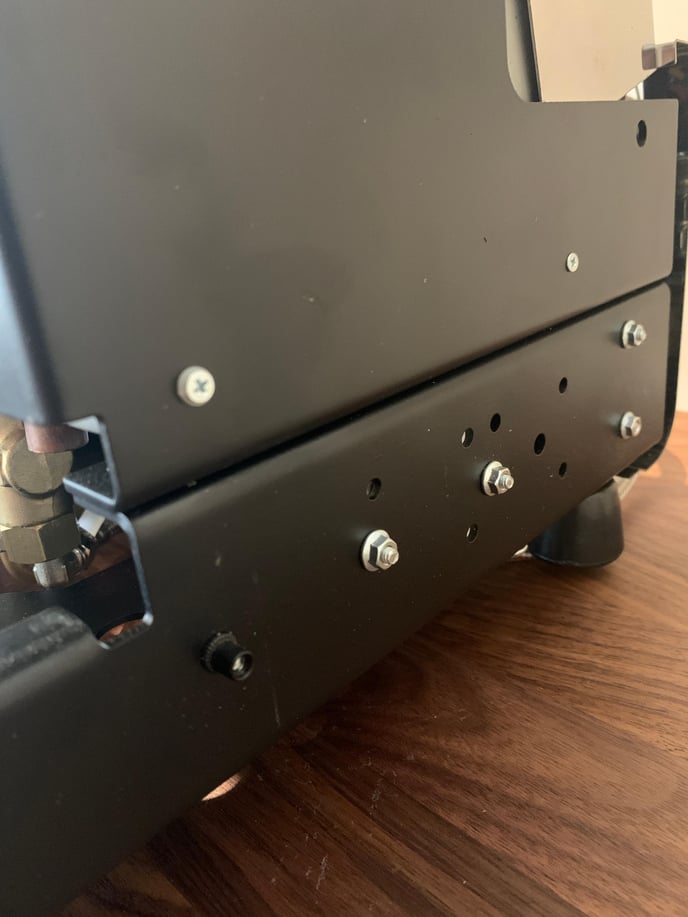
In the right corner, you'll see this little L-bend panel, go ahead and remove this as well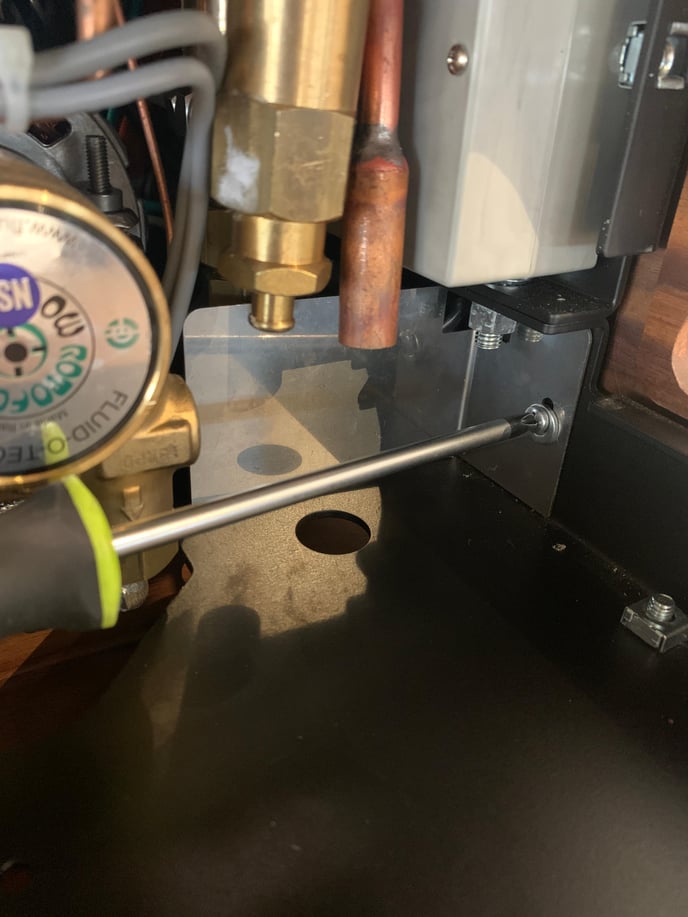
Behind that panel is the SSR. It's fastened by two screws that you can remove by loosening the 7mm bolts found on the outside of the frame. 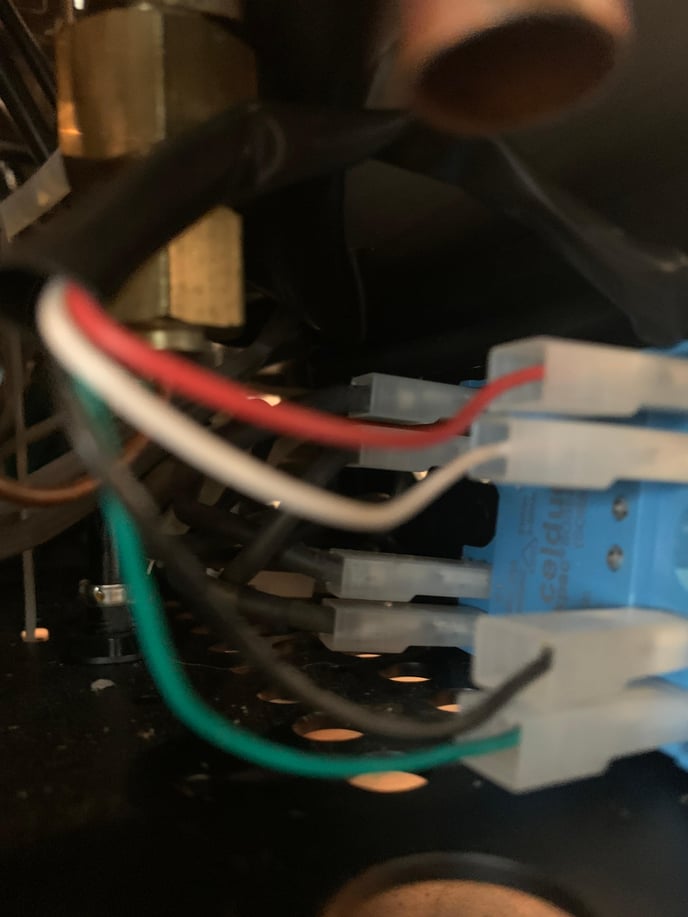
Using the 7mm wrench (or socket), loosen and remove these bolts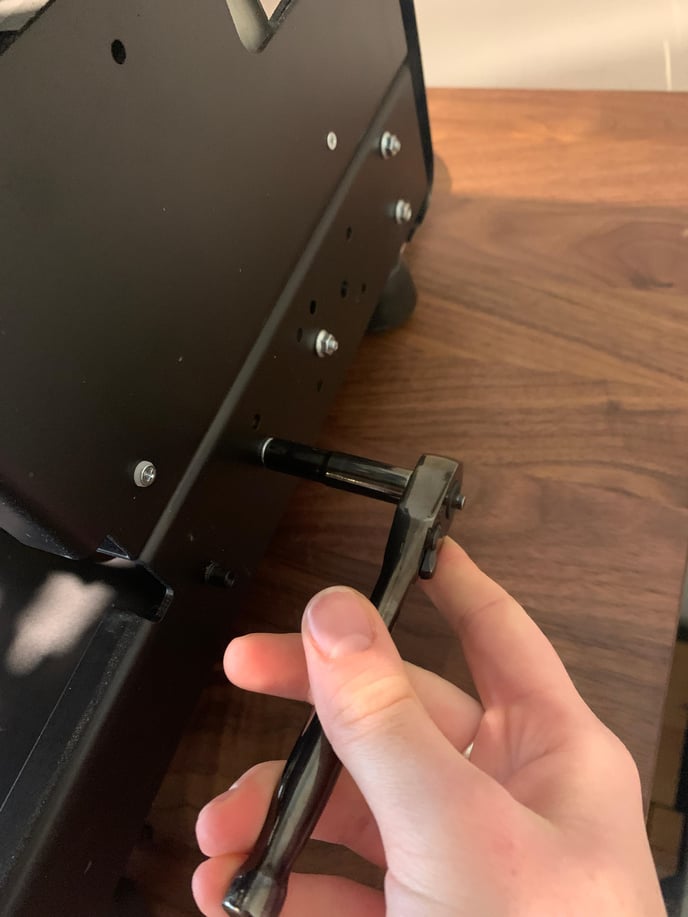
From here you can pull the SSR free, though you may need to remove all wired connections before the SSR comes out entirely (some of those wires are short). Take note of where each connection is plugged in before removing them. Reference photos or markings on the plastic caps are always useful. 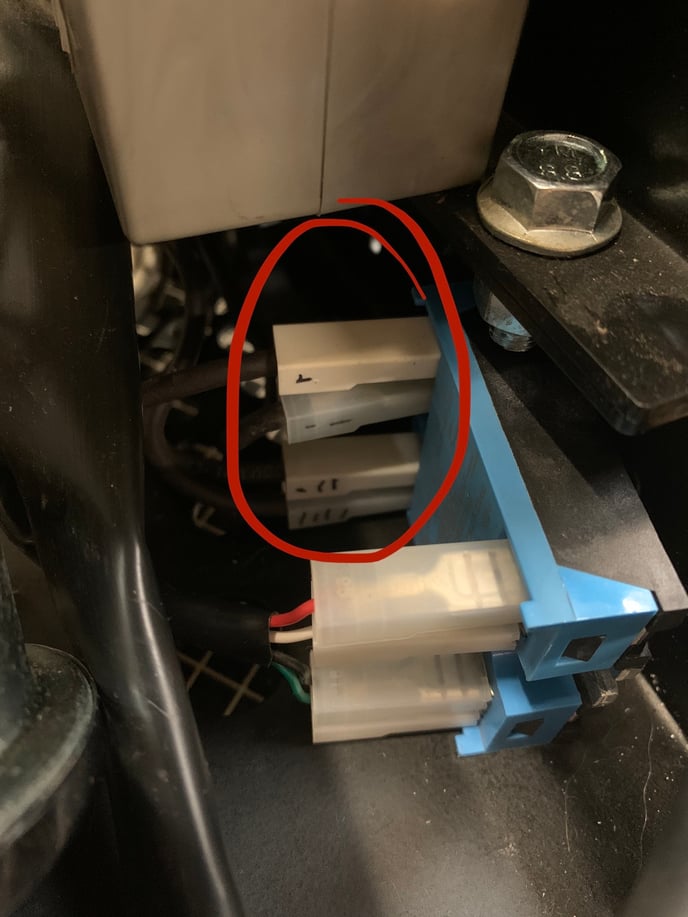
Swap the connections over to the new SSR before placing the new one into the machine. The space is tight, so we recommend placing the screw into the innermost hole of the SSR and holding it in place with your finger between the connections like so -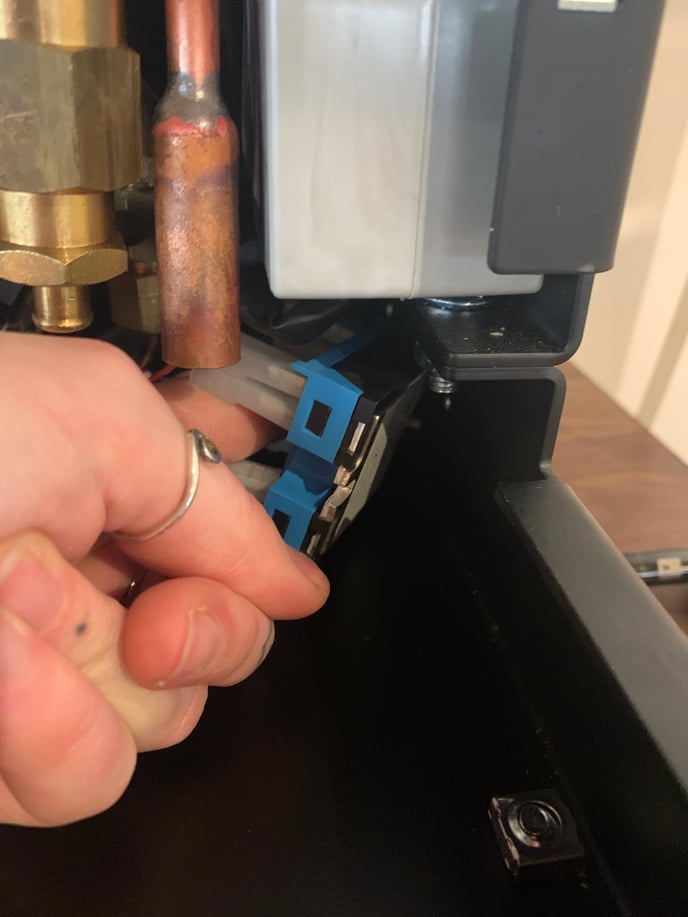
before pushing the screw through the hole in the frame to secure it into the bolt on the other side. Now you can replace the front screw to fully secure the SSR, and reassemble the machine by following the rest of these instructions in reverse order. If you have any questions, you can contact us at support@clivecoffee.com.