Tools Needed:
- 2.5mm Allen wrench or hex driver
NOTE: The machine should be unplugged and cool to the touch before you begin.
1. Start by removing the drip tray, cup tray and reservoir.
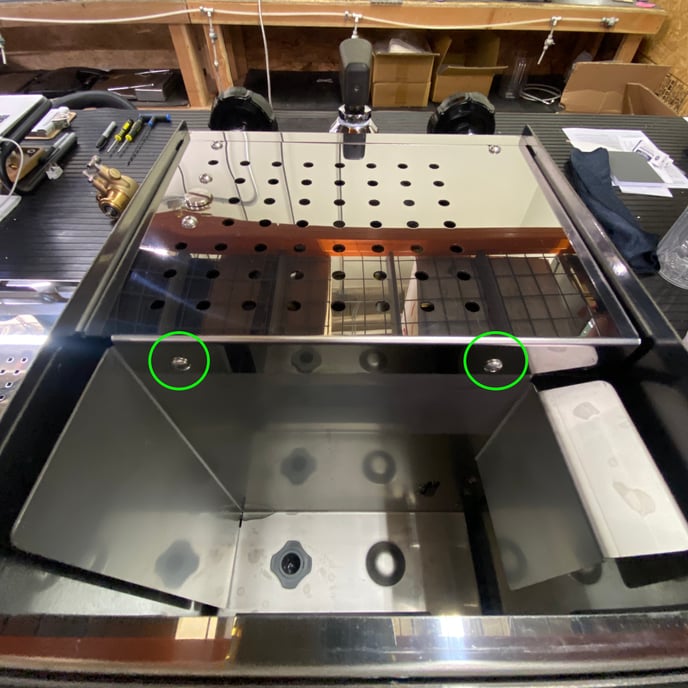
2. Remove the six Allen head screws from the top panel as indicated. Remove the top panel and set it aside.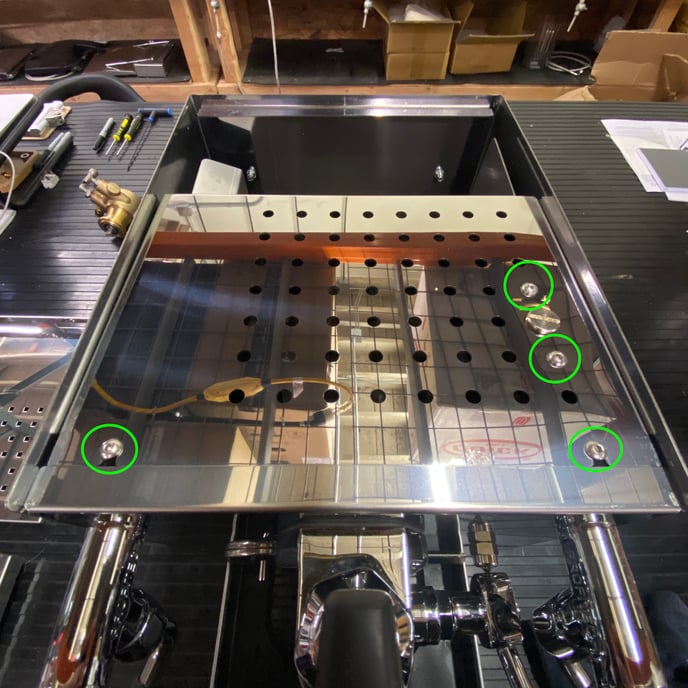
—Stop here if all you need to do is access the top of the boiler.—
3. Remove the top and bottom screws from each side of the wrap around side panel.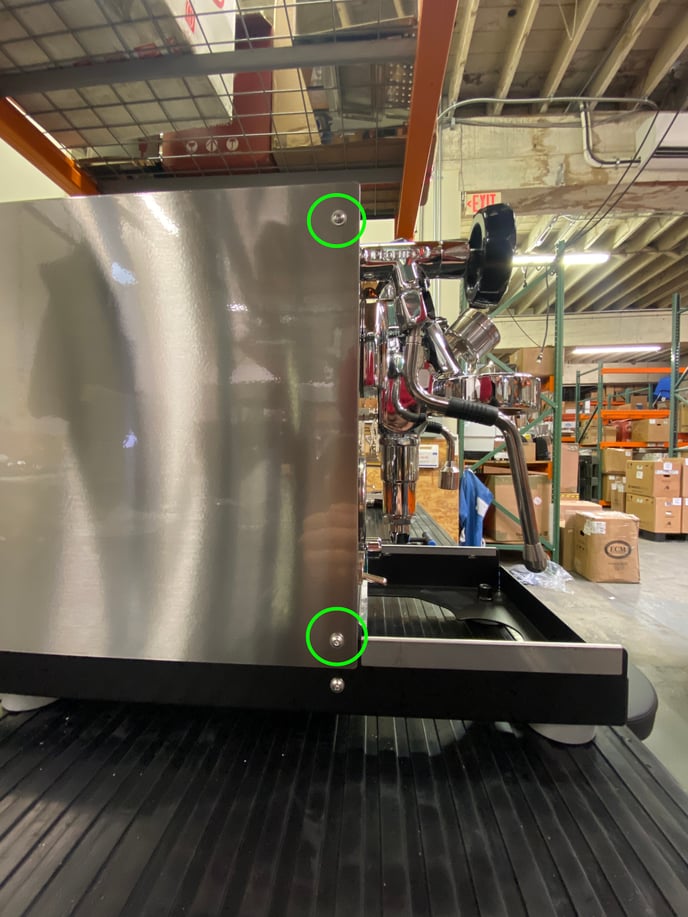

4. Tilt the wrap around side panel back, then pull it up and away from the machine.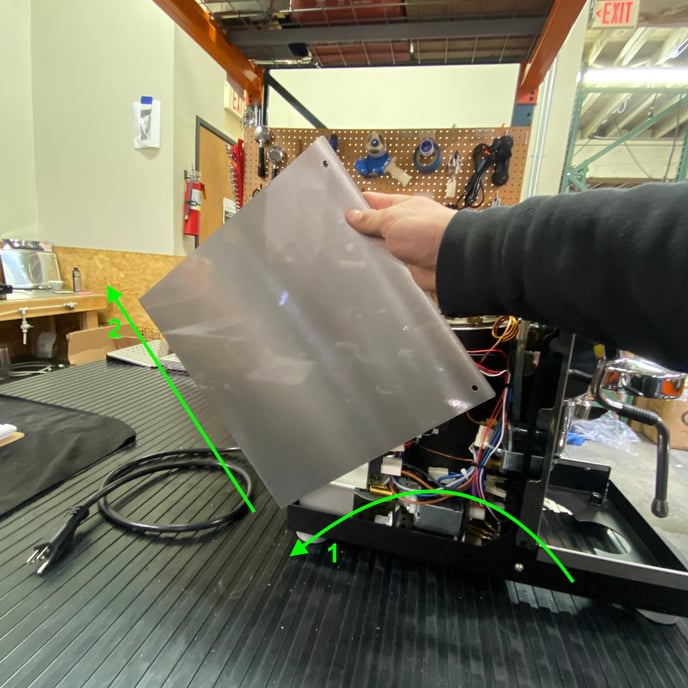
5. Follow these directions in reverse to reassemble the panels.
-
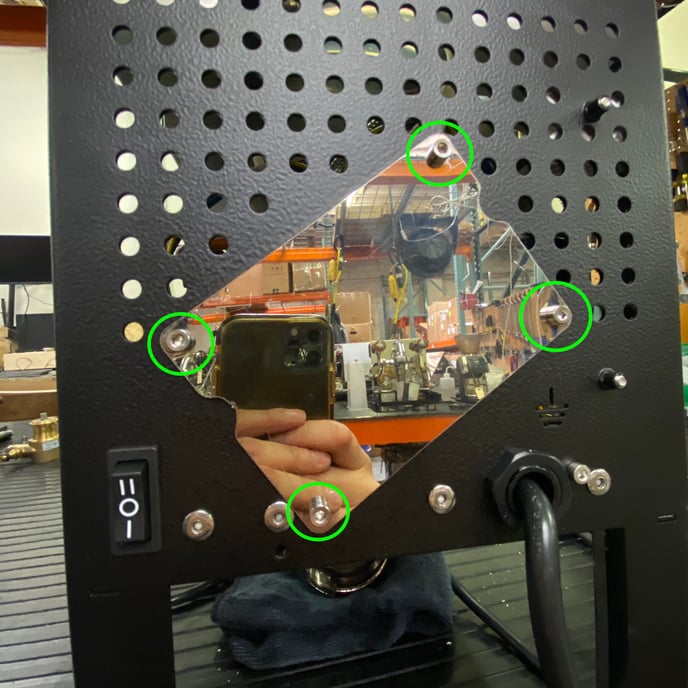
NOTE: If you need to access the components on the bottom of the machine, proceed with the following procedure for removing the access panel. You can do this with or without removing the rest of the panels.
Tools Needed:
- 3mm Allen wrench or hex driver
- Towel
1. Start by draining the machine's boiler.
2. Tilt the machine onto its front, so that it rests on the lower part of the frame and the E61 group head. Place a folded towel under the group head to prevent accidental damage.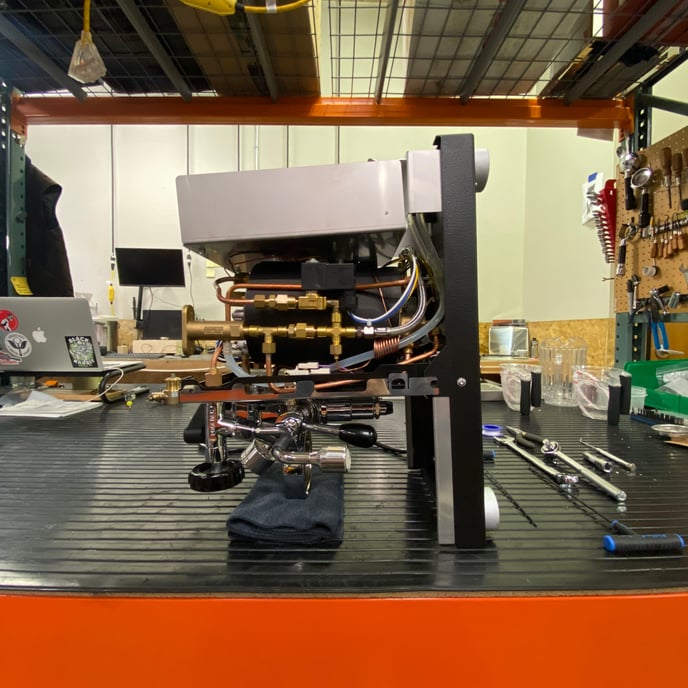
3. Remove the four 3mm Allen head screws holding the access panel in place. You can now work on the machine in this orientation.