Tools Needed:
- 3mm Allen wrench or hex driver
- Shop towel
- Optional: Something to elevate the grouphead (i.e. a piece of a 2x4)
NOTE: The machine should be unplugged and cool to the touch before you begin.
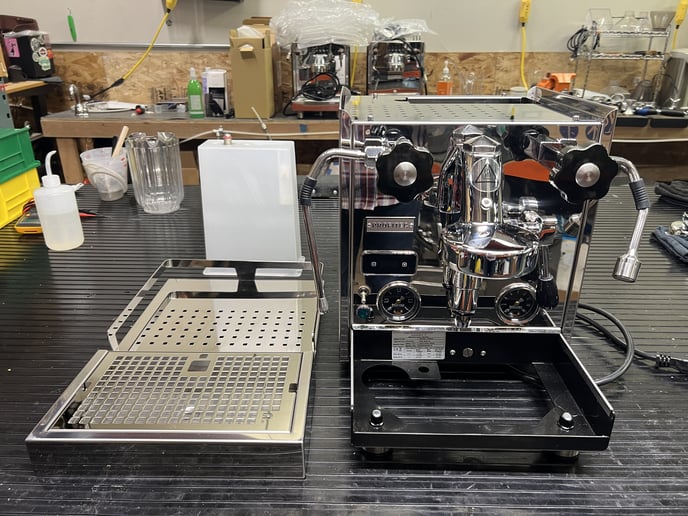
1. Start by removing the drip tray, cup tray, and reservoir.
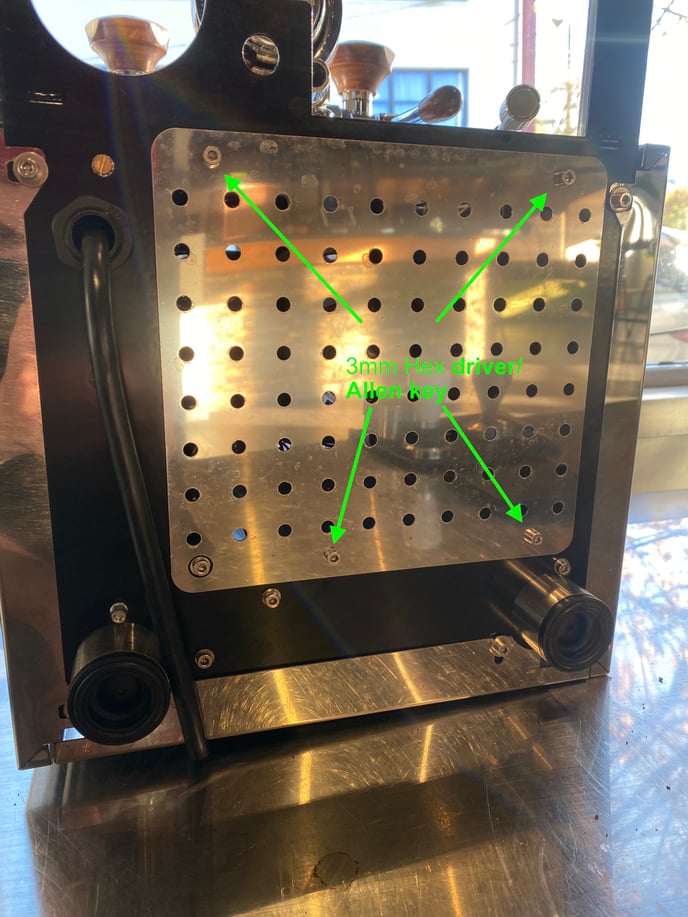
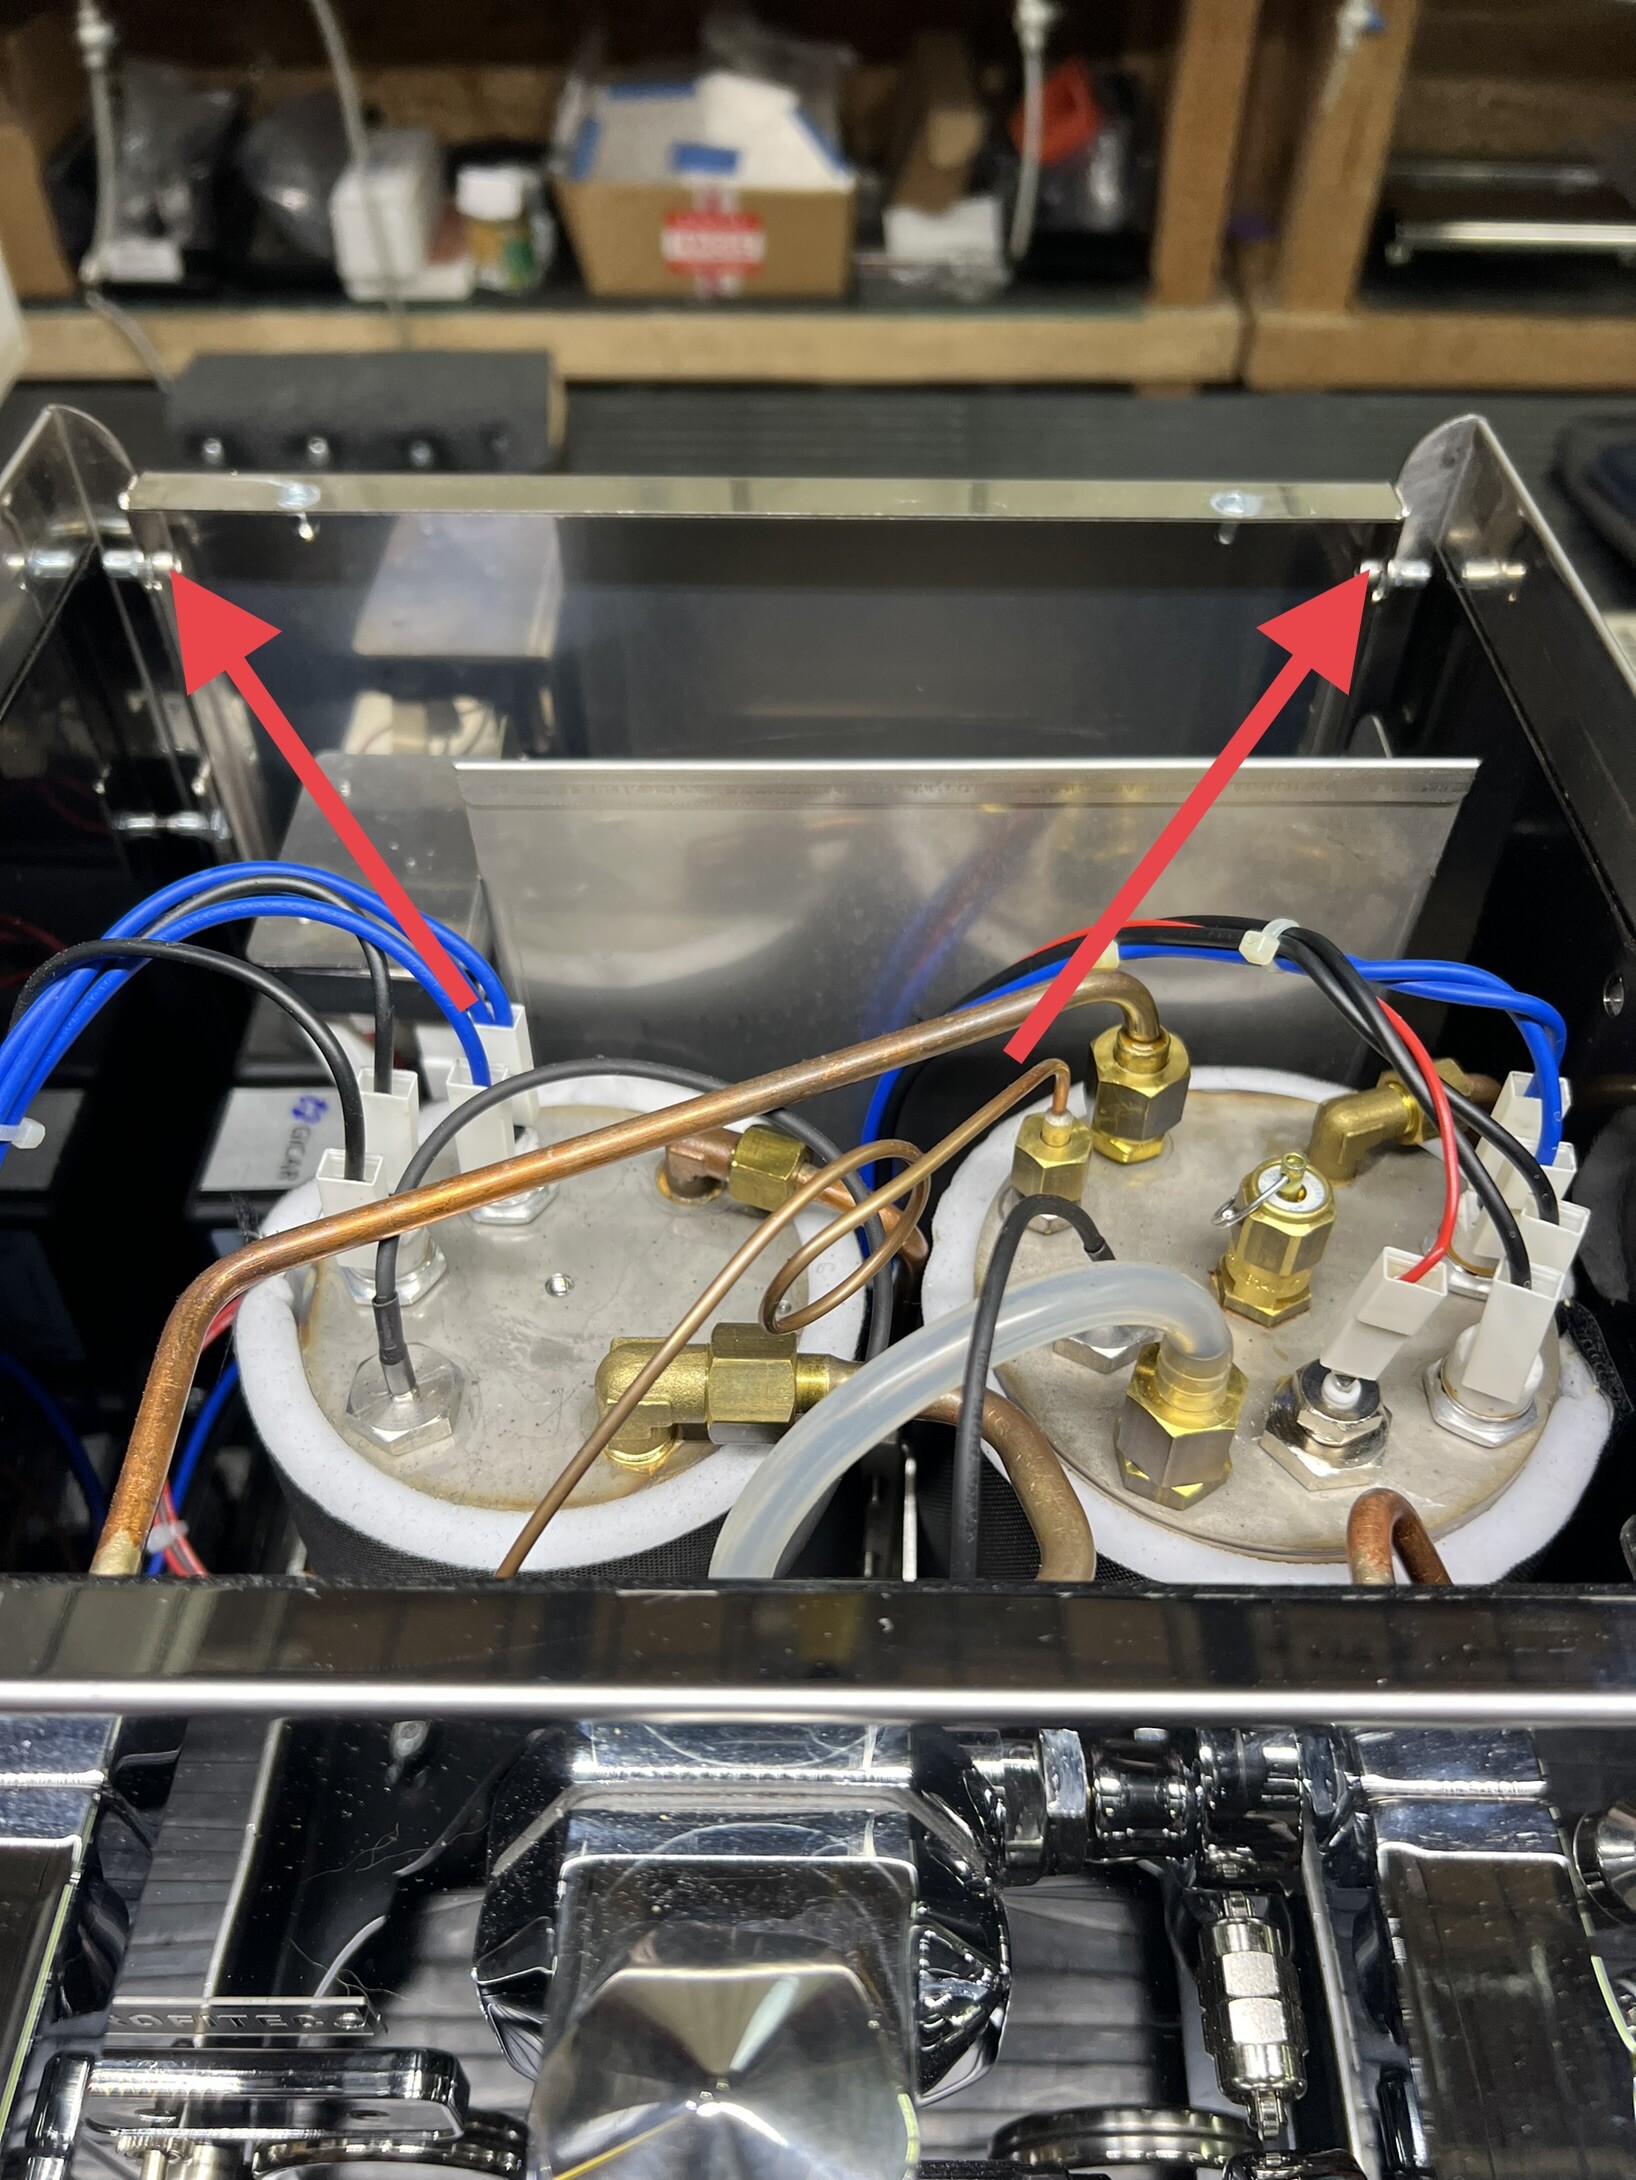
2. Using a 3mm Allen key, remove the 4 Allen screws as indicated. Remove the top panel and set it aside.
—Stop here if all you need to do is access the top of the boiler.—
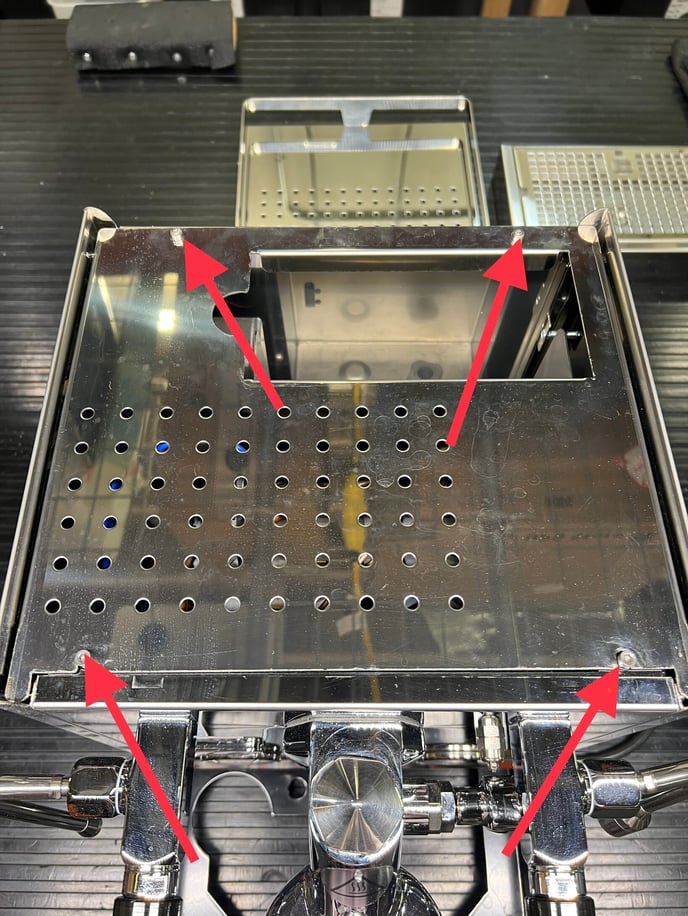
3. Loosen (do not remove) the 4 Allen screws indicated that attach the side and rear panels
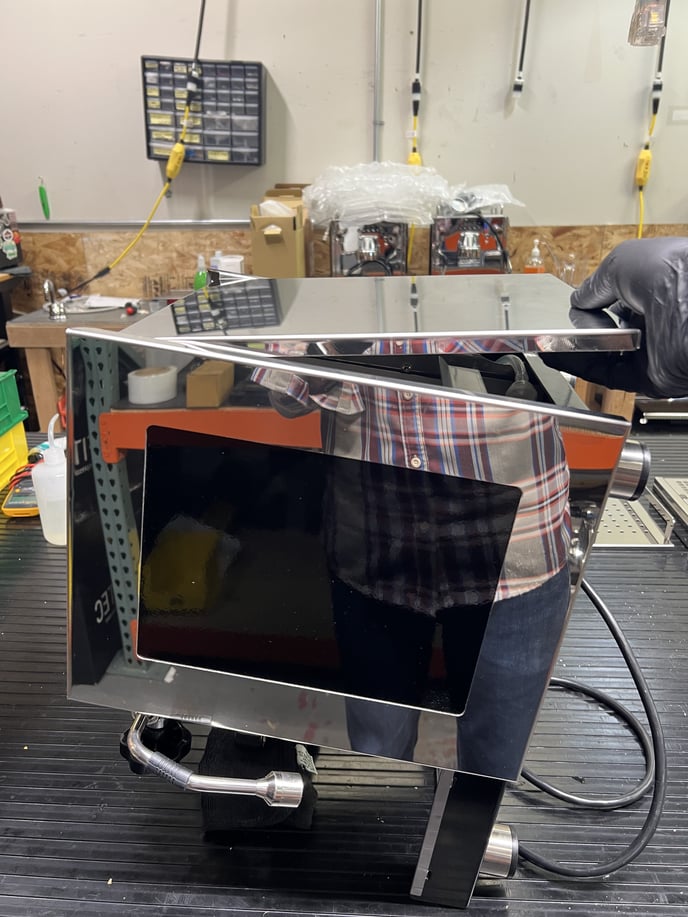
4.Place a towel on the counter or object used to raise the grouphead. Tilt the machine forward so the machine is resting on the grouphead.
5. Loosen the 6 Allen screws indicated that attach the panels to each other and to the frame.

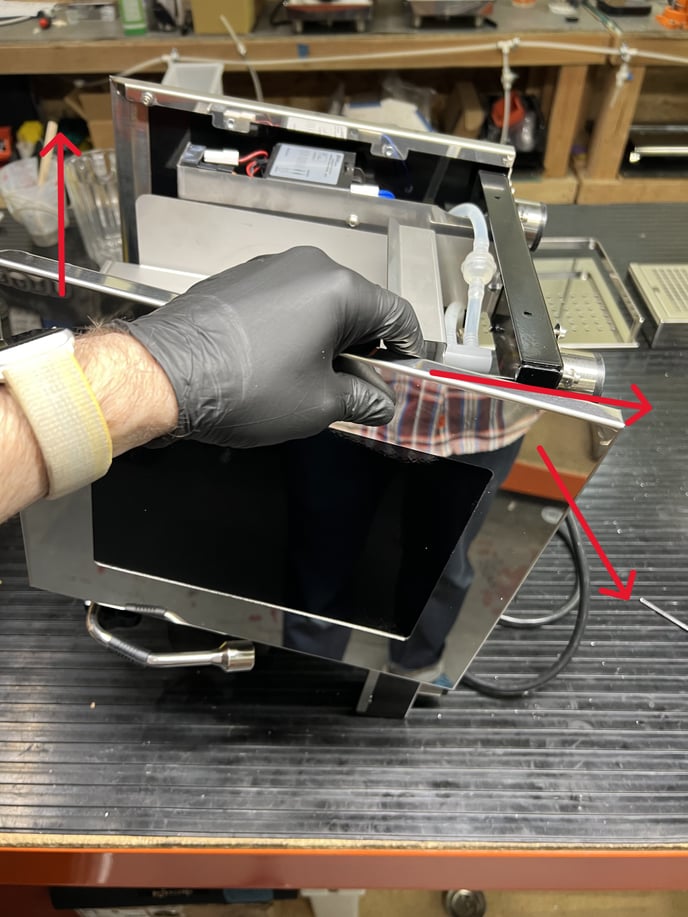
6. Lift the rear panel up and away from the side panels.
7. Remove both side panels by sliding them towards the bottom of the machine and moving the bottom of the panel away from the frame. Then lift the panel out of the notch at the top of the frame.
—Your panels have been removed and you may tip your machine upright if needed for testing.—
8. Follow the instructions in reverse to re-install the panels.
NOTE: The Allen screws with washers on the side panels are to be positioned to insert into the notch on the front of the frame with the washer located on the inside of the frame.
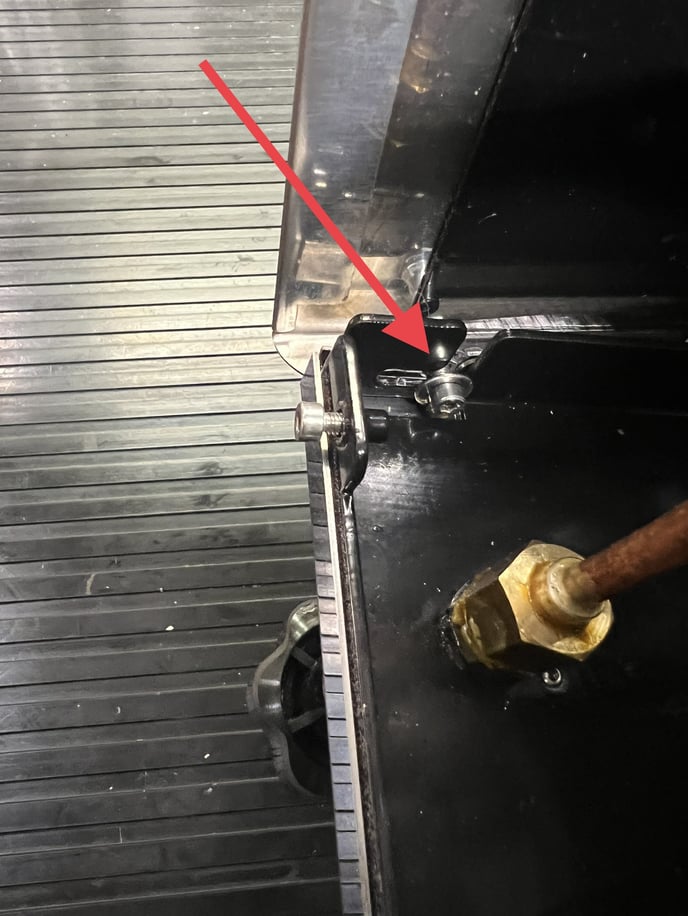
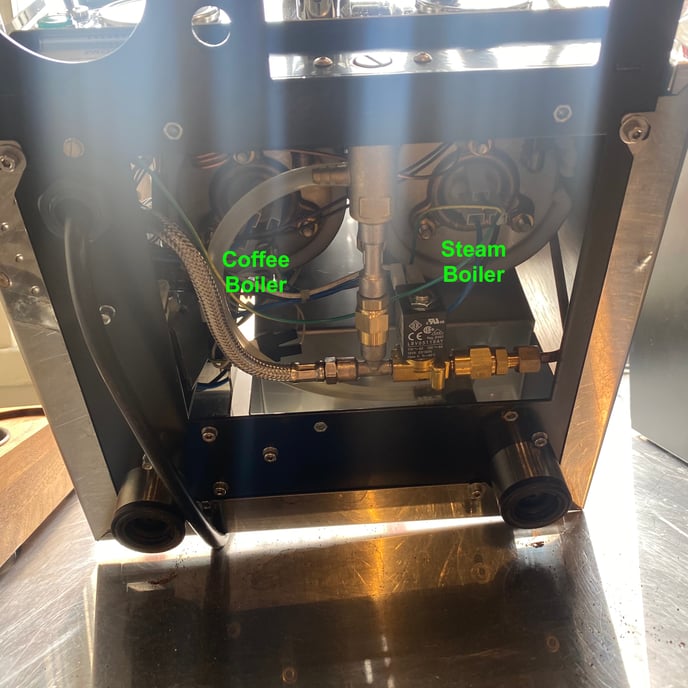
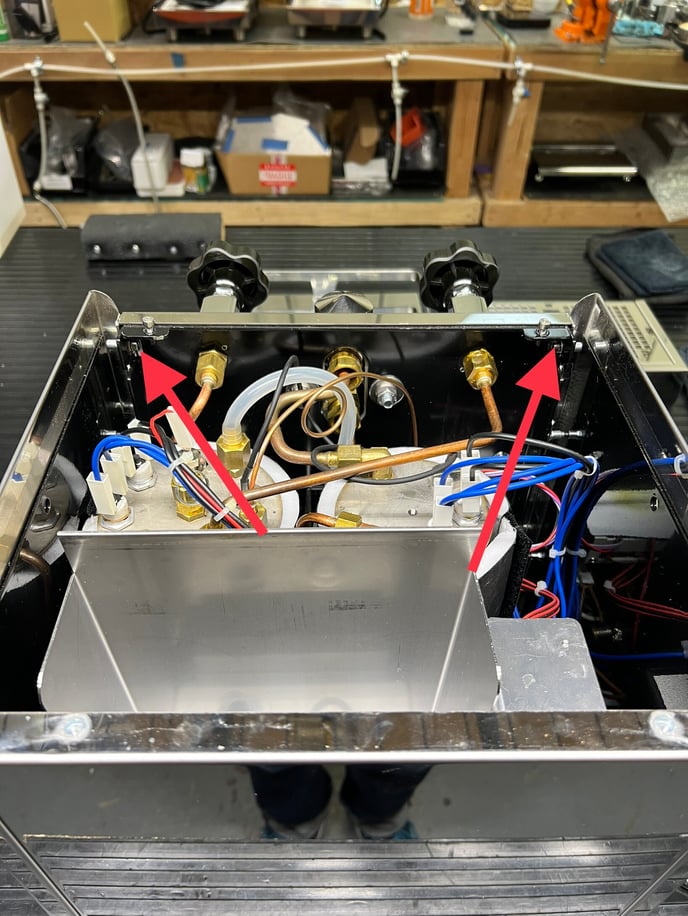
To access the underside of the boilers and the heating elements as shown in Step 5, simply remove the access panel: