Tools Needed:
- Impact Driver
- 1 7/16" Socket AND/OR 38mm Socket
- Phillips Screwdriver
- 7mm Crescent Wrench/Adjustable Wrench
- New 1400W Element
- New Steam Boiler Heating Element Gasket
NOTE: Older heating elements were manufactured with 1 7/16" bases, while updated heating elements are being manufactured with 38mm bases. If you have an older M58 (pre-2024) and need to replace the steam boiler heating element with a new element, you may need both socket sizes. When in doubt, measure first.
1. Drain the boiler of the machine.
2. With the bottom panel removed, you will have access to the boilers. If the machine is laying on its right side, the element for the steam boiler will be up higher. It has a third wire coming out of it as well, if you're having trouble distinguishing between the two elements.
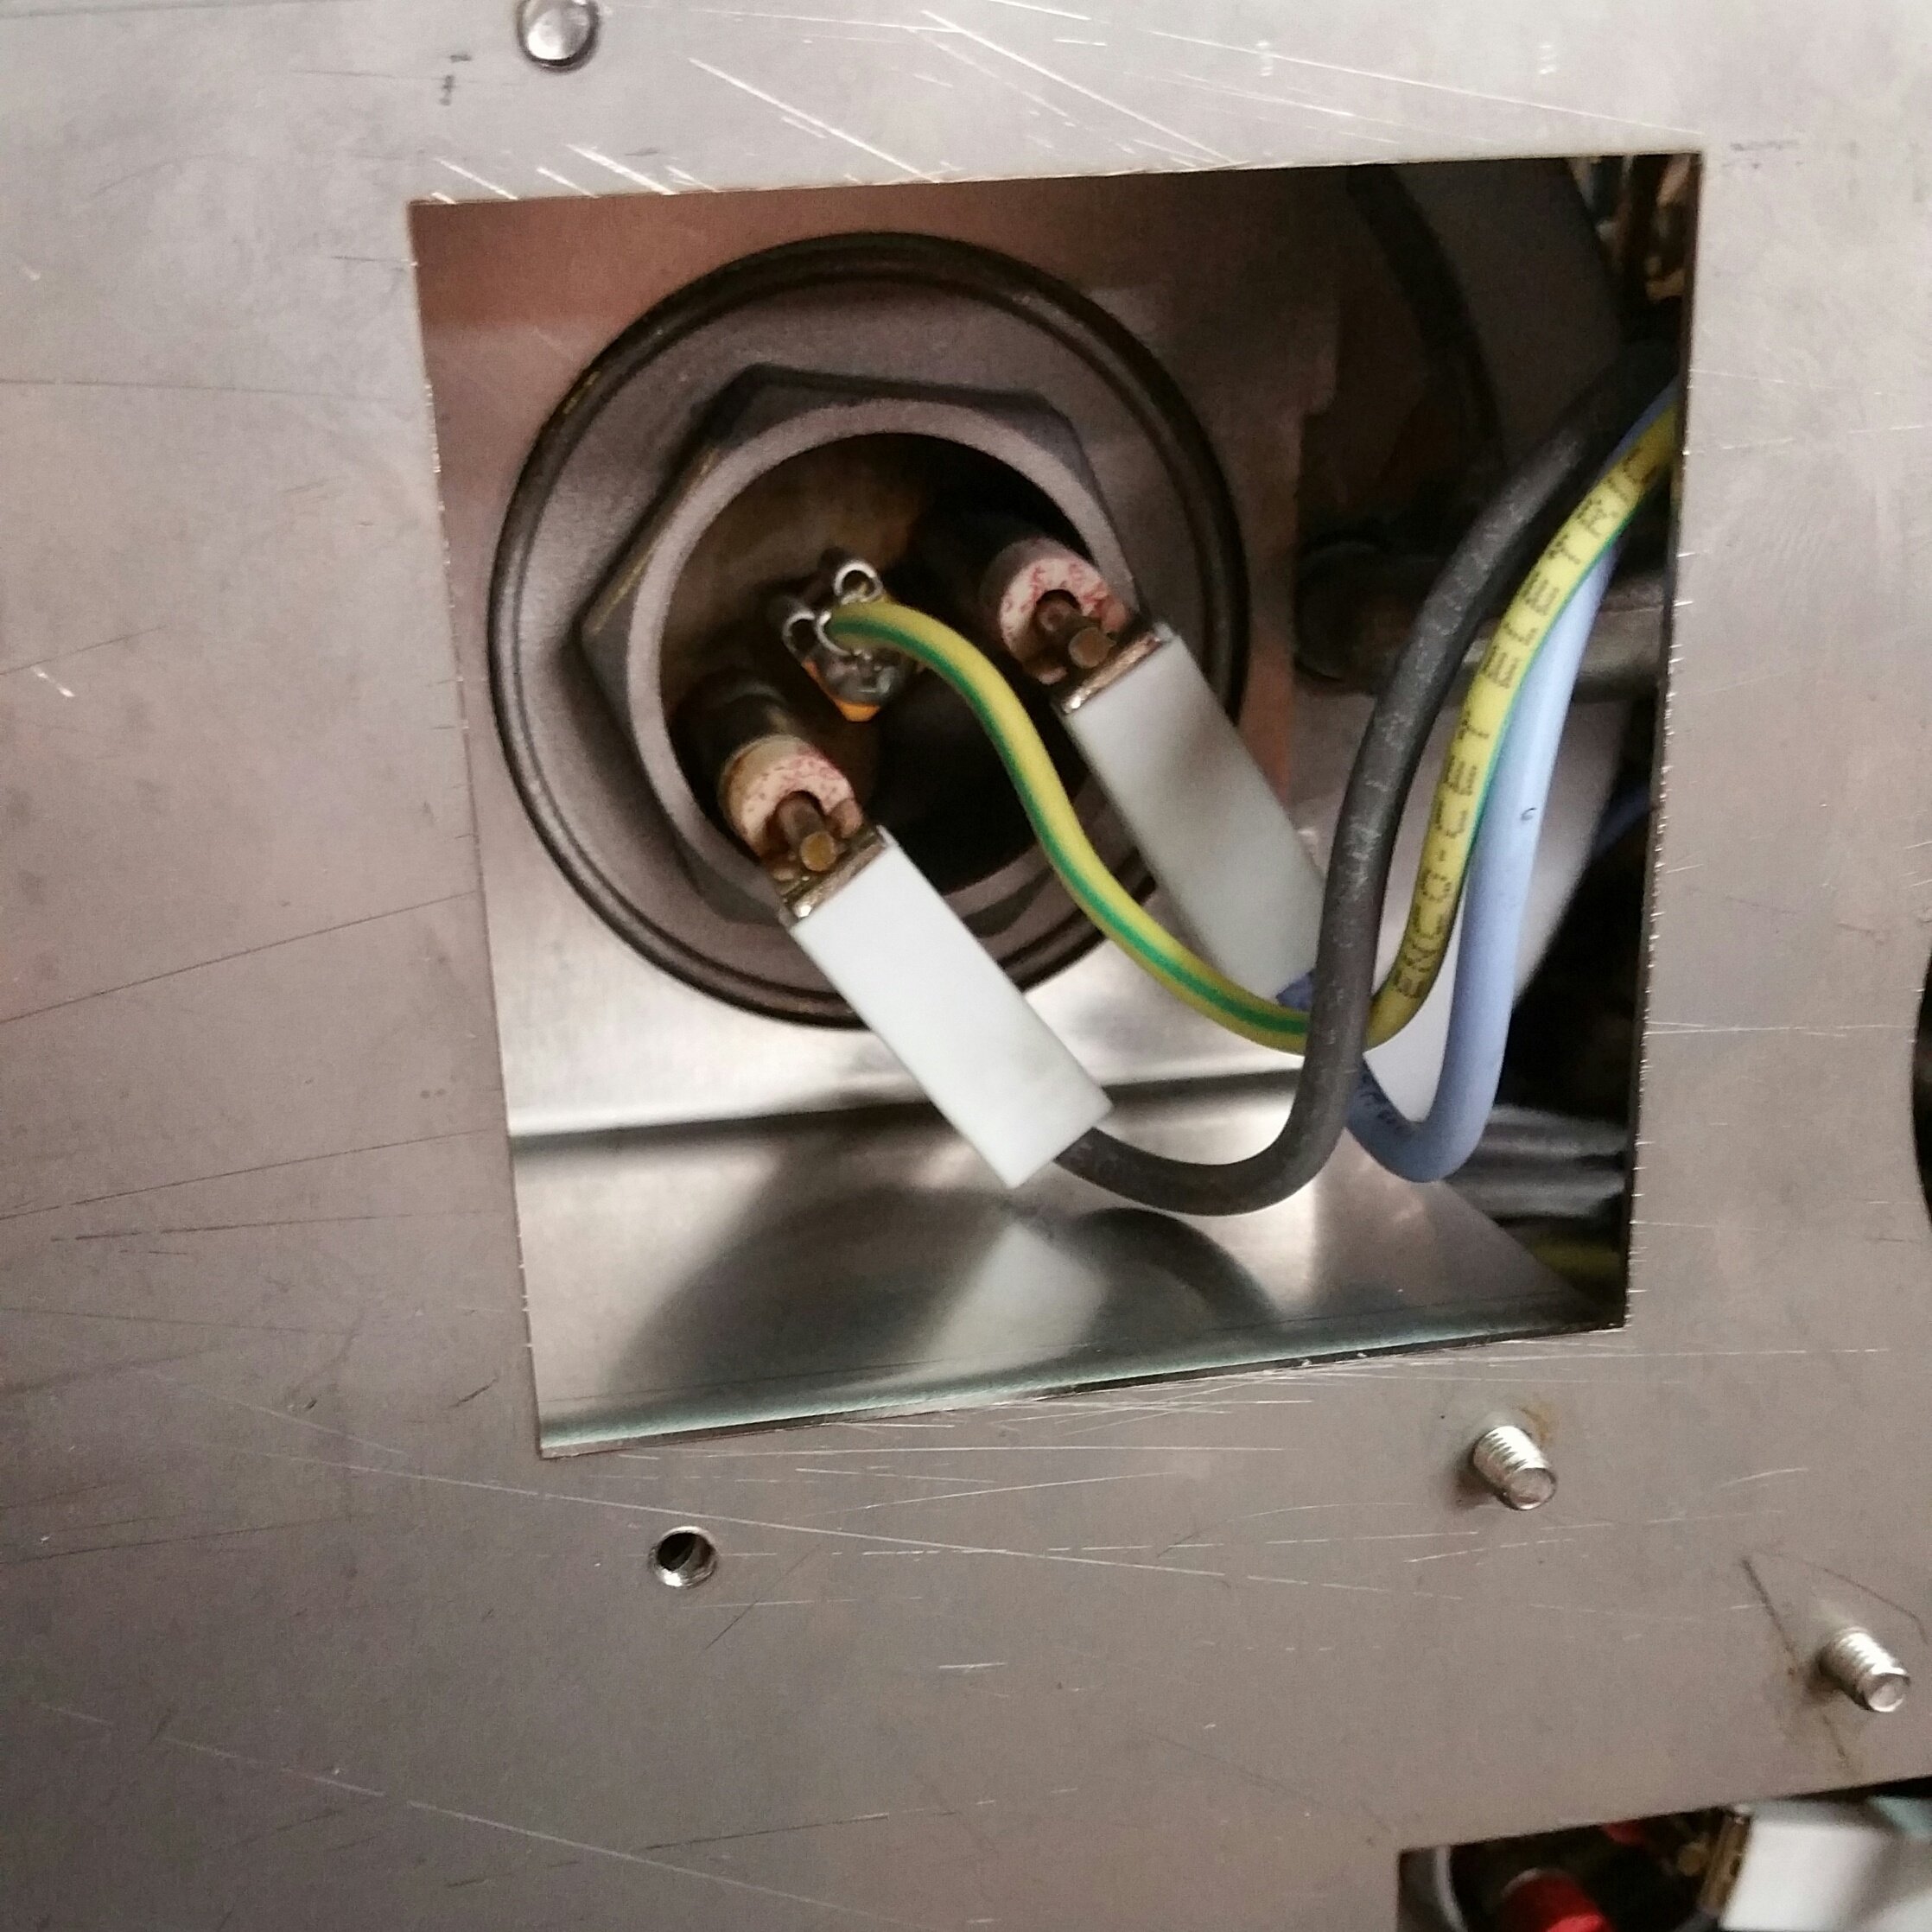
3. Remove the 3 wires from the element and grab your 1 7/16" or 38mm socket with your impact driver, and remove the element.
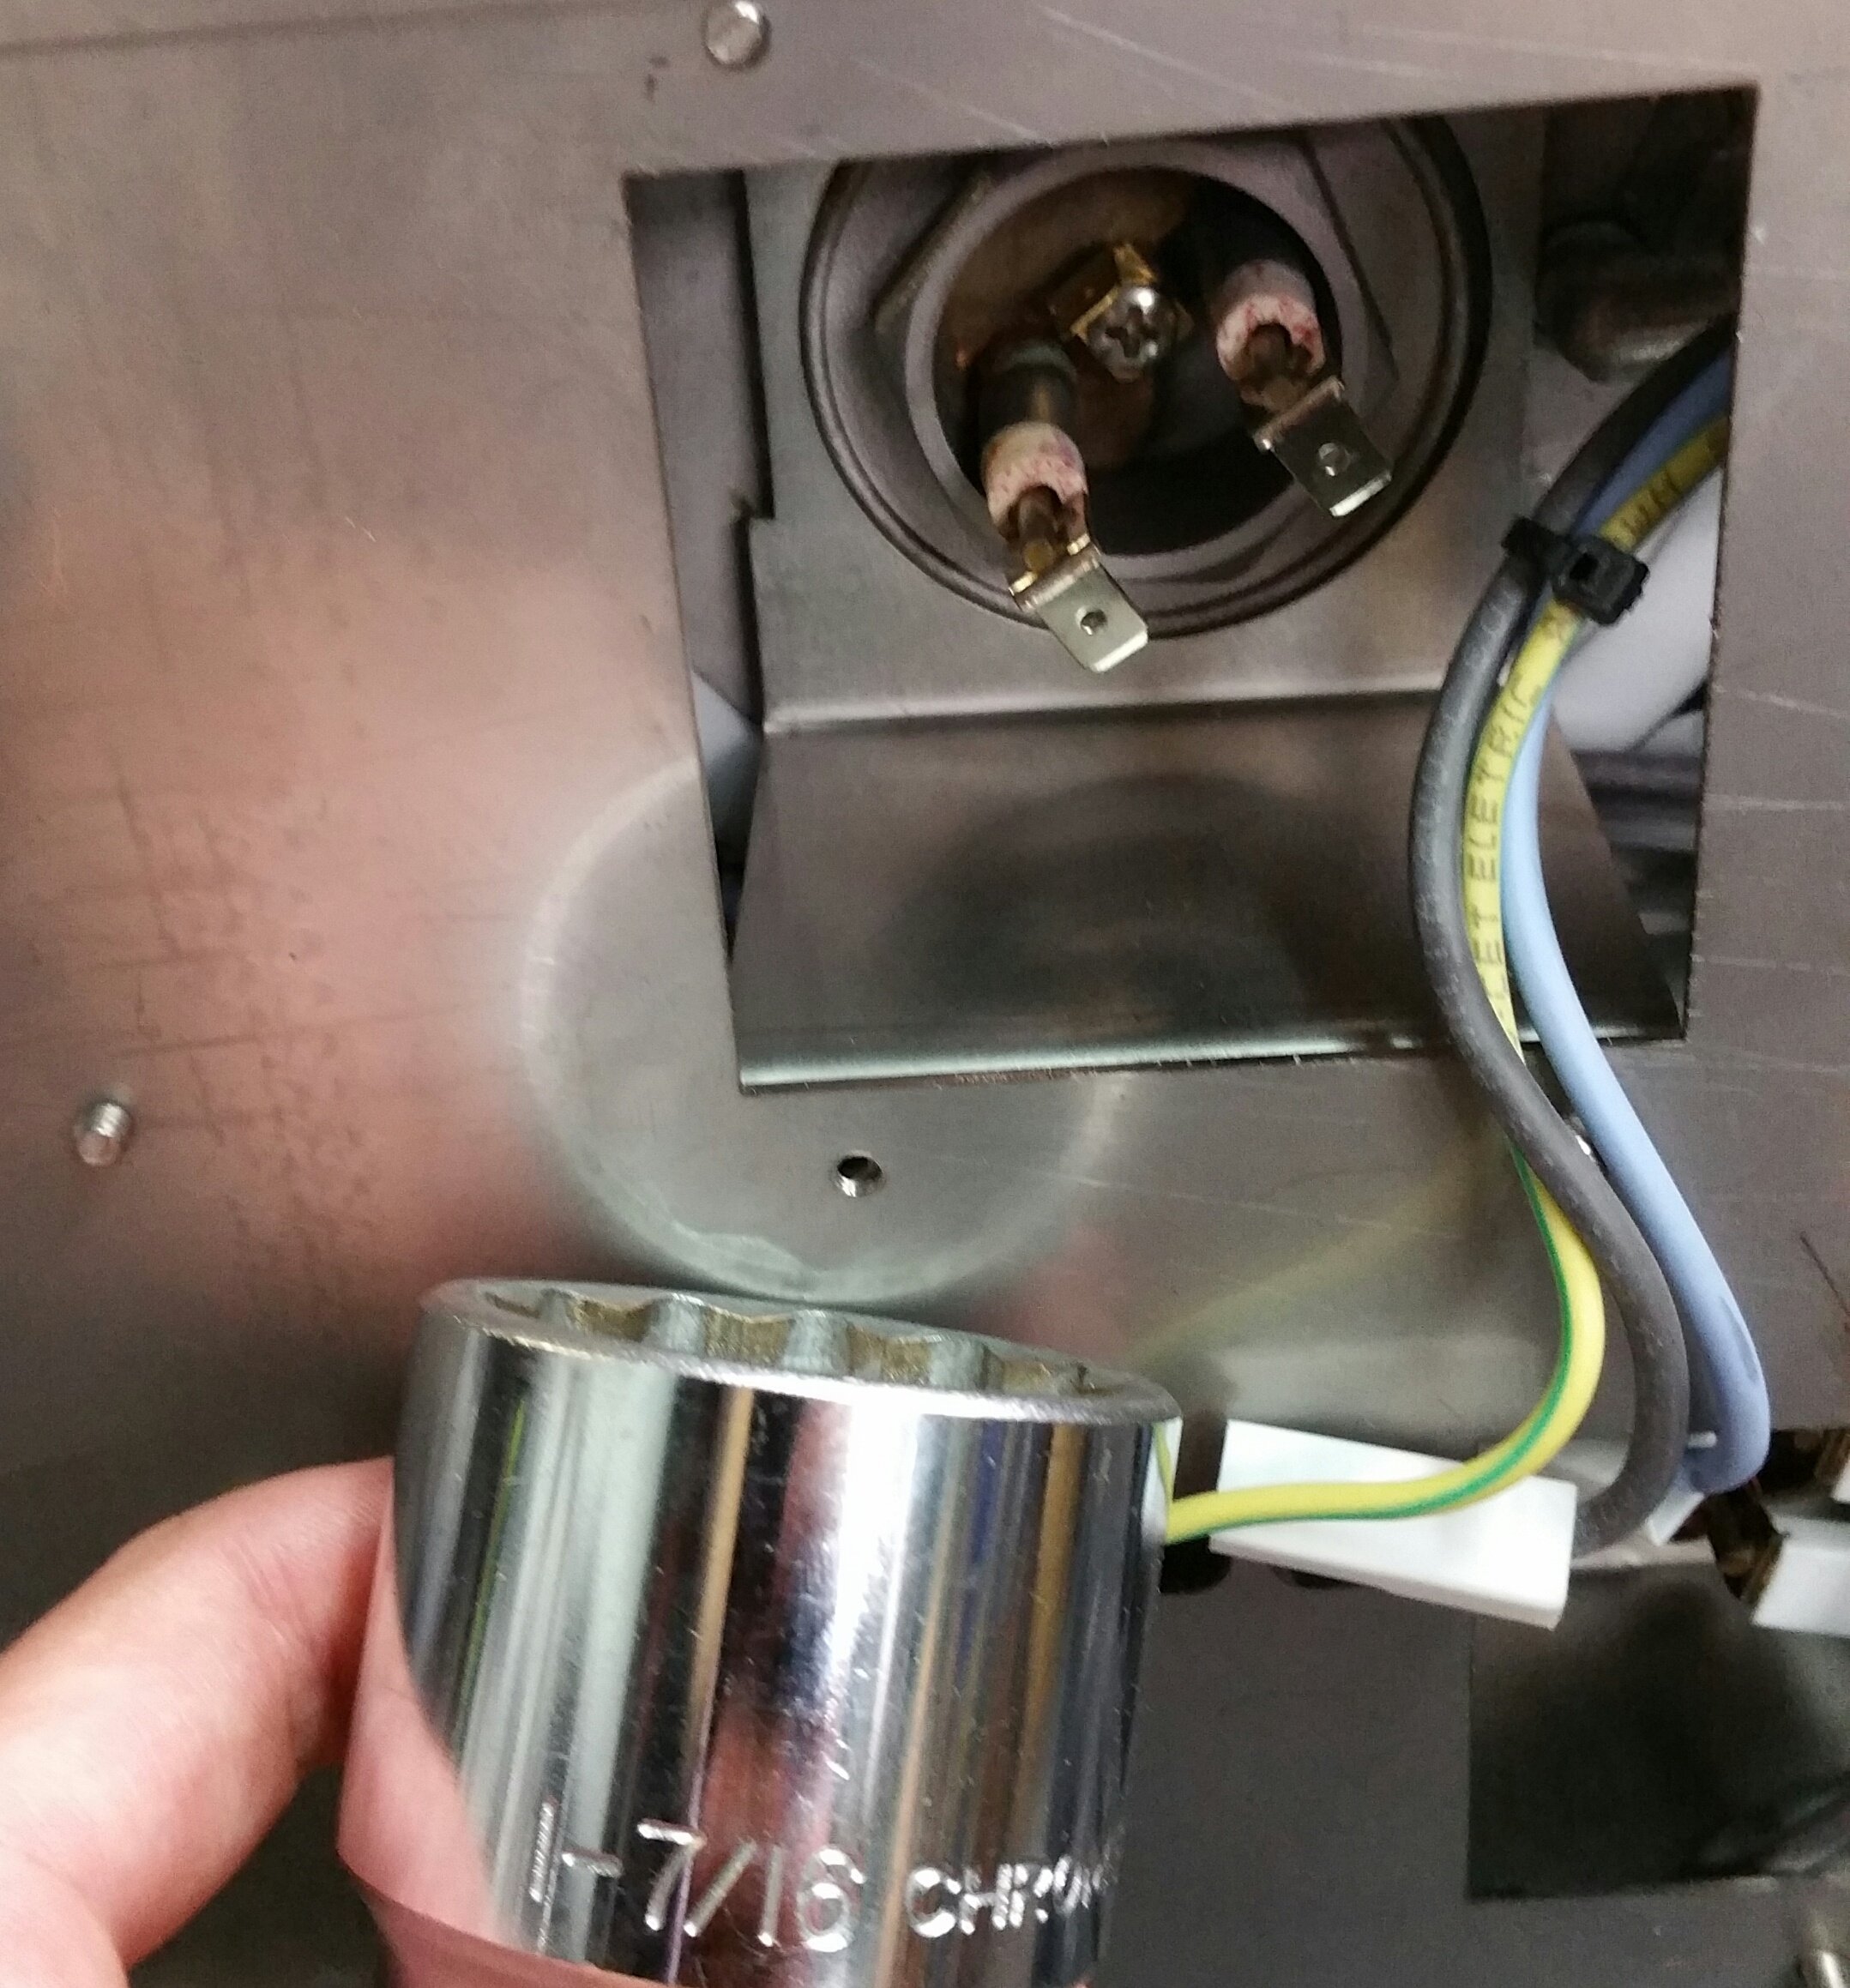
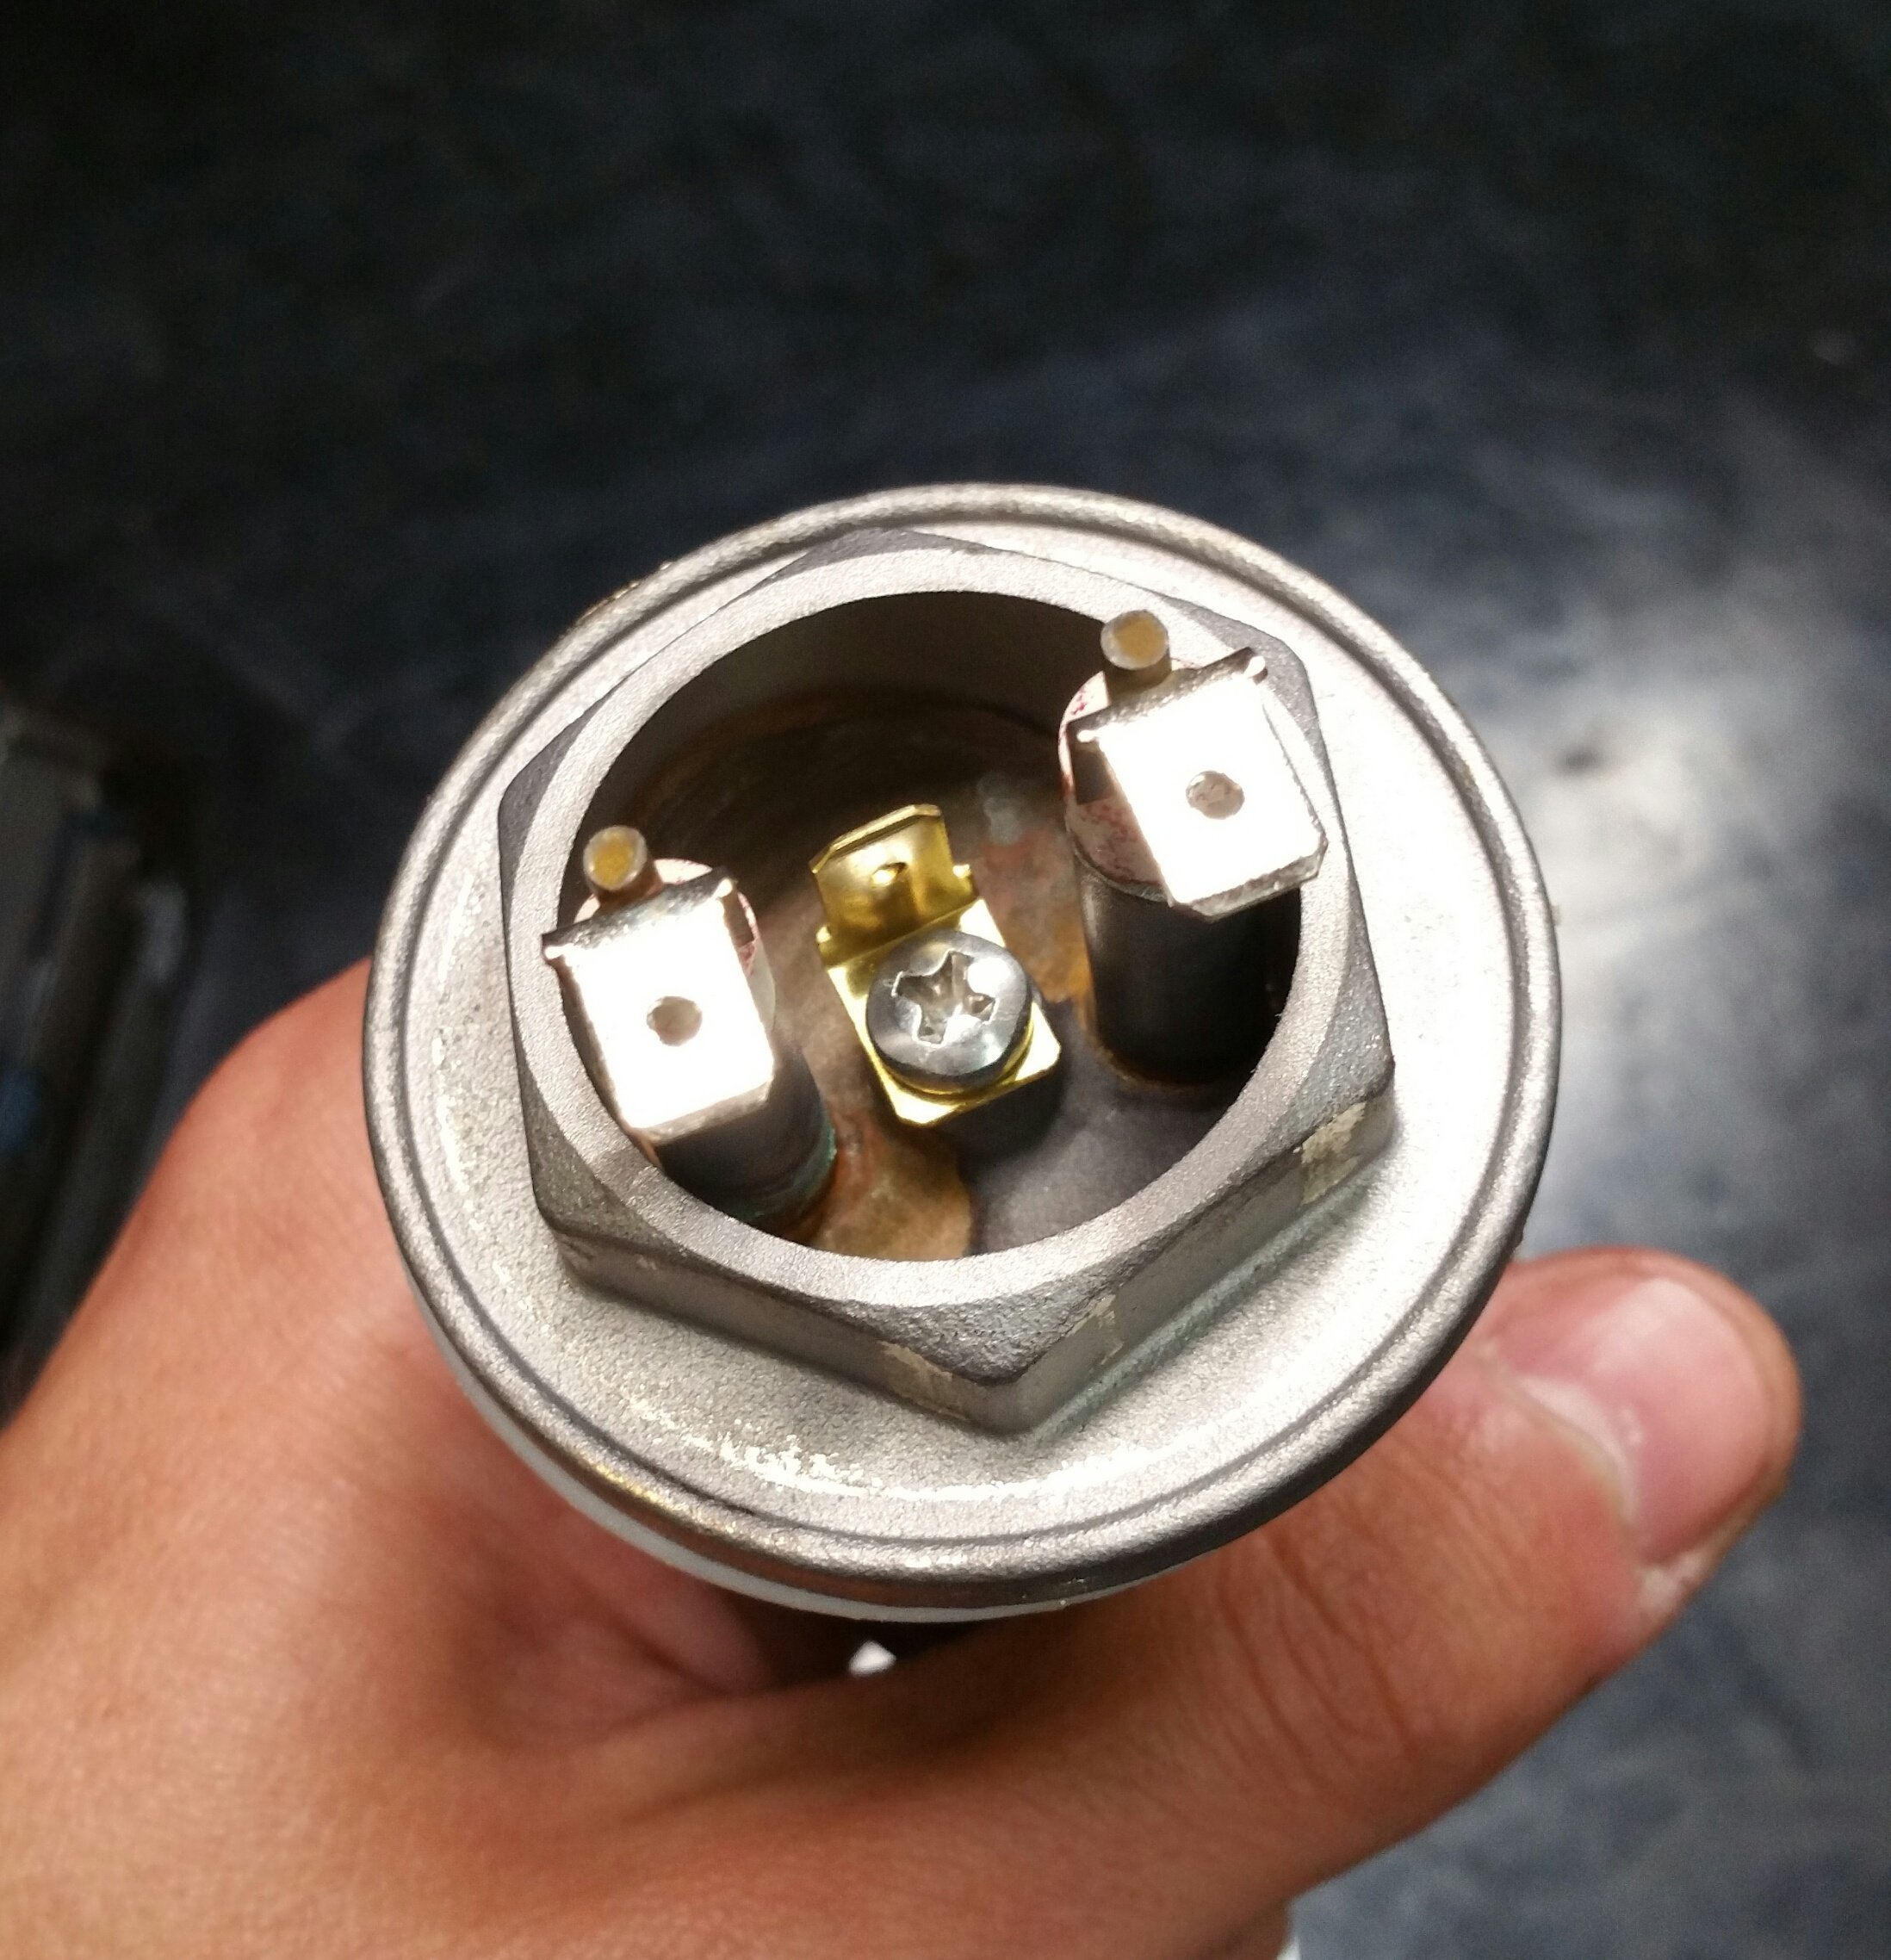
4. Remove and transfer the wire post from the center of the element to the new element.
5. Reinstall the new element in reverse order, making sure the gasket is in place. You'll need to tighten the element with the impact driver to get it tight enough not to leak (~100Nm).
6. Test machine and check for leaks which would indicate needing to tighten the element down a little bit more.