Rocket R Nine One: Service or Replace the In-line Filter
A no- or low-flow condition when your R Nine One is being used in reservoir mode often traces to a clogged in-line filter. Follow these instructions to service or replace the in-line filter in your machine.
Tools Needed:
- 2.5mm Allen key or hex driver
- #1 Phillips screwdriver
- #2 Phillips screwdriver
- 7mm crescent wrench or small adjustable wrench
- Small diagonal cutters or scissors
- Small zip-ties (x2)
- Replacement in-line filter
NOTE: The machine should be unplugged and cool to the touch before beginning.
1. Start by removing the reservoir cover and the reservoir from the machine.
2. Unscrew the two 2.5 Allen head screws from the top panel.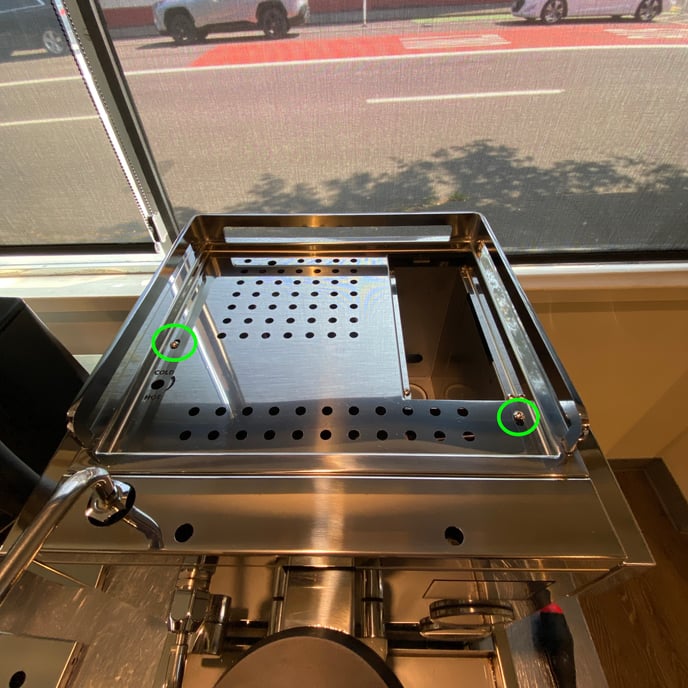
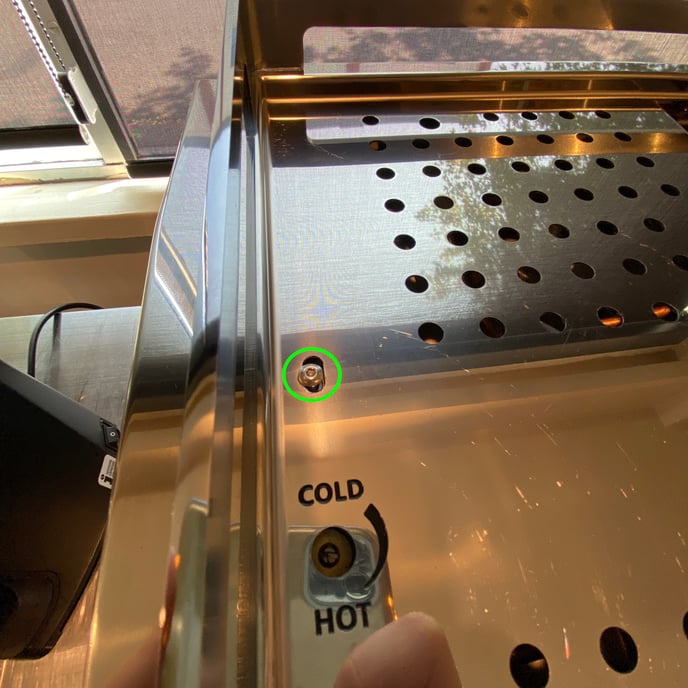
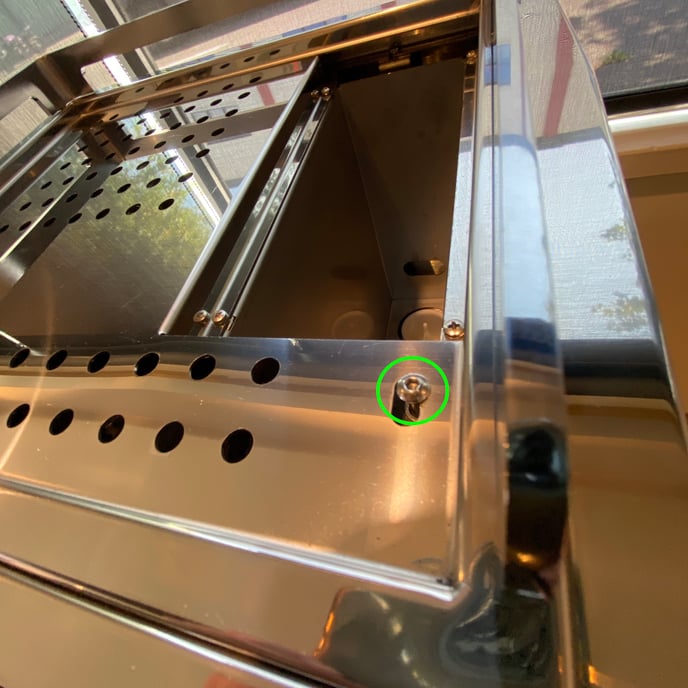
3. Use the #1 Phillips screwdriver to unscrew the four (4) small Phillips-head screws from around the reservoir window. You can now lift off the top panel and set it aside.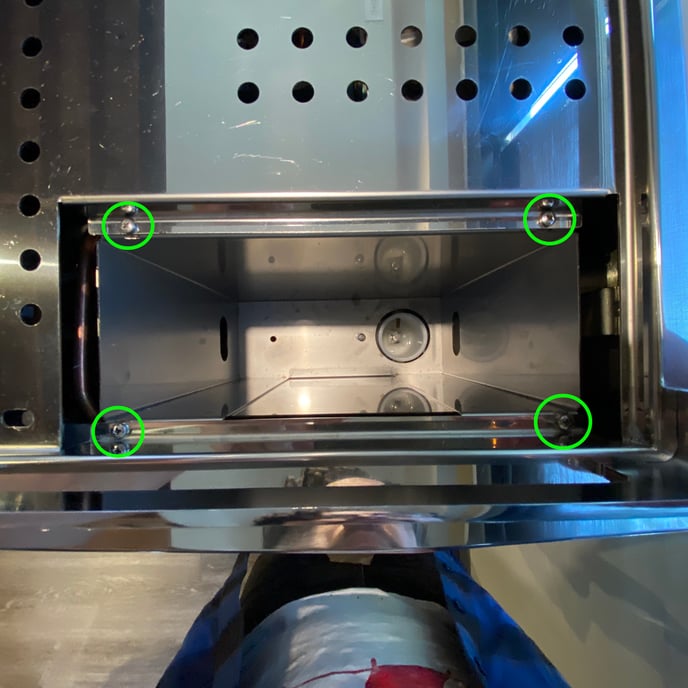
4. Tilt the right side of the machine up to expose the two (2) hex-head screws that secure the bottom of the side panel to the machine. Use the 7mm wrench to loosen those screws by 3-5 turns (removing them completely is not necessary).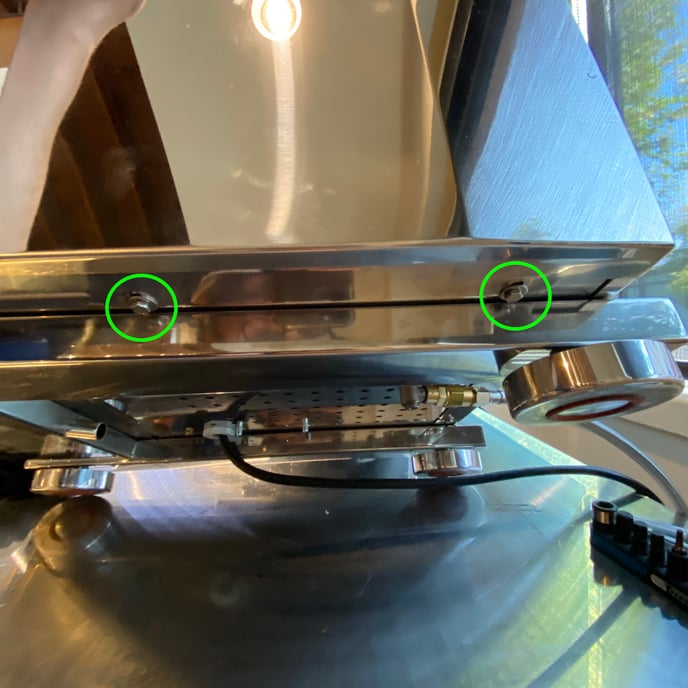
5. Use the #2 Phillips screwdriver to loosen the two (2) Phillips-head screws that secure the top of the side panel to the machine (removing them completely is not necessary). You can now lift the side panel away from the machine and set it aside.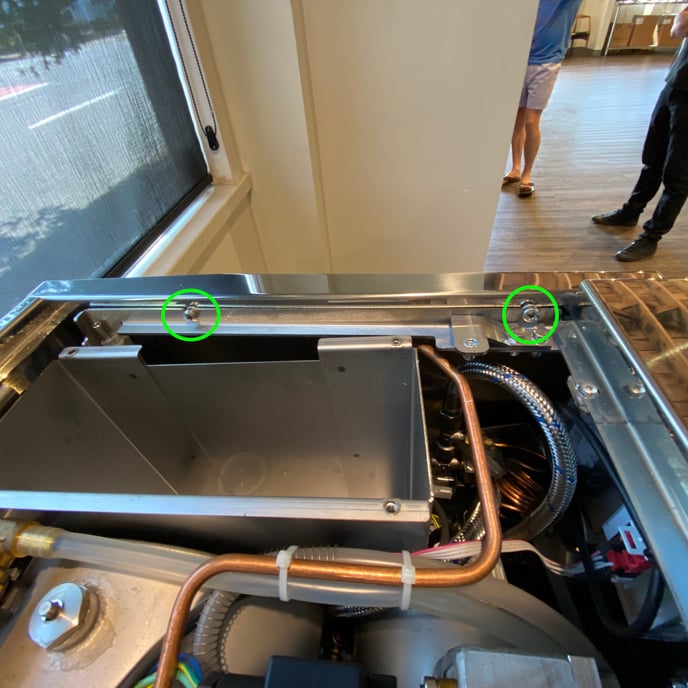
6. Look into the side of the machine and identify the in-line filter between the reservoir inlet and the machine's pump. It's not always possible to tell from visual inspection alone if the filter is clogged.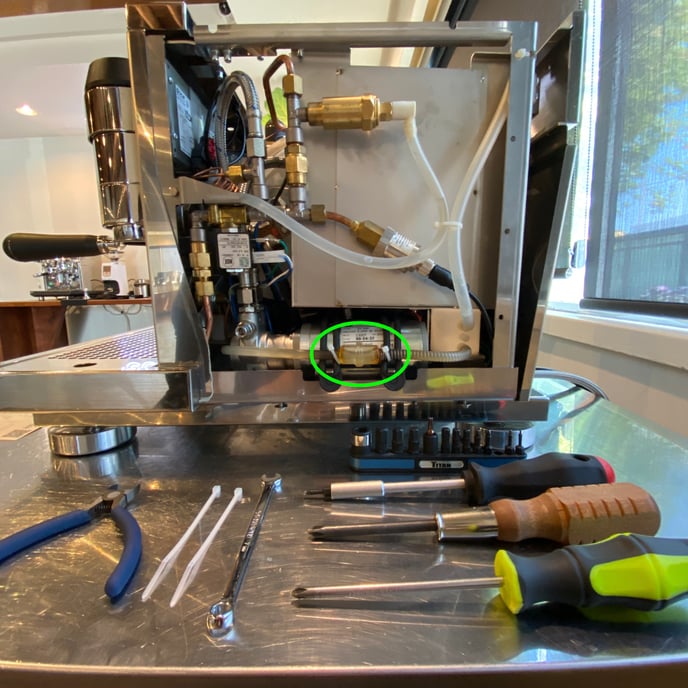
7. Carefully snip the zip-ties that hold the filter in place and pull the filter away from the machine.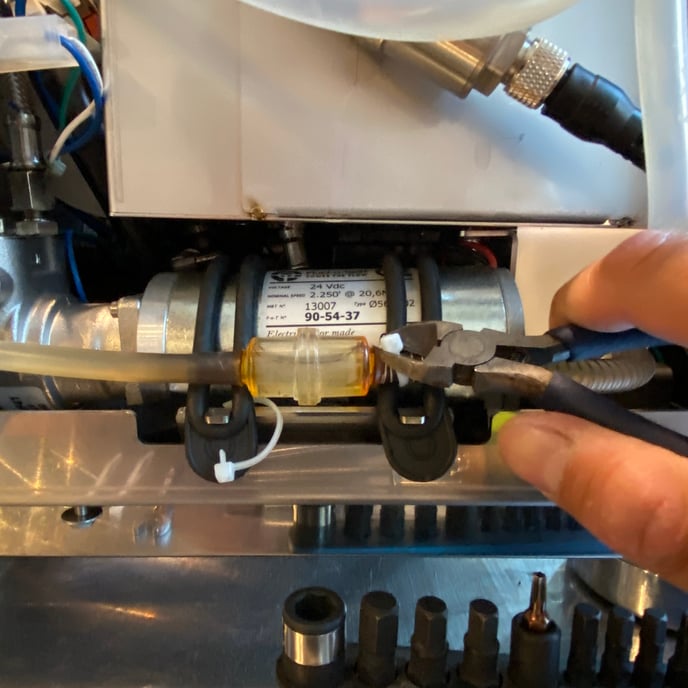
8. Carefully pull the silicone tubing from each end of the filter to free the filter from the machine completely.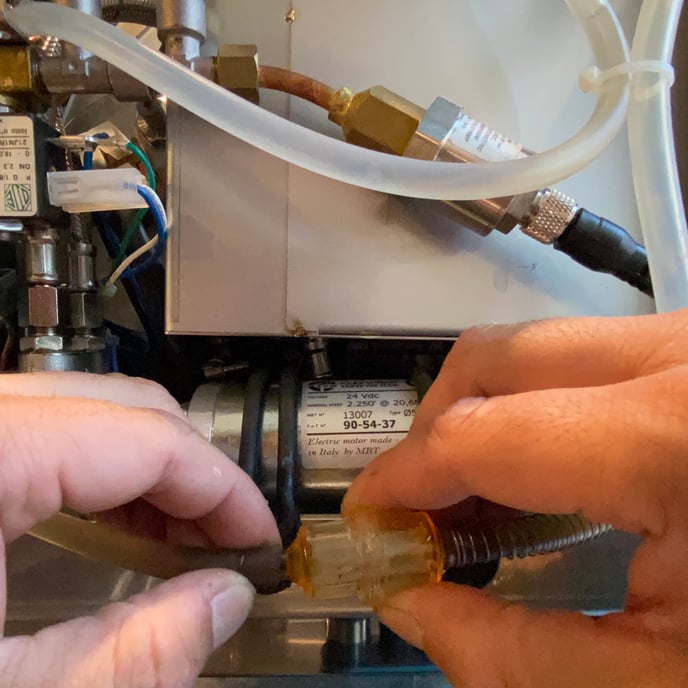
9. Flush the filter with water or blow through it with compressed air to verify that it is clear and flows freely. If water on trickles through the filter, or if there's any doubt, replace it.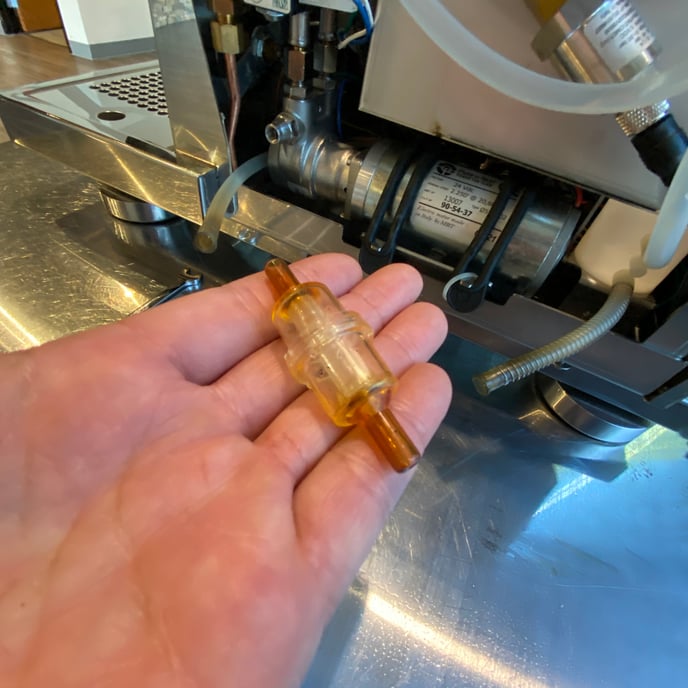
10. Replace the clean filter or install the new filter by re-attaching the silicone tubes and securing them them to the pump harness with the zip-ties (refer to the photos from Steps 6 and 7).
11. Reinstall the panels by following the steps in reverse.