Tools Needed:
- Phillips Screwdriver
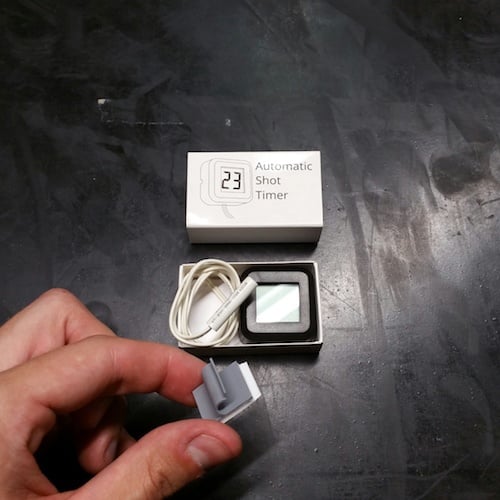
1. Unbox your shot timer, you'll be needing the grey mounting piece first.
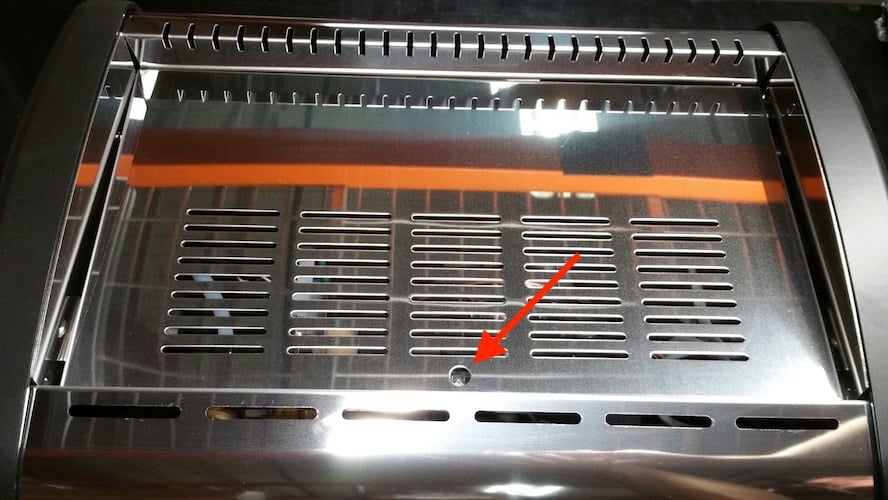
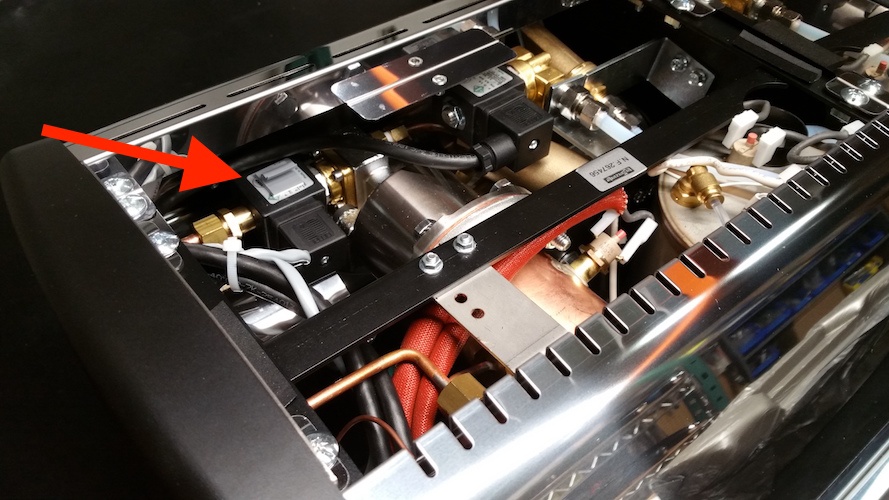
2. Remove the top panel of the machine by taking out the single screw pointed out here, then lift the panel off.
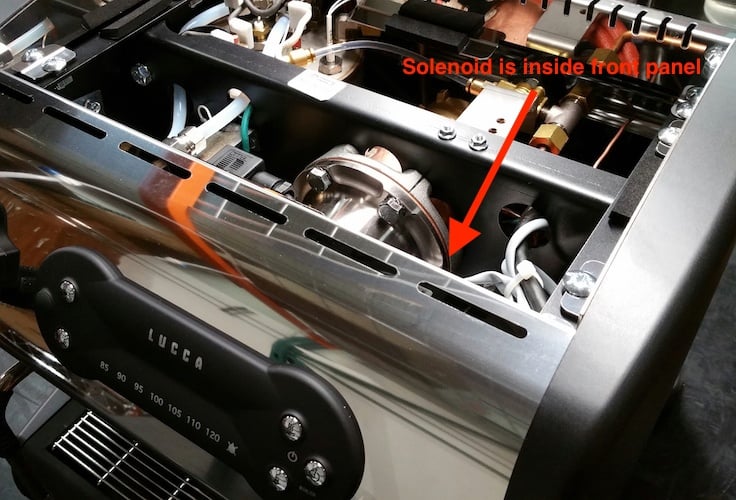
3. The grouphead solenoid will be inside the front panel, so you will need to look at the machine from the side/back to see it.
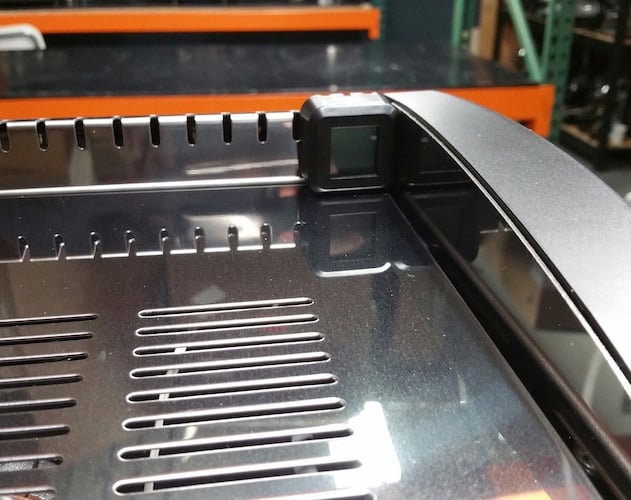
4. Attach the grey mounting piece by peeling the backing and sticking it to the grouphead in this orientation shown here.
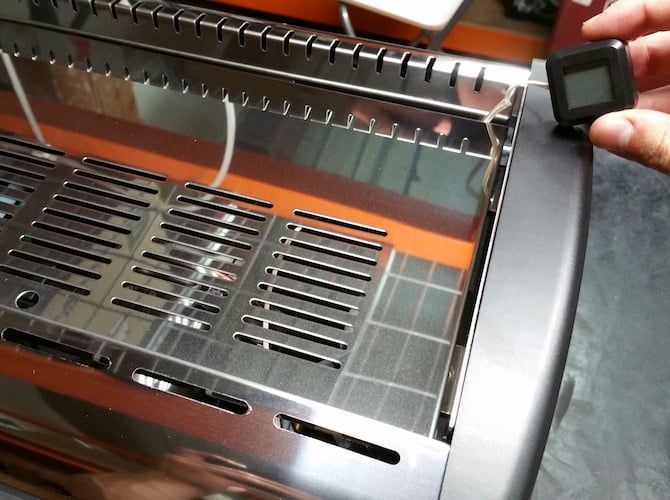
5. Attach the shot timer sensor into the mounting piece.

6. Reinstall top panel, careful not to pinch the wire underneath.
7. Feed the wire down and use the magnets to secure the timer in place.