Tools Needed:
- Phillips head screwdriver (+)
- Wire cutters
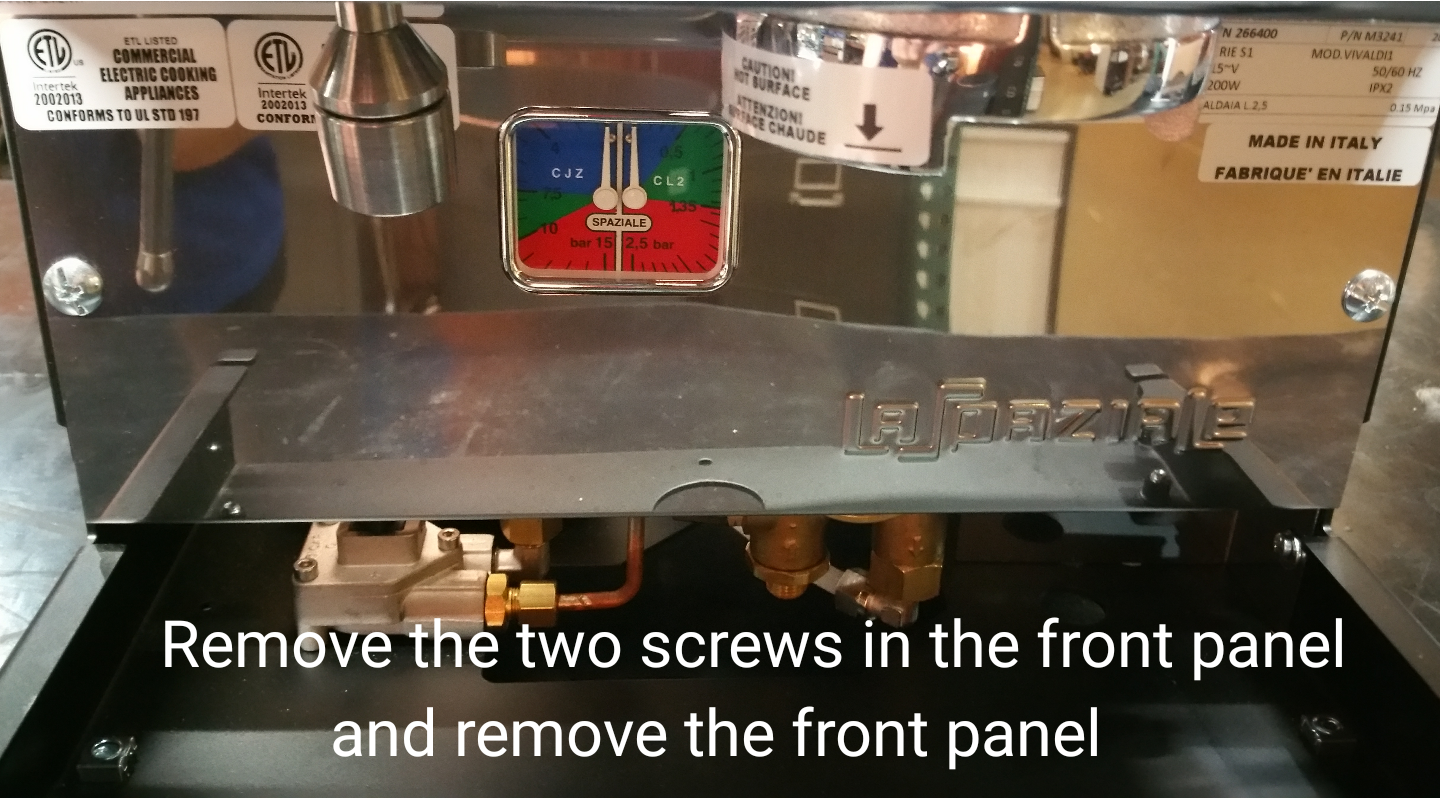
1. Remove the front panel of the machine.
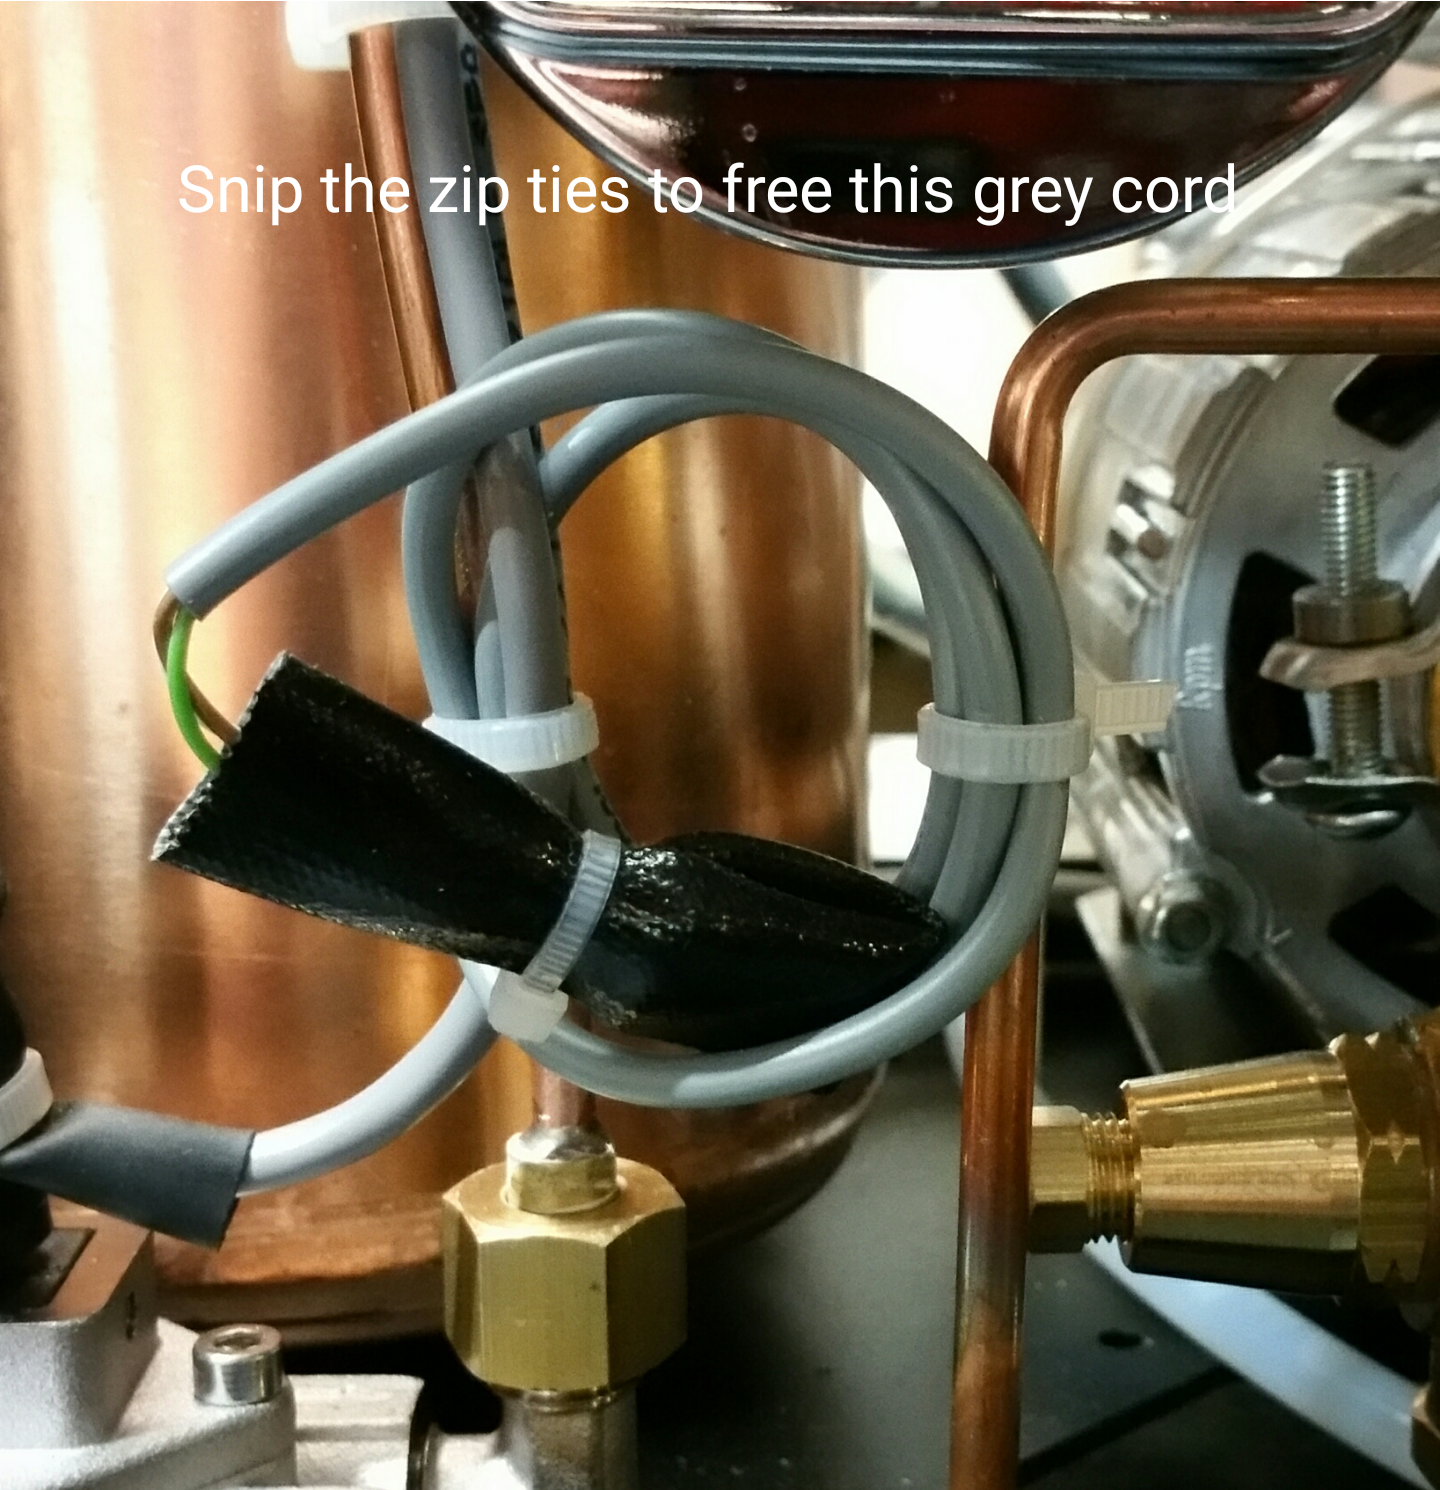
2. Unwind the grey cord you will find tucked inside the front of the machine, be careful not to cut the wire.
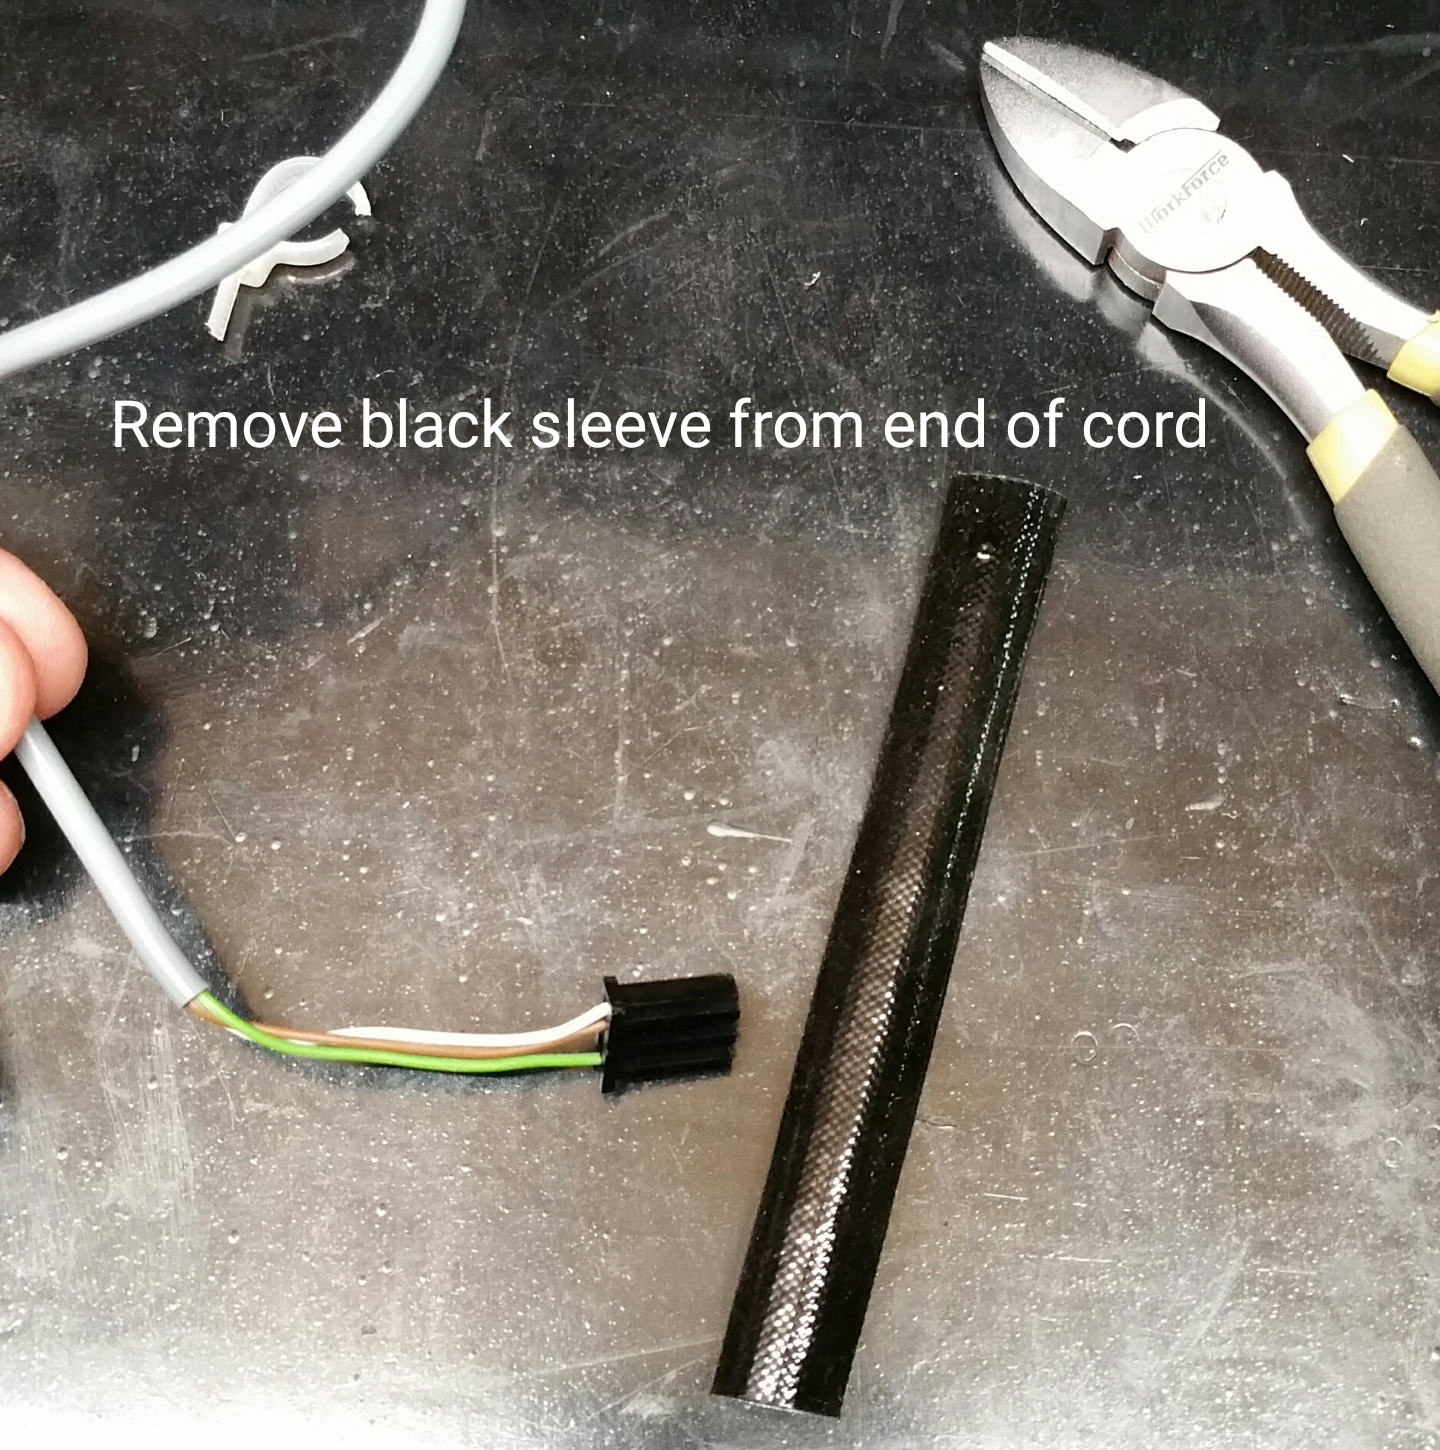
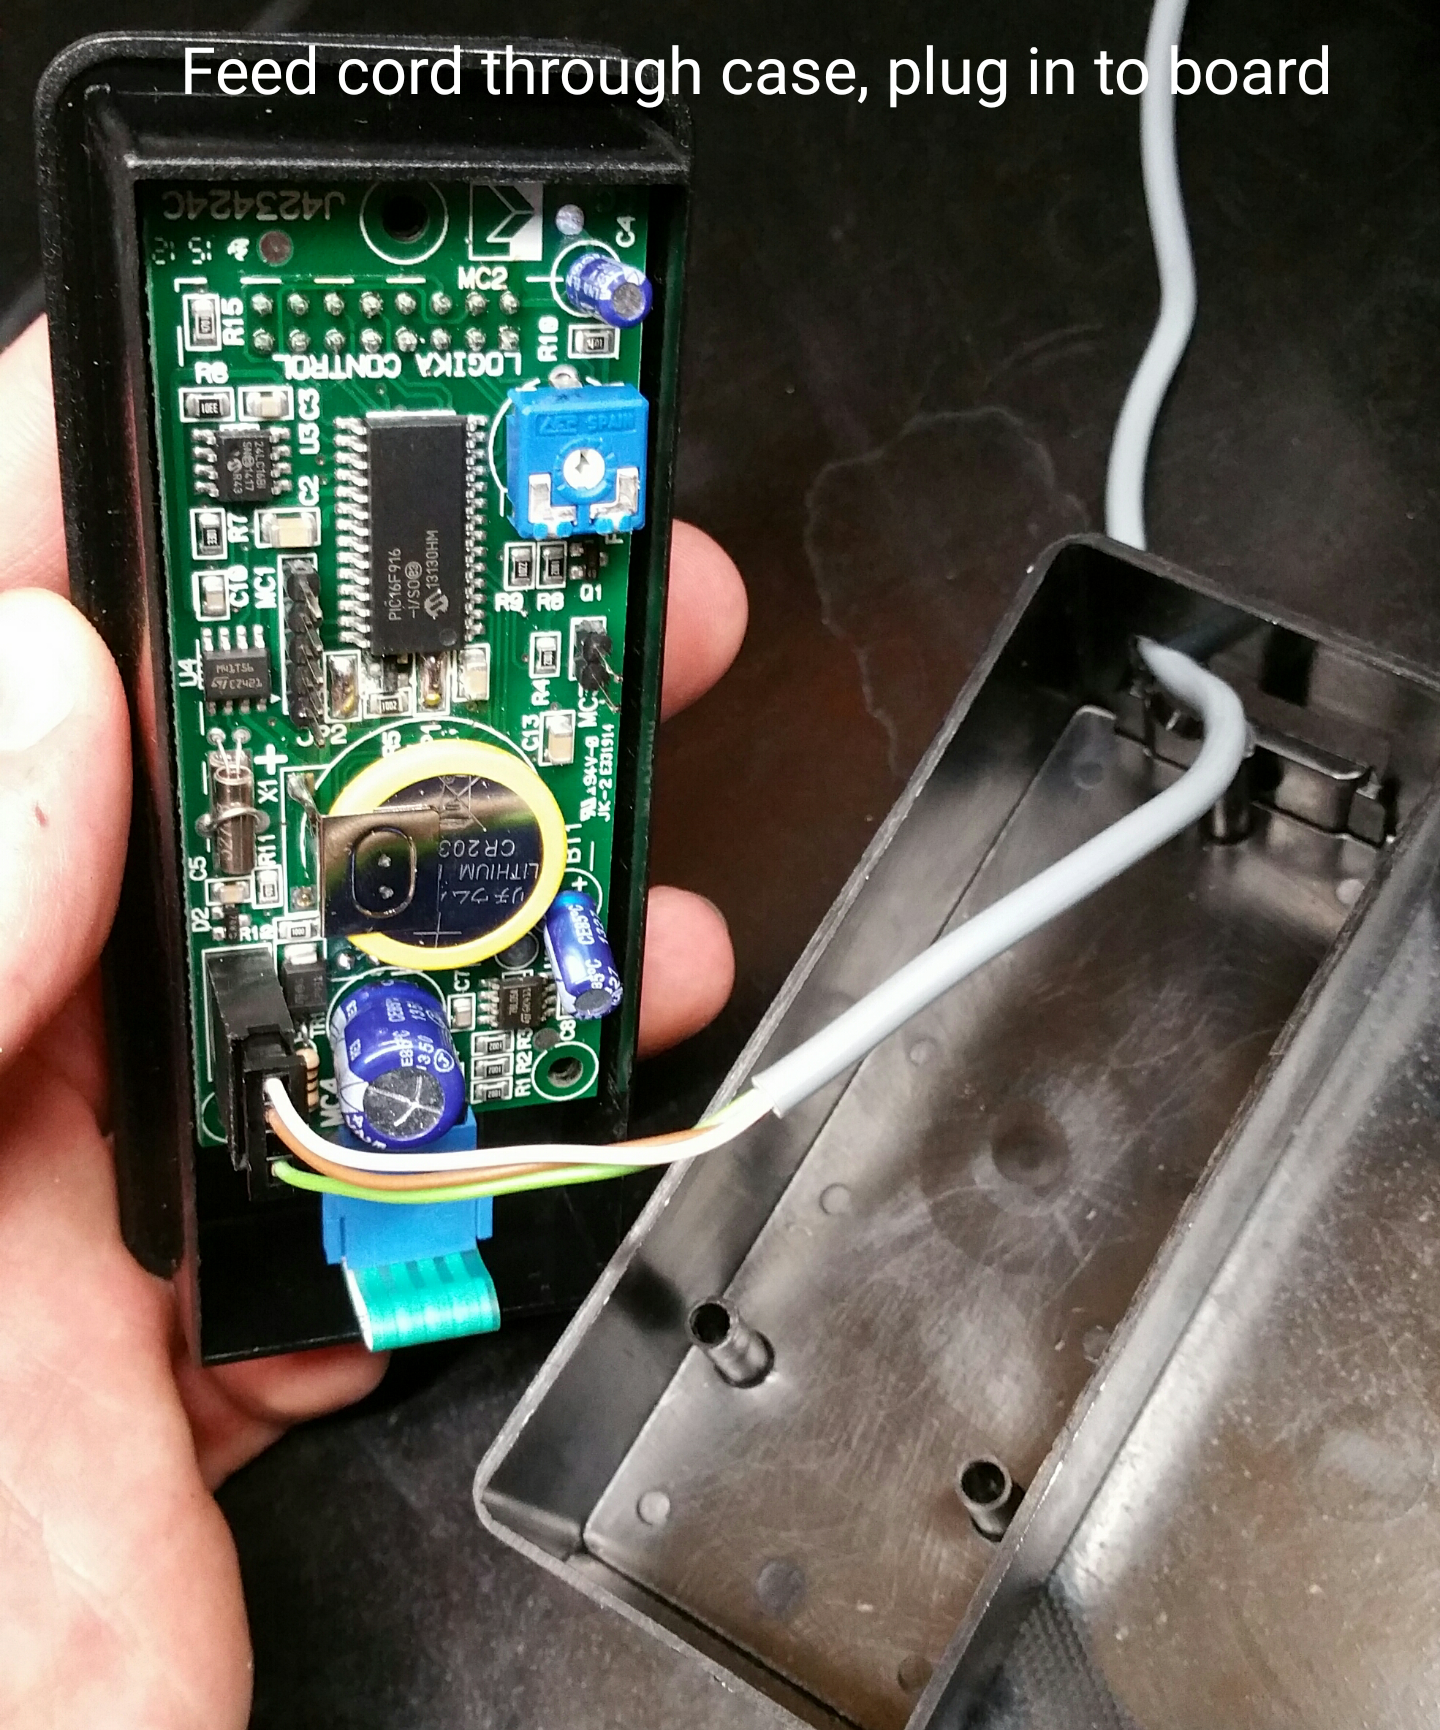
3. Remove the black casing from the end of the wire to reveal the plug end, again being careful not to snip the wires inside.
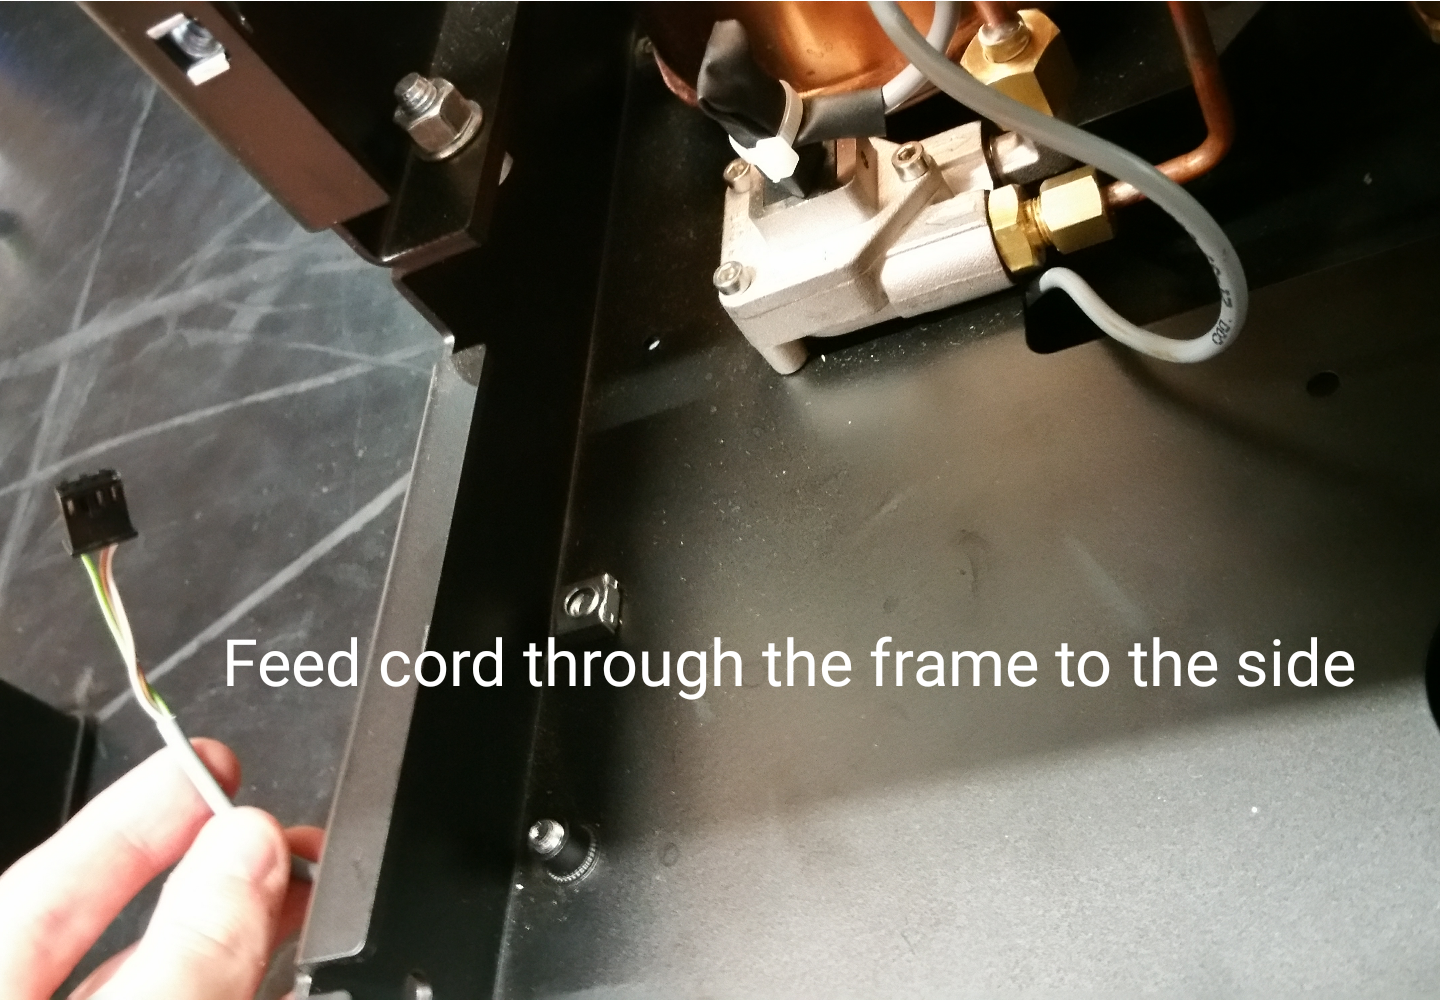
4. Feed the wire through the bottom of the machine, through the hole in the frame out to the side of your choosing.
5. Attach the wire to the inner board of the programmable timer, then reattach the back of the timer.
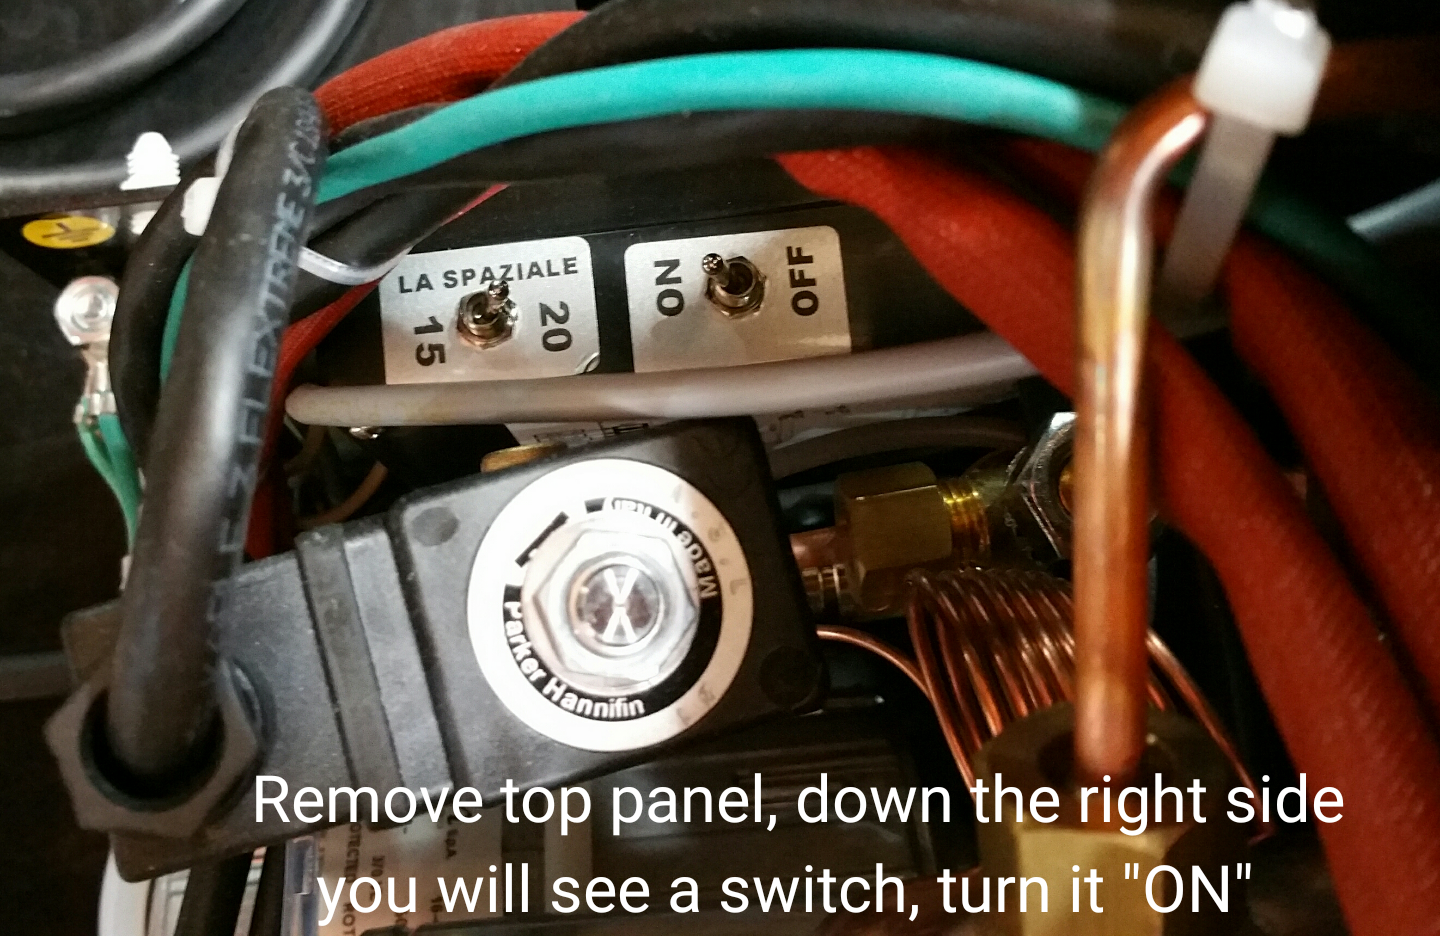
6. You will need to turn the machine's timer function on at this point. To do so, remove the top cup warming tray by taking out the 1 phillips head screw and lift the tray off. Inside the machine down the right side you will see the switch indicated in the photo.
7. When all of these steps are done, replace the front panel and the cup warming tray and you are all set to program your timer.
Now you are ready to program your timer!