- Help Center
- Profitec Pro 500
- Panel Removal & Draining Boiler
-
Getting Started
-
Espresso 101
-
Warranty, Ordering & Returns
-
Bezzera BZ10
-
Bezzera Duo DE
-
Bezzera Duo MN
-
LUCCA A53 (Direct Plumb & Mini) by La Spaziale
-
LUCCA M58 by Quick Mill
-
LUCCA S58 by Profitec
-
LUCCA X58 by Quick Mill
-
La Marzocco Linea Mini
-
La Marzocco GS3
-
Lelit Mara X
-
Lelit Bianca
-
Lelit Elizabeth
-
Lelit Victoria
-
ECM Synchronika
-
ECM Special Edition Classika PID
-
ECM Mechanika V Slim
-
ECM Mechanika VI Slim
-
ECM Casa V
-
ECM Puristika
-
Profitec Pro 300
-
Profitec Pro 400
-
Profitec Pro 500
-
Profitec Pro 600
-
Profitec Pro 700
-
Profitec Pro 800
-
Profitec GO
-
Rocket Appartamento
-
Rocket R58 / Cinquantotto
-
Rocket Giotto
-
Rocket R Nine One
-
Rocket Boxer
-
La Spaziale S2 EK
-
Rancilio Silvia
-
Rancilio Silvia Pro
-
Rancilio Silvia Pro X
-
Sanremo YOU
-
Izzo Alex Duetto
-
Quick Mill
-
Breville Oracle
-
Dalla Corte Mina
-
Slayer
-
LUCCA Grinders
-
Baratza Grinders
-
Eureka Grinders
-
ECM Grinders
-
Compak Grinders
-
Fellow Grinders
-
Mahlkonig Grinders
-
Profitec Grinders
-
Breville Grinders
-
Dalla Corte Grinders
-
Macap Grinders
-
Fiorenzato Grinders
-
LUCCA E61 Flow Control
-
General Troubleshooting
-
Like New & Trade-In Program
-
Breville Barista Pro
-
Breville Oracle Touch
-
Fellow Tally Precision Scale
-
DF64
-
LUCCA DF64
Profitec Pro 500: Panel Removal
Below you will find a video and step-by-step instructions for removing the panels of the Profitec Pro 500 Espresso Machine.
Tools Needed:
- 2.5mm Allen Wrench
- 3mm Allen Wrench
1. Remove the top cup tray of the machine and you will see 4 allen screws on the inner top panel. Remove the water tank and use your 2.5mm allen wrench to remove the 4 screws.

2. If you tip the machine backward, you will see 4 screws on the bottom. Remove all 4 with your 3mm allen wrench.

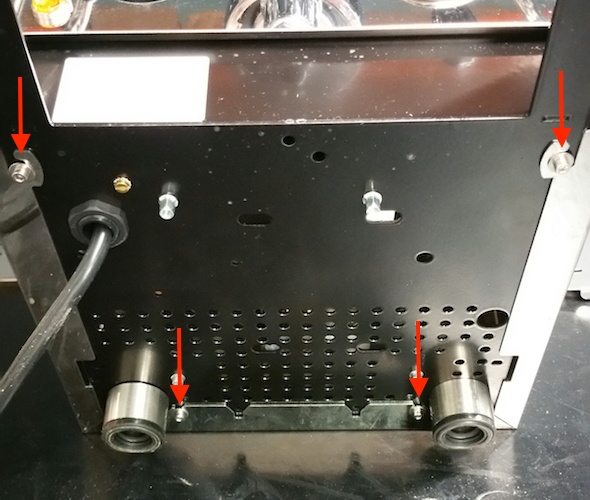
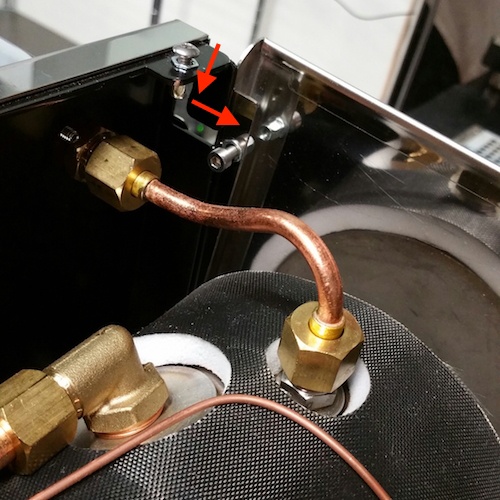
3. The panels are ready to come off, you will need to free the two inner screws on either side up at the top of the machine. The two photos demonstrate that you will need to push the panels downwards and then back to free the screws from the front panel of the machine.
Outside view:

Inside view:
