Tools Needed:
- 3mm Allen wrench or hex driver
- Replacement ECM/Profitec silicone tubing
NOTE: The machine should be unplugged and cool to the touch before you begin. Remove the water reservoir or shut off the water supply to the machine.
1. Start by removing the panels from the machine.
2. Identify the large bracket on the left side of the machine; this bracket holds the machine's SSRs, CPU and power box.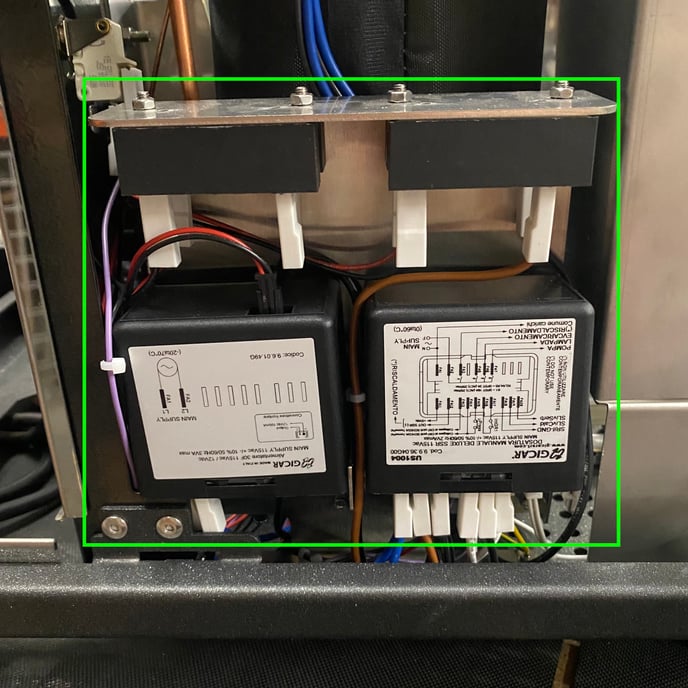
3. Tilt the machine up and unscrew the four 3mm Allen head screws that hold the bracket to the frame.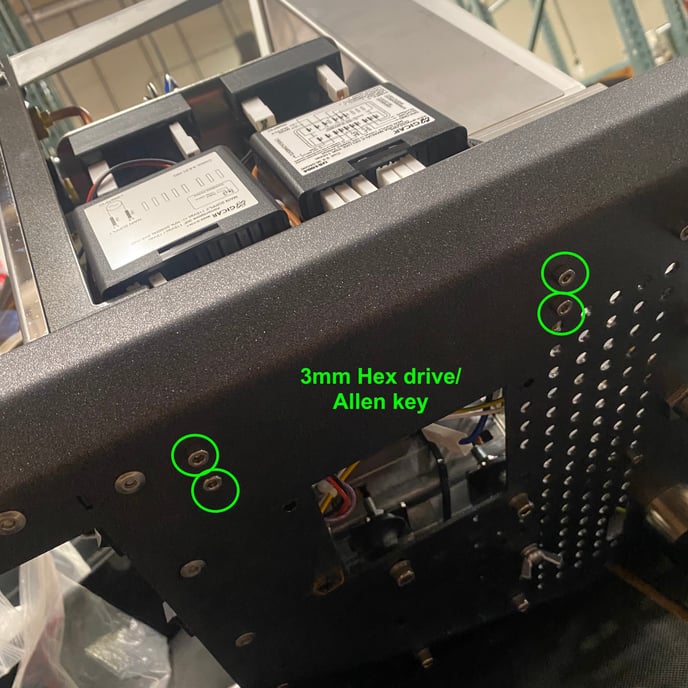
4. Pull the bracket up and away from the front of the machine to access the back side of the drain port.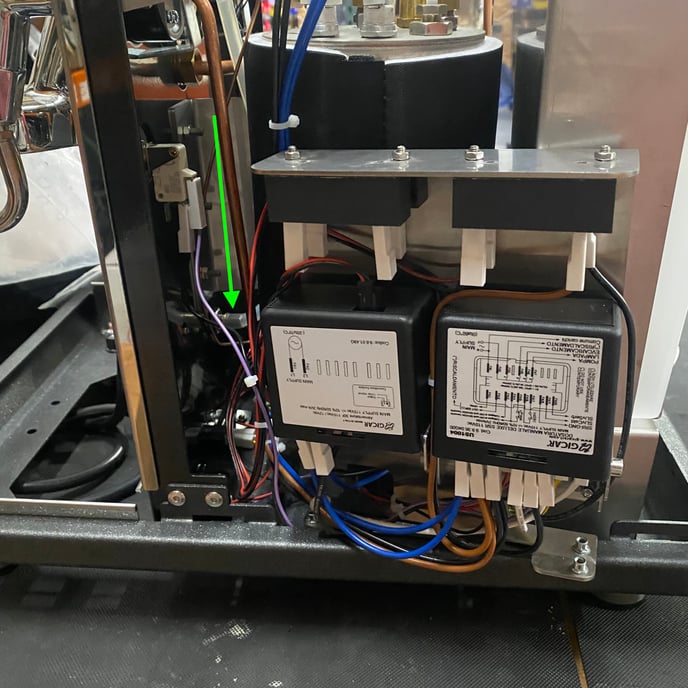
5. You should have just enough clearance to reach the silicone tubing with your hand.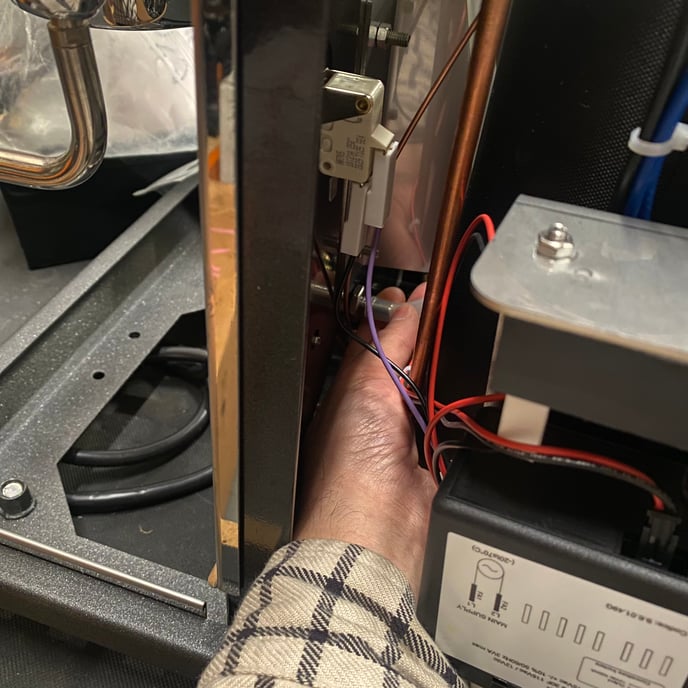
NOTE: You may need to unplug a few electrical connections for better access—take careful note of where the wires go before proceeding. Snap a few photos before unplugging anything to help you remember.