You will want to unplug the machine and allow it to cool down before doing this procedure.
Tools Needed:
- Phillips Screwdriver
- Adjustable Wrench
- 22mm Deep Socket Wrench
1. Remove the side panels of the machine. You can check out our article on how to do so here: A53 Panel Removal
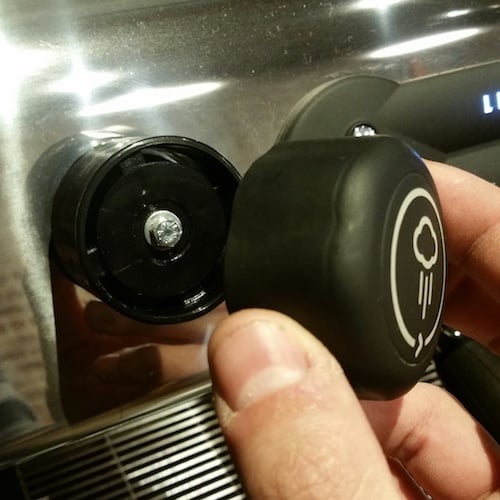
2. Pull the steam knob cover straight out, it will pop off.
Note: if you have an A53 Mini, simply unscrew the knob from the steam lever and skip to step 5.
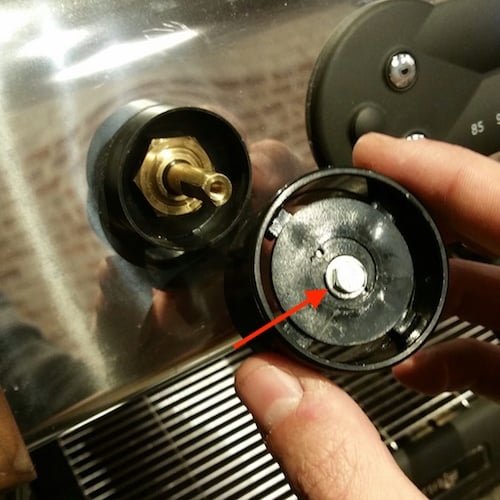
3. Use your adjustable wrench to remove the small nut and inner piece of the steam knob cap.
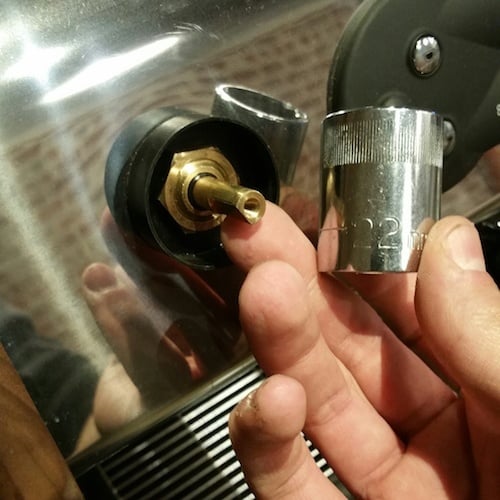
4. Use your 22mm deep socket to remove the nut holding the steam arm into place.
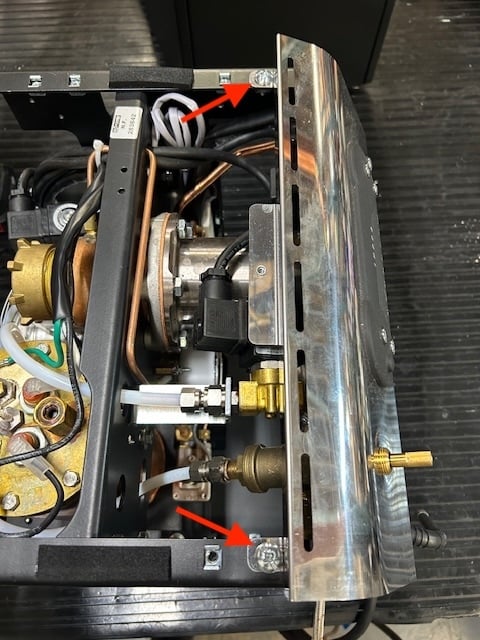
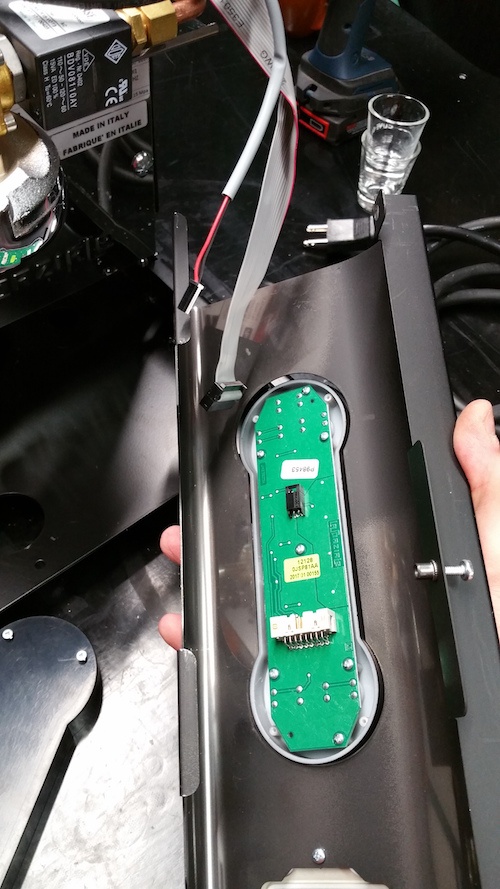
5. Remove the 2 screws at the top of the panel holding it in place. From here you can set it off to the side, being careful as to not pinch or damage the two wires running to it. The screws are pointed out in the photo below. This will allow access to the grouphead and hot water solenoids.
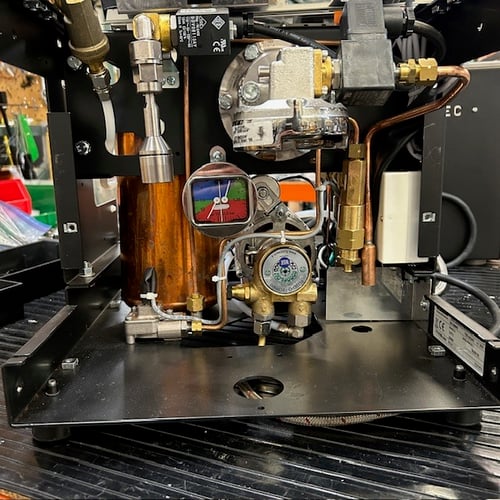
6. Swing the upper front panel off and set it aside, being careful not to yank on or damage the wires.

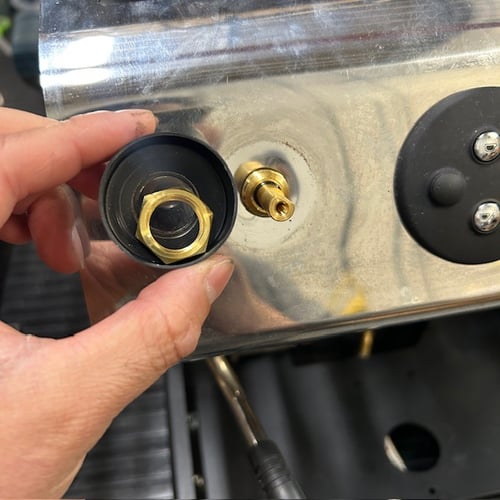
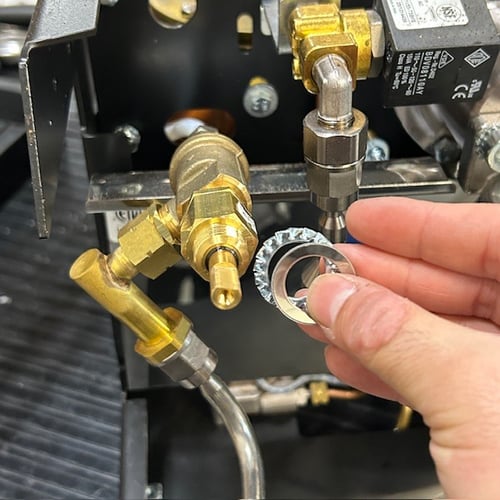
7. Keep track of this toothed washer and flat washer combo. When reassembling: the tooth washer goes directly on the steam valve body, then the flat washer, then both get sandwiched between the valve body and the front panel.
8. Identify and unscrew the two screws holding the lower panel in place. Undo these screws to remove the lower panel from the machine.

If you need to replace the front panel or access the back of the LUCCA control panel, continue to the following instructions:
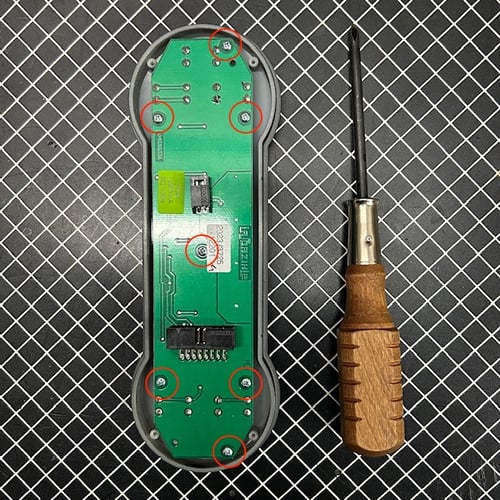
1. Remove the small Phillips screws holding the plastic housing of the control panel in place.
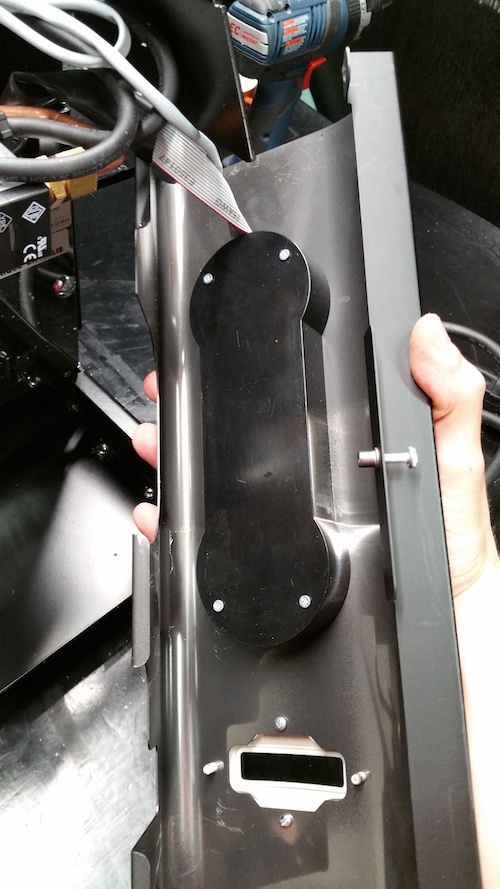
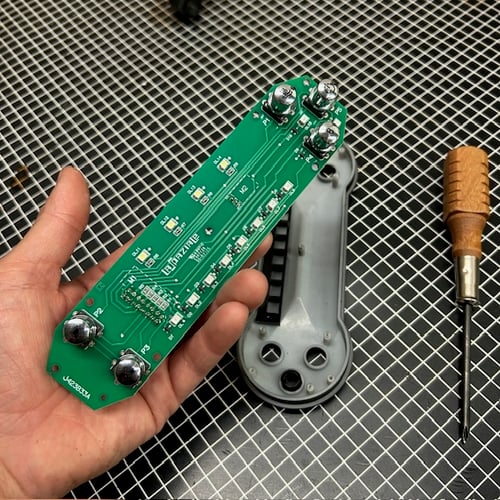
2. You now have access the back of the LUCCA control panel. Unplug the wires and remove the control panel to separate the upper front pane from the machine completely. At this point you can replace the upper front panel, the LUCCA control panel, or both.
If you need to replace the control panel circuit board, keep going:
4. Remove the button covers from the control panel buttons.
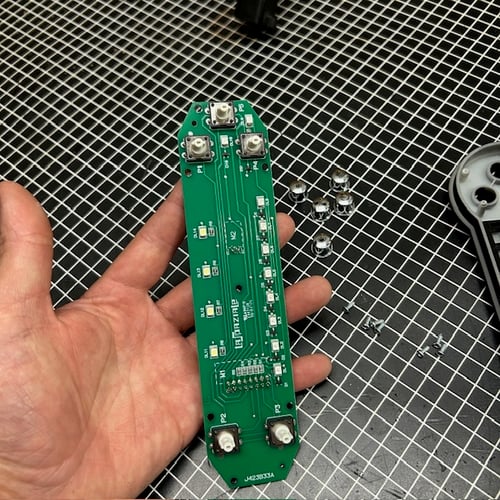
At this point you can either follow these steps in reverse order to install the new control board—make sure to install the button covers in the correct locations—or you can test the control board buttons to make sure they're working.