Tools Needed:
- 2x Adjustable Wrench
- Phillips Screwdriver
Before starting please ensure the machine is powered off and fully cooled. Always unplug the machine from its power source before disassembling.
1. Remove the side panels of the machine.
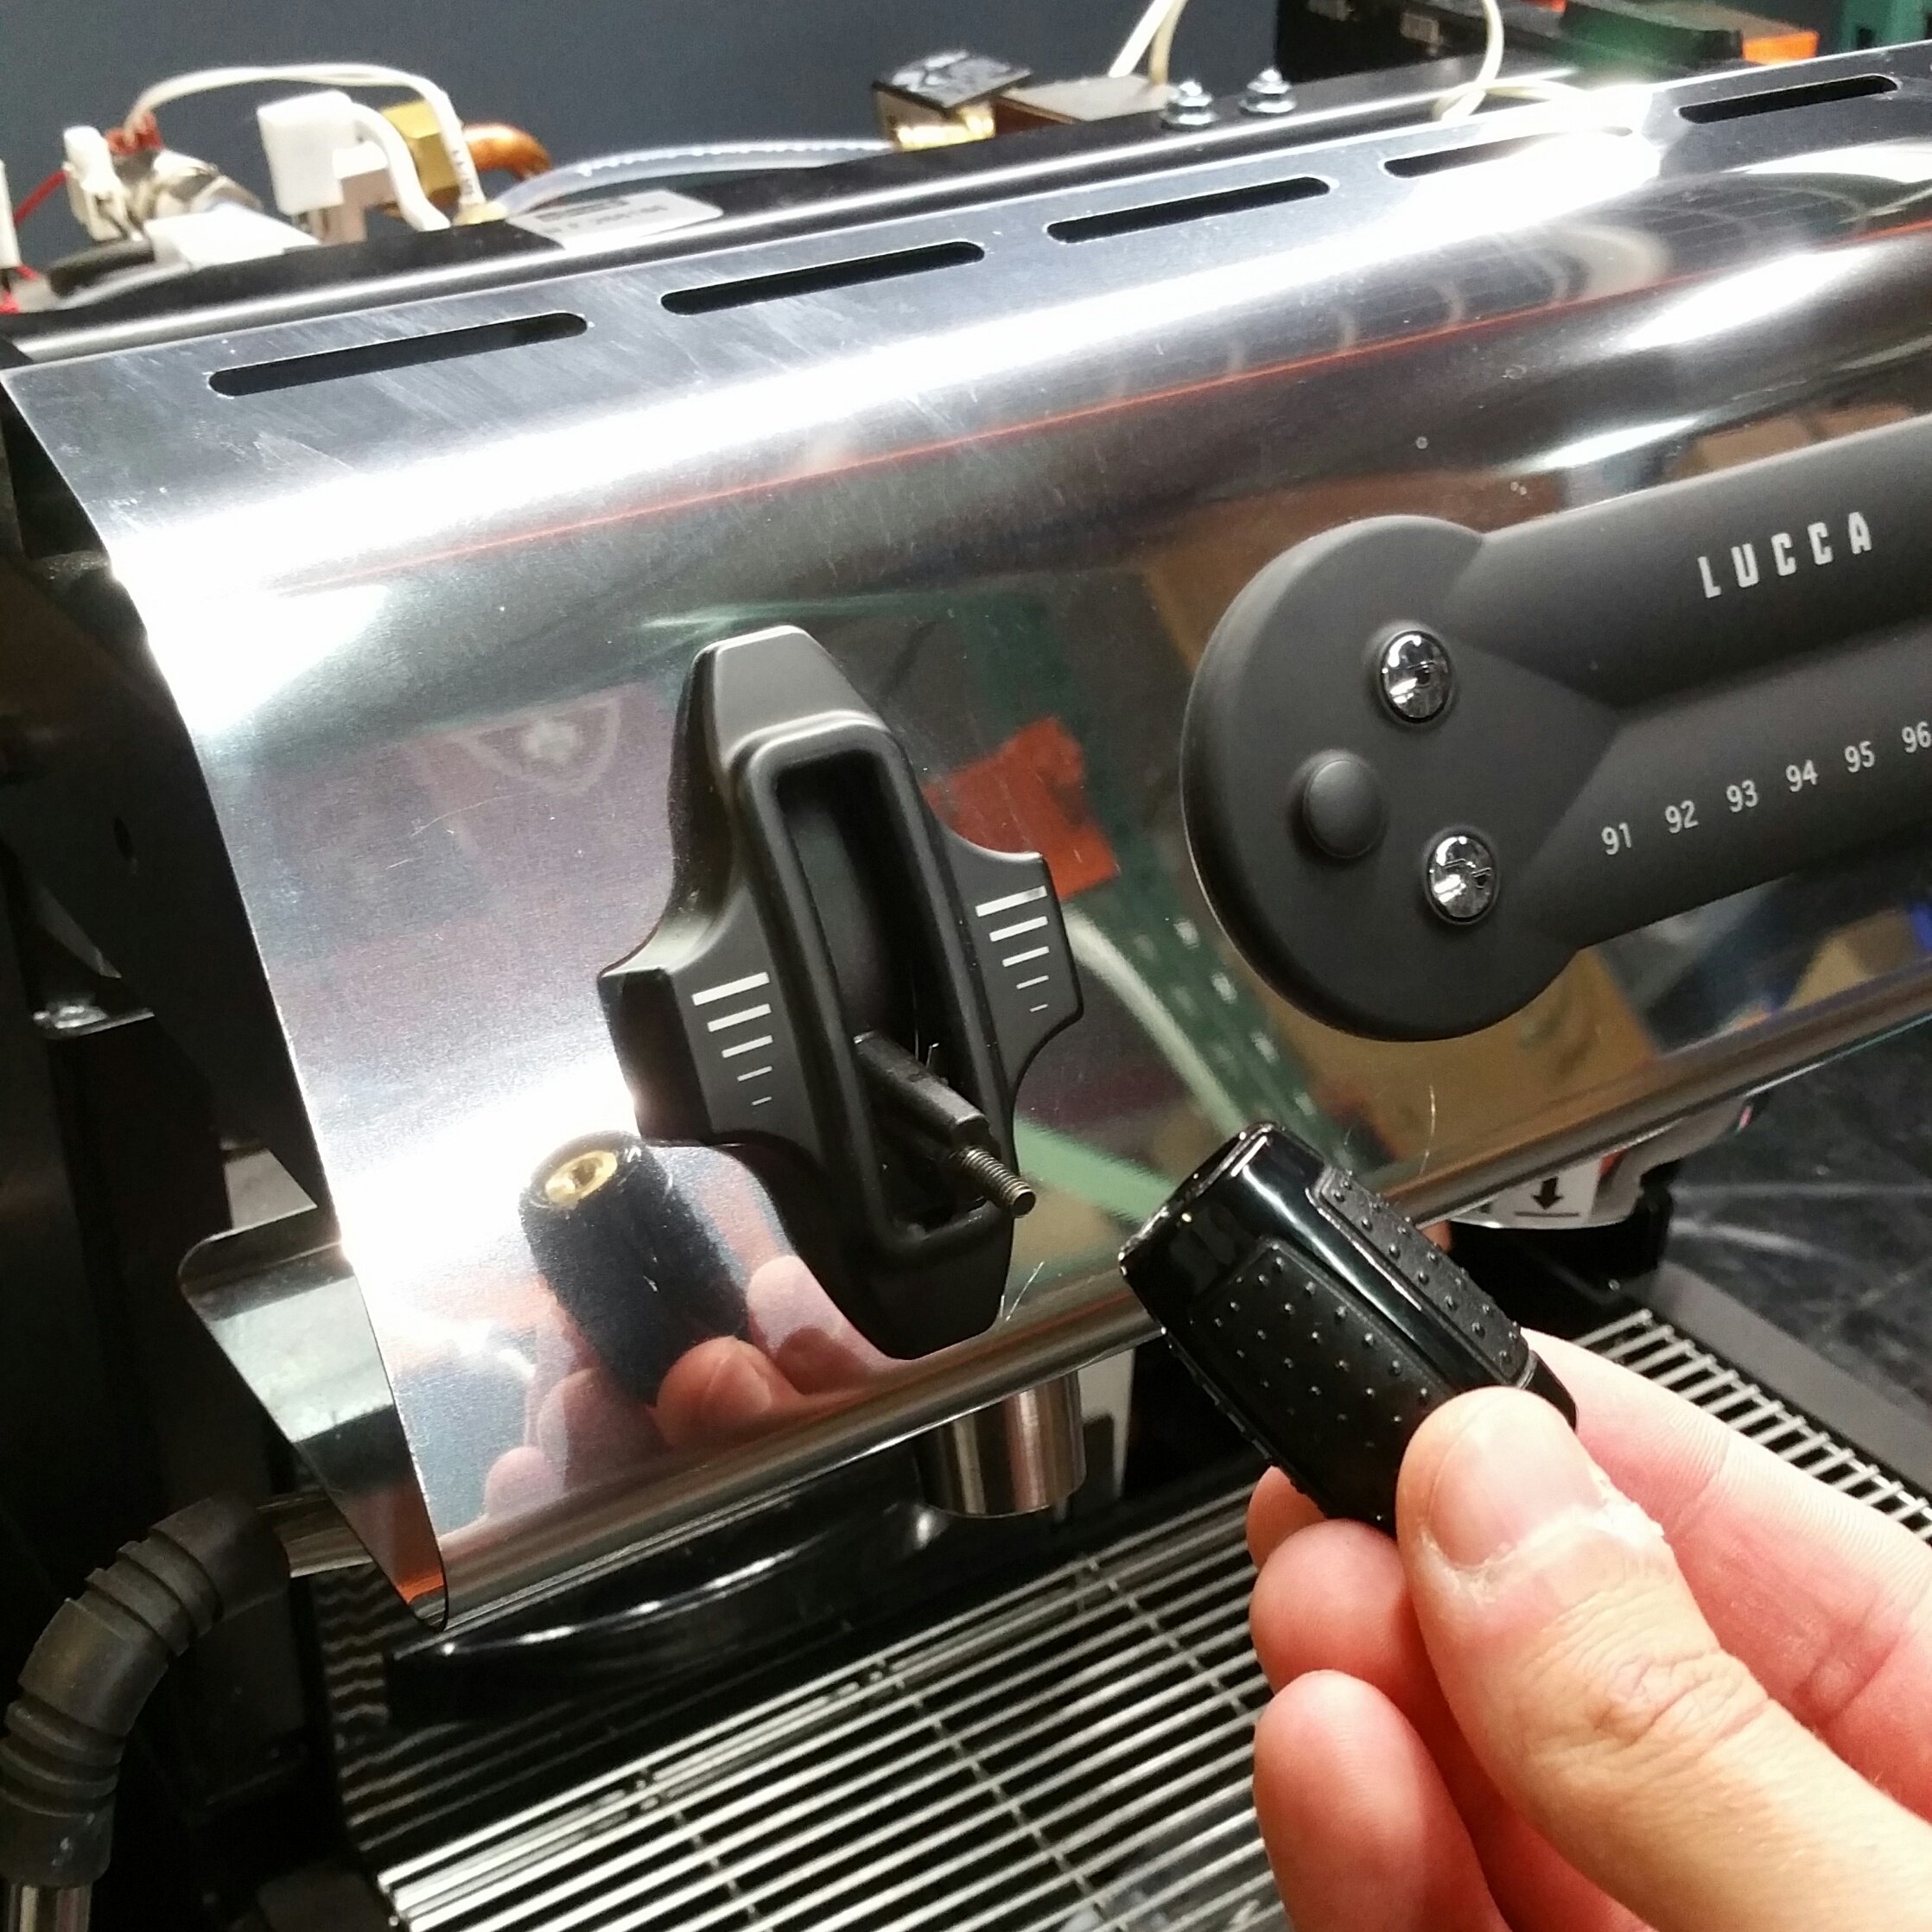
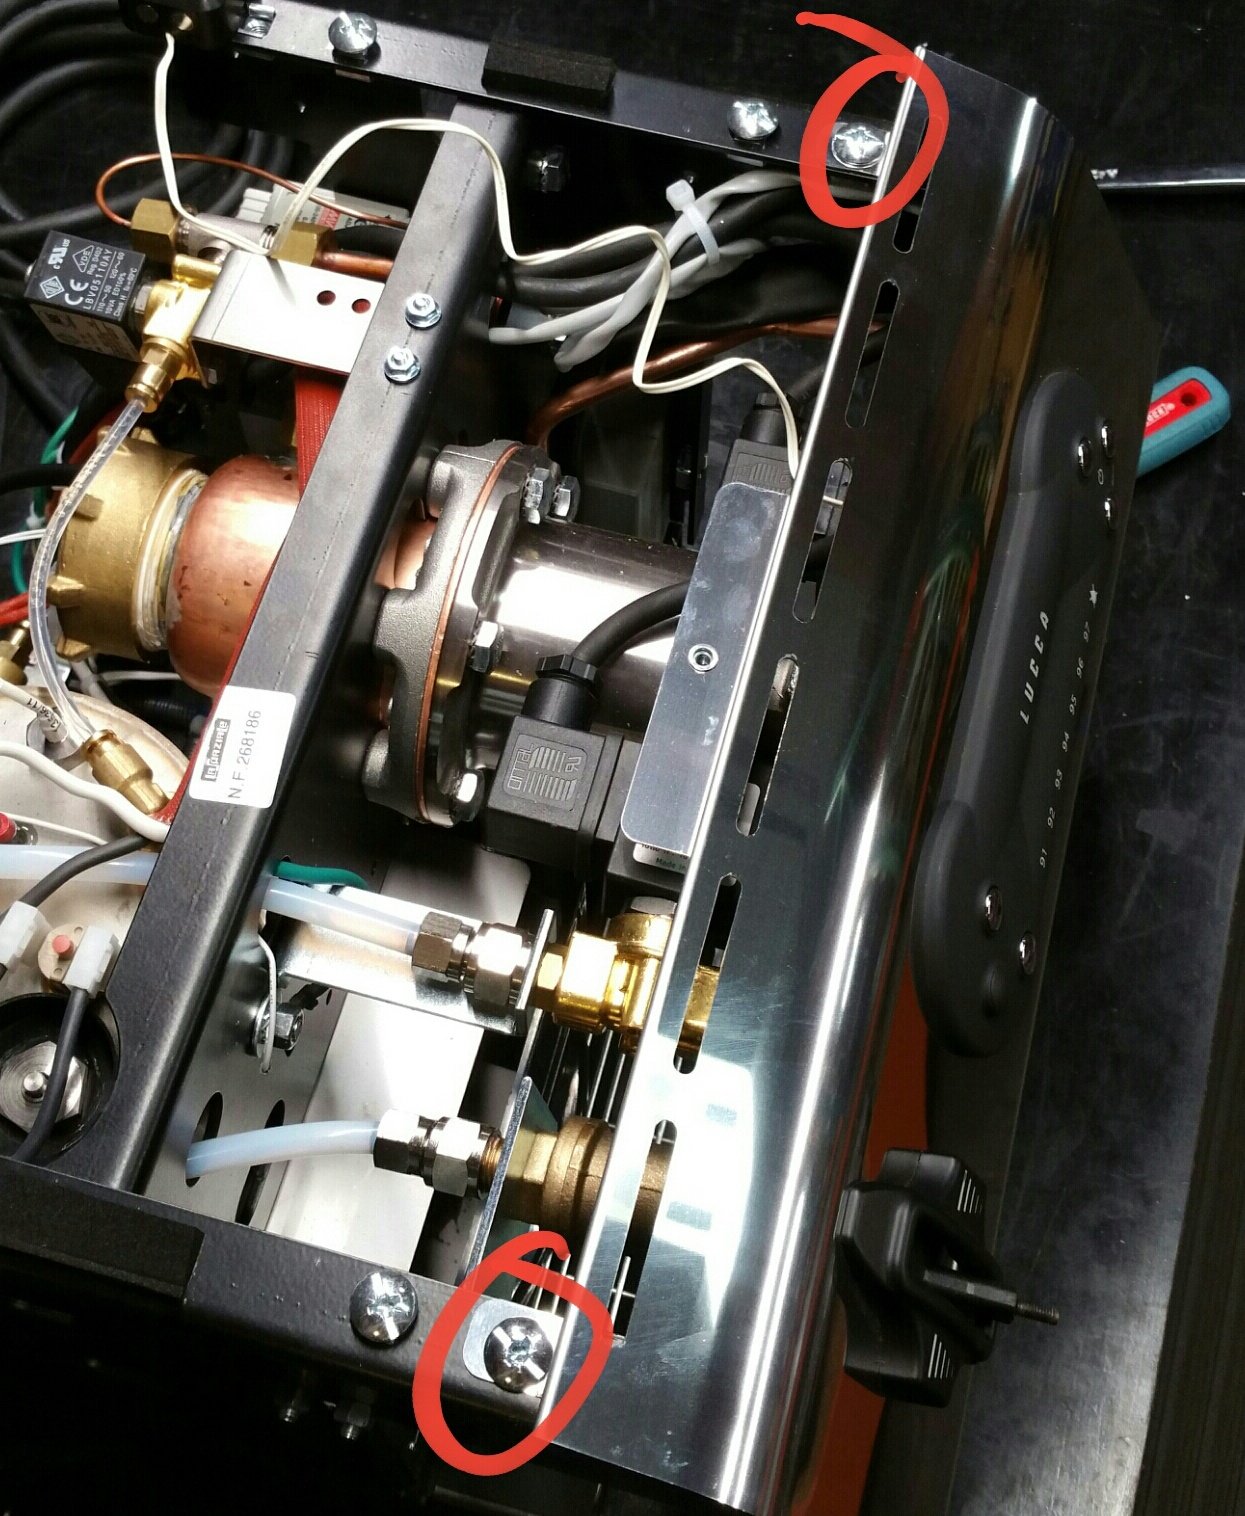
2. Remove the front panel of the machine by unthreading the steam knob and then removing the two screws holding the front panel on. After this you can set the panel off to the side and out of the way.
3. Remove the outer portion of the solenoid by removing the nut holding it in place and sliding it off the post (watch out for the washer that's on there, you'll need that to reinstall it properly).
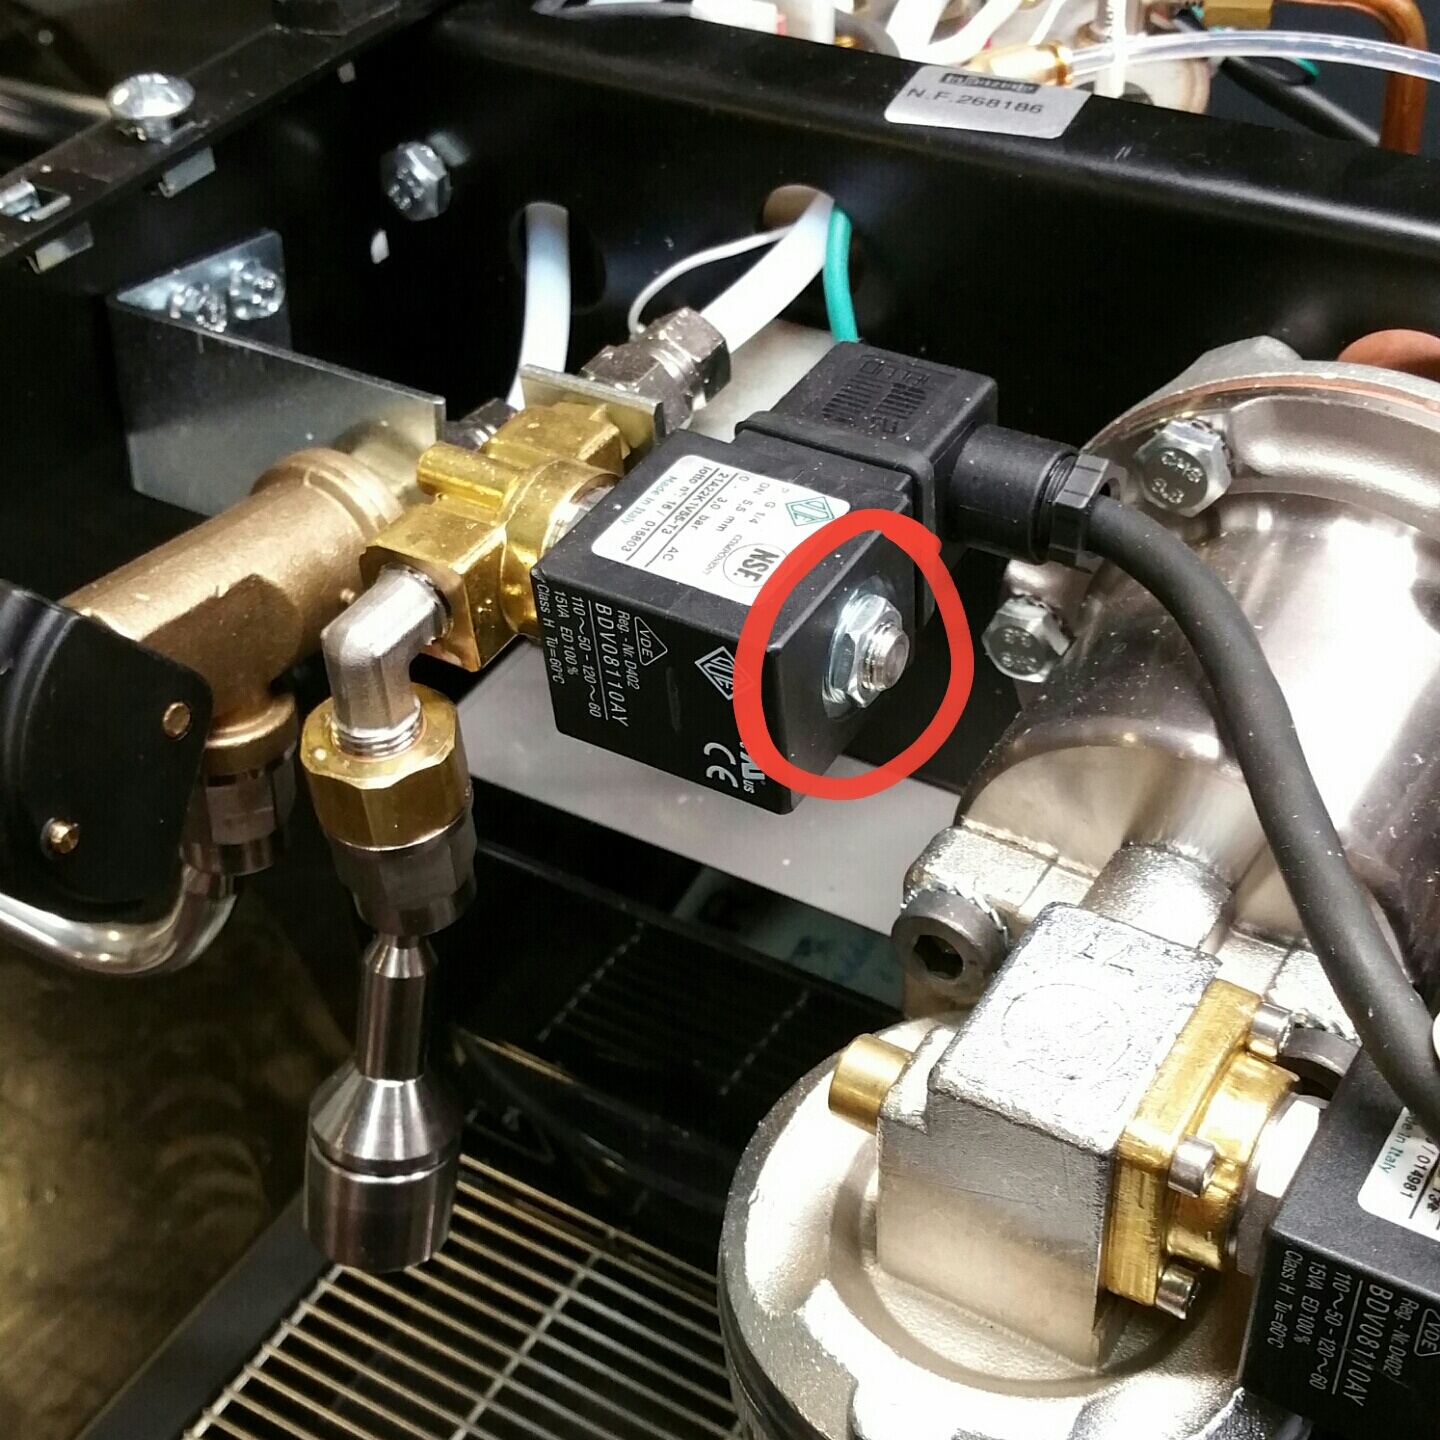
4. Remove the entire valve from the machine by unthreading this nut pointed out here, then pulling the valve off the machine.

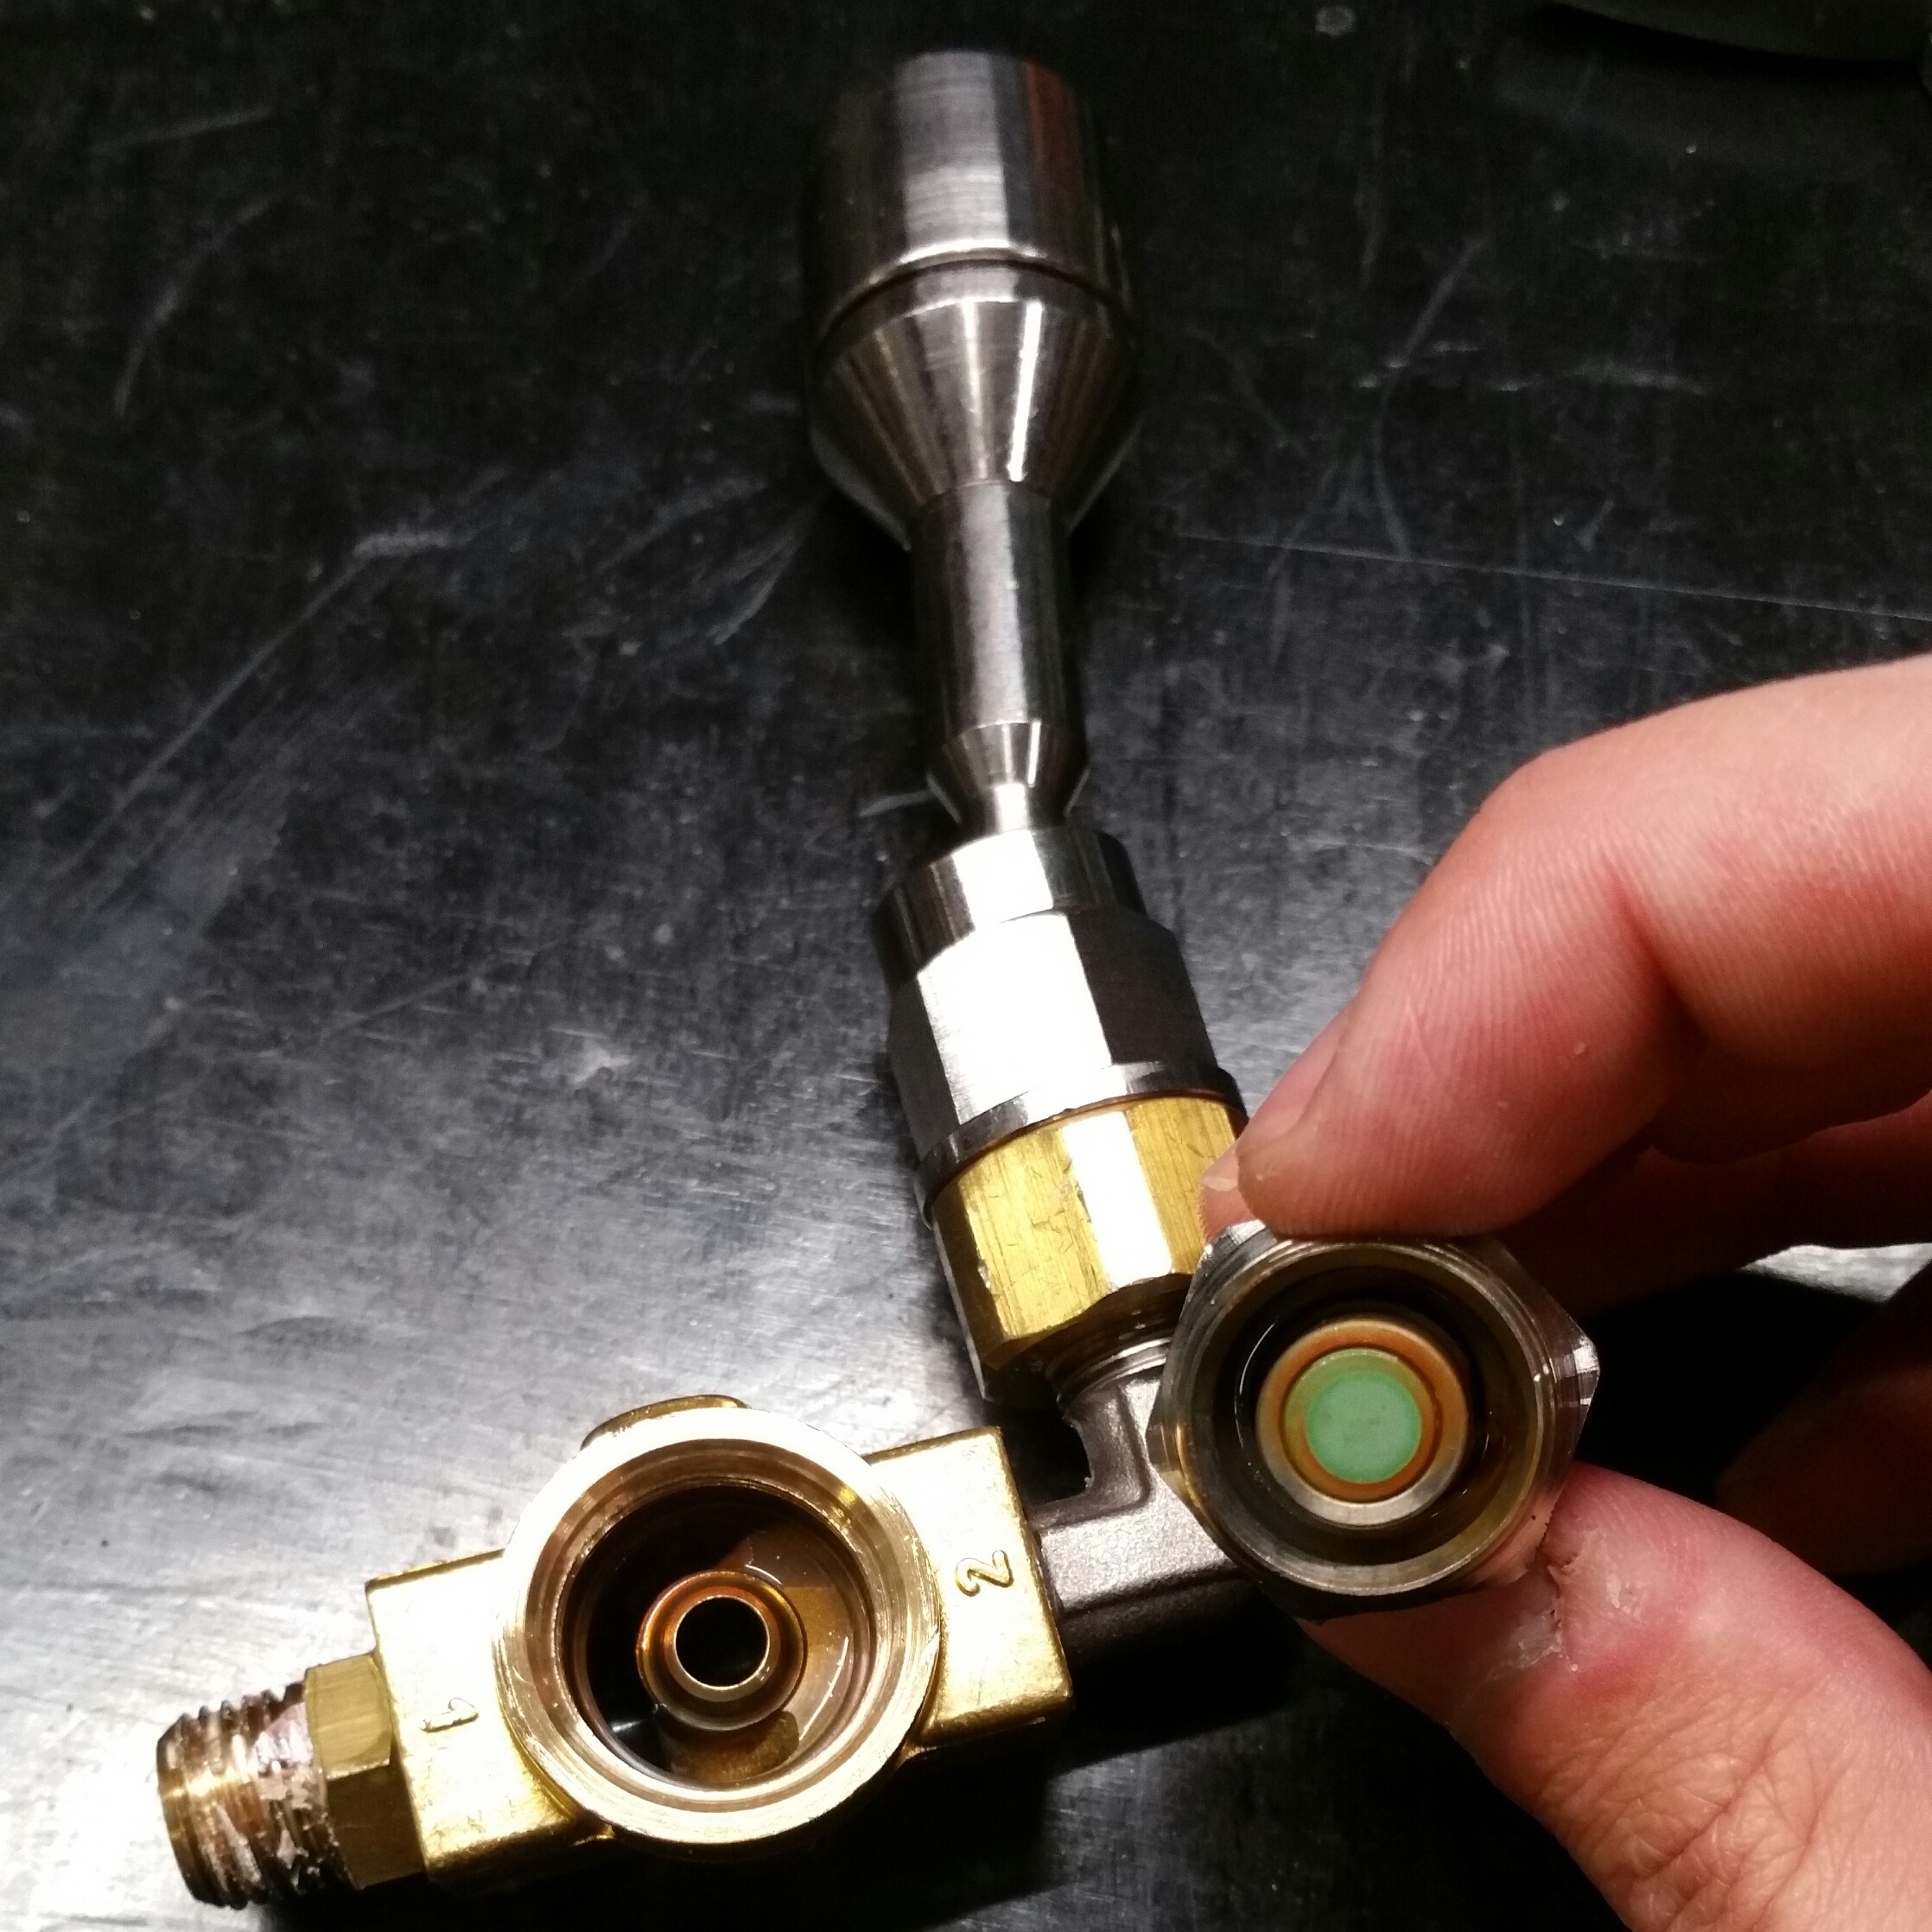
5. Use your two adjustable wrenches to remove the solenoid shaft from the body of the solenoid (it can be quite a tough fitting).
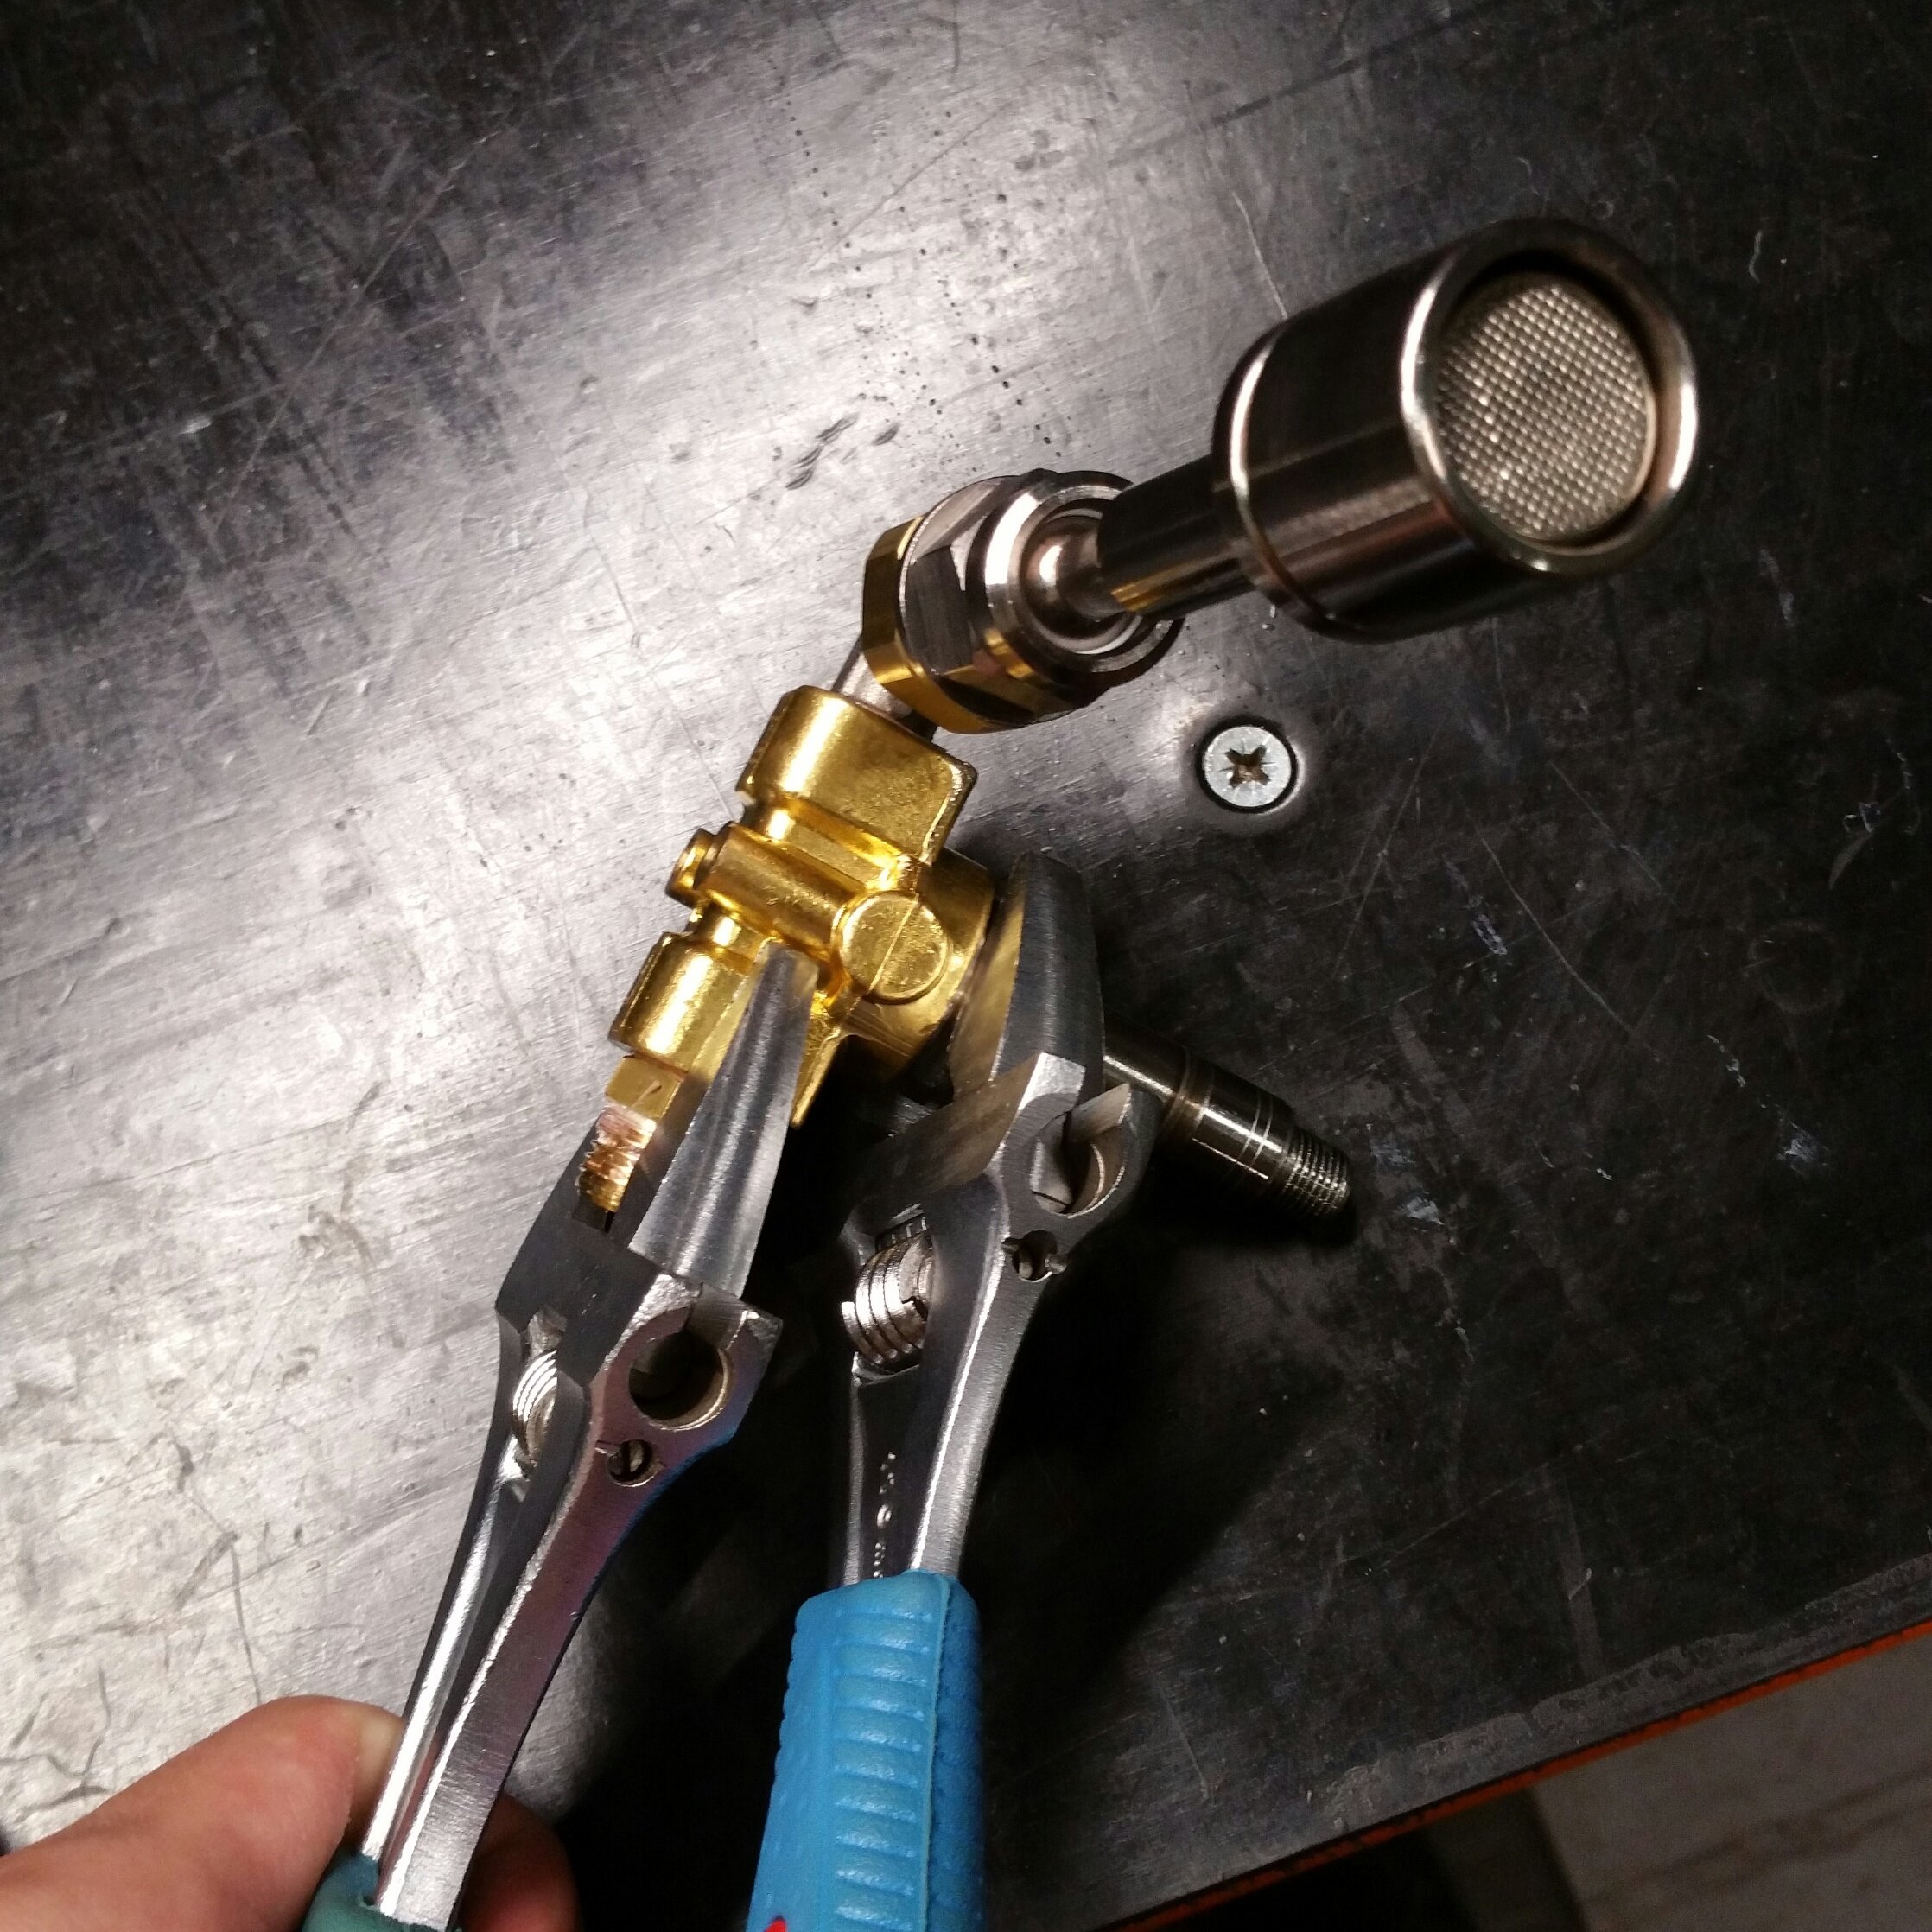
6. Ensure the rubber seat is clear of any debris, as well as the hole in the center of the solenoid body opening.
NOTE: Make sure to clean off any old thread sealant residue before reassembling the solenoid valve assembly. Wrap the clean threads in a few layers of PTFE tape to reseal the threads before reassembly.