You will need to unplug your machine and allow it to fully cool before doing this procedure.
Tools Needed:
- Phillips Screwdriver
1. Remove the side panels of your machine, you can check out the article on how to do that here: A53 Mini Panel Removal.
2. Unthread the steam knob and then remove the two screws on the top holding the panel in place (pointed out below). From here, you can pull the panel out and to the right side. This will allow access to the grouphead and hot water solenoid.
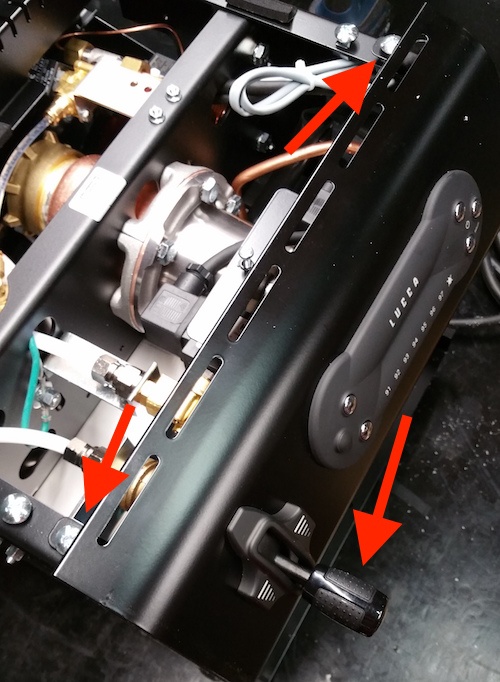
Remove the 2 screws at the top of the panel holding it in place. From here you can set it off to the side, being careful as to not pinch or damage the two wires running to it. The screws are pointed out in the photo below. This will allow access to the grouphead and hot water solenoids.

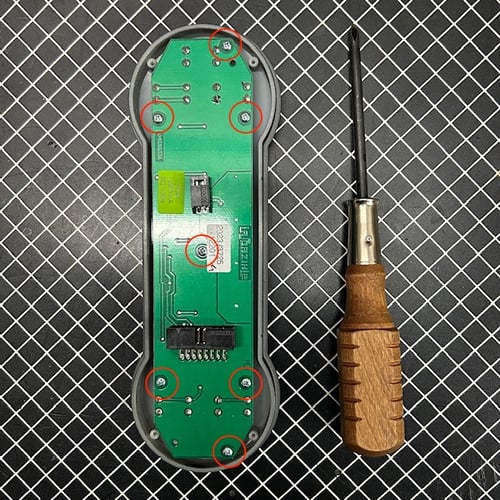
If you need to replace the front panel or refasten the wires to the LUCCA light or the ribbon cable to the red lights and buttons you can follow these photos:
3. Remove the small Phillips screws holding the plastic housing of the control panel in place.

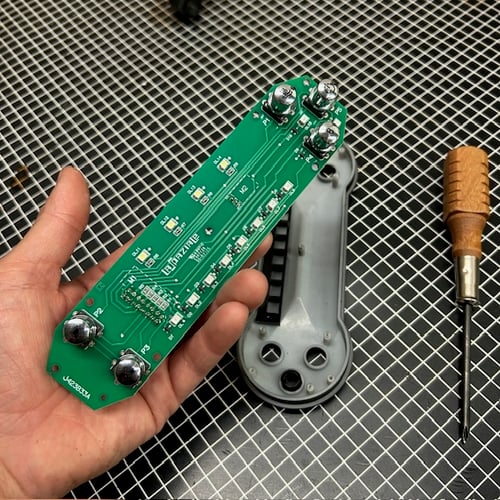
4. Refasten the wires below to their respective seats if lights / buttons aren't working. Go to the next step if you're swapping the control pad or testing the buttons.

5. Unscrew the 6 small Philips head screws holding the board to the face plate.
6. Remove the button covers from the control panel buttons.
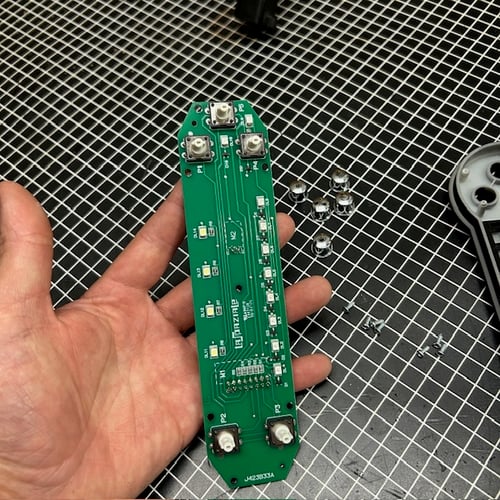
At this point you can either follow these steps in reverse order to install the new control board—make sure to install the button covers in the correct locations—or you can test the control board buttons to make sure they're working.