Tools Needed:
- Phillips Screwdriver
- 5mm Allen Wrench
- 13mm Crescent Wrench
- 14mm Crescent Wrench
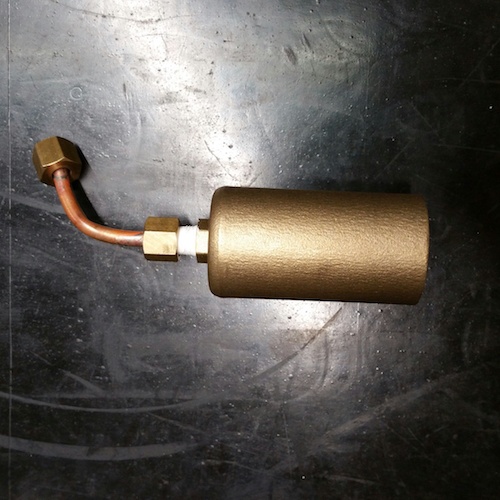
- Pre-Infusion Chamber
- Follow the instructions for removing the panels from the machine.
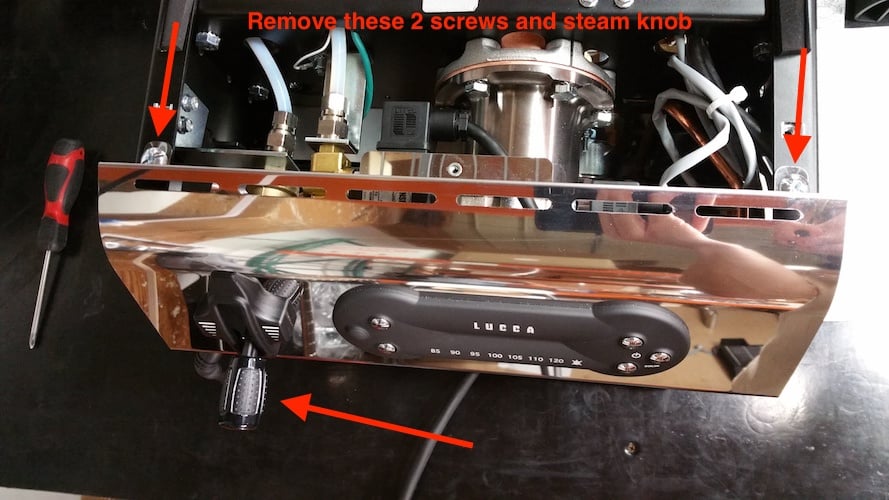
- Remove the front panel from the machine by removing the steam knob and the two screws holding the panel on.
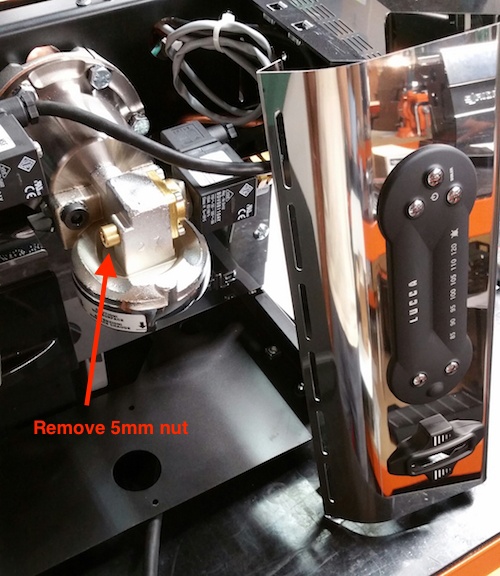
3. Set the front panel to the side, being careful not to unplug the wires running into the back of the control panel. Remove the group head plug using a 5mm allen key.
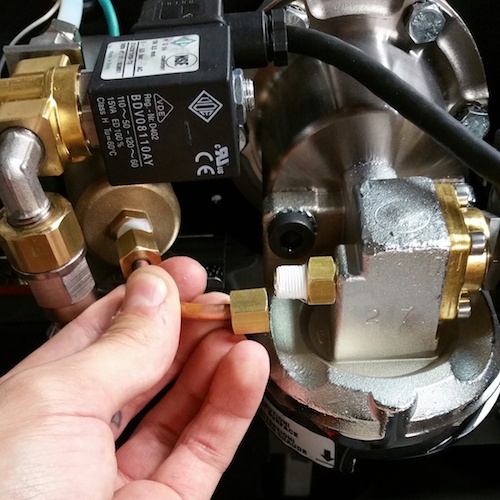
4. Give the copper tube a slight bend and then attach one end to the pre-infusion chamber using a 13mm crescent wrench, being careful not to overtighten. Over tightening can cause copper tubing to crack or break.
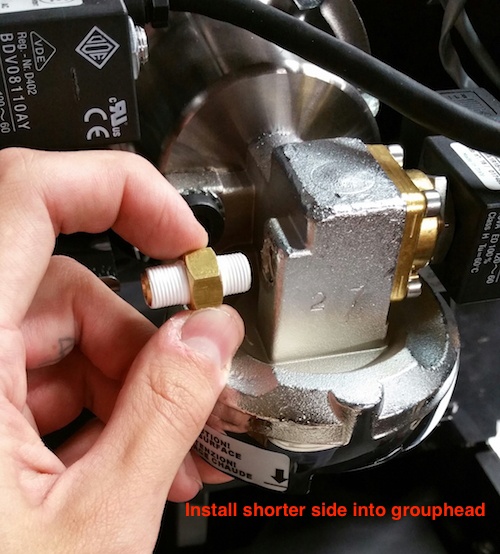
5. Install the adapter into the group head using a 14mm crescent wrench, the shorter side of the adapter will tighten down until it's flush with the group head.
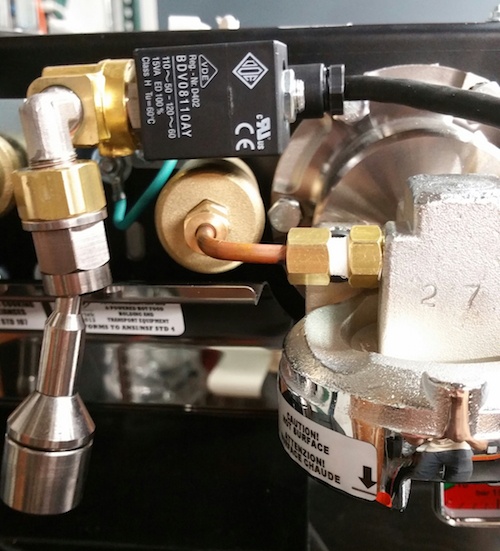
6. Place pre-infusion chamber into the space next to the coffee boiler, and use a 13mm crescent wrench to tighten it to the adapter piece, again being careful not to over tighten and break the copper tube.
7. Ensure that the pre-infusion chamber is not touching any panels or other components as it may vibrate and cause noise.
8. Reinstall the front panel.