NOTE: The steps in this guide apply to any Profitec or ECM espresso machine with a magnet sensor.
NOTE: Before continuing to troubleshoot, verify that the float magnet is magnetic, is correctly installed in the reservoir, and floats when the reservoir is full of water.
Tools Needed:
- 2.5mm Allen key
- 3mm Allen key
- Jumper wire, paper clip, or similar.
1. Remove the panels from the machine.
2. Identify the magnet sensor installed in the back of the reservoir holding tray.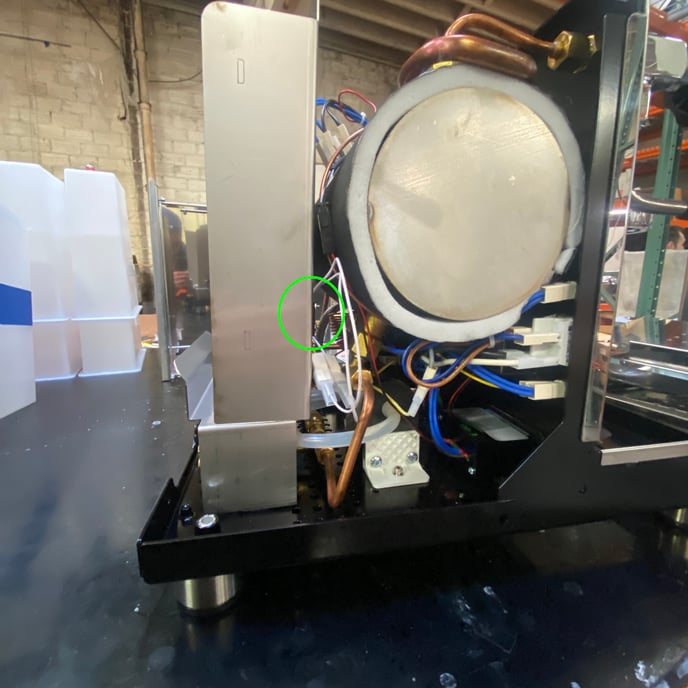
3. Trace the white wires back to where they connect to the wires coming from the machine's computer (aka CPU).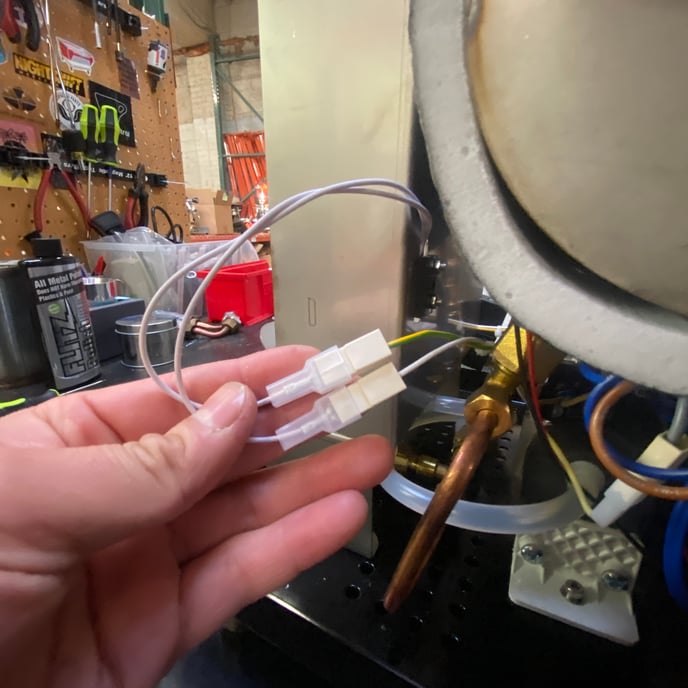
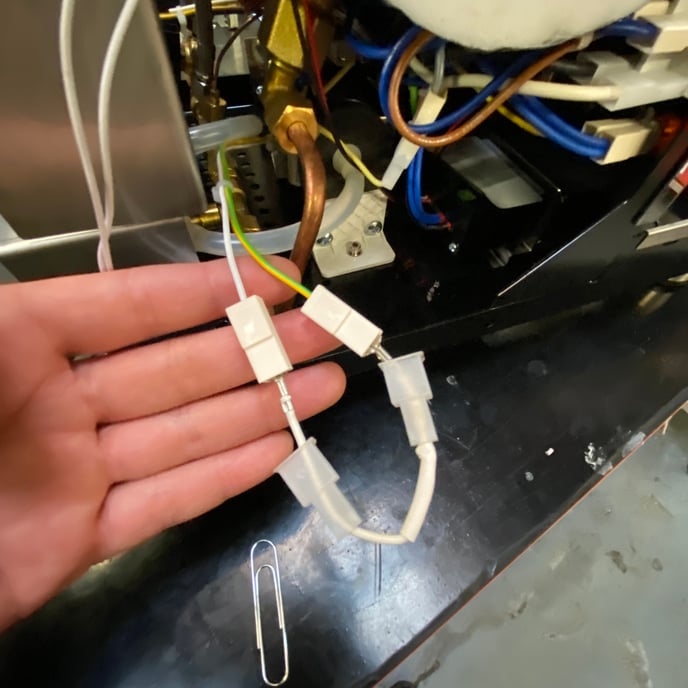
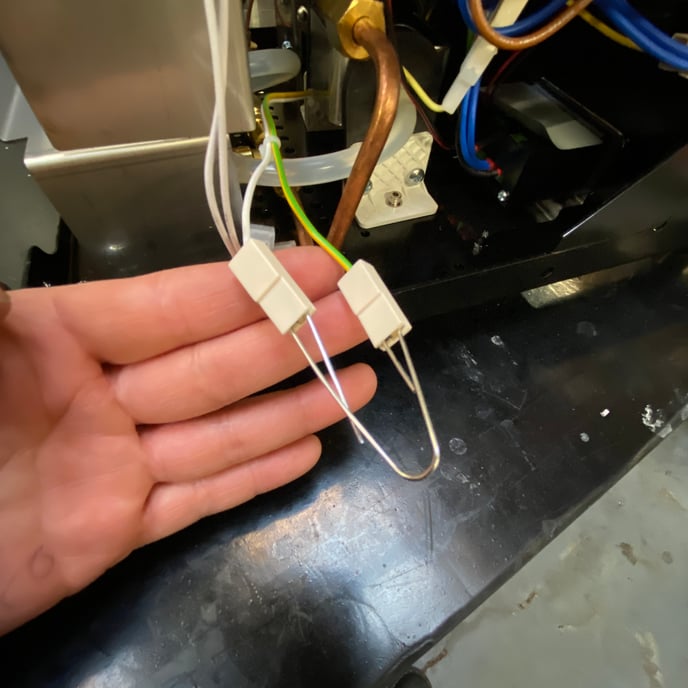
4. Disconnect the magnet sensor wires.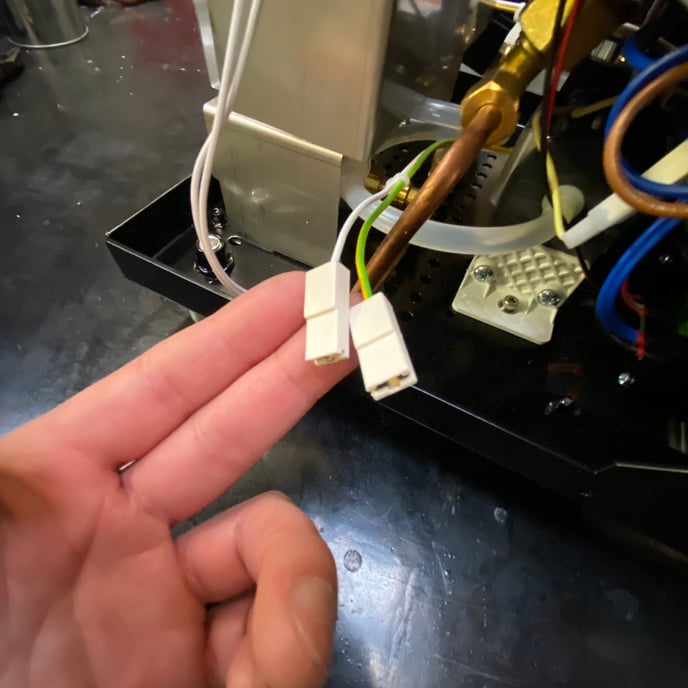
5. Use your jumper wire, a strategically bent paperclip, or a similar conductive tool to connect the two wires from the machine's computer together. This will effectively bypass the magnet sensor.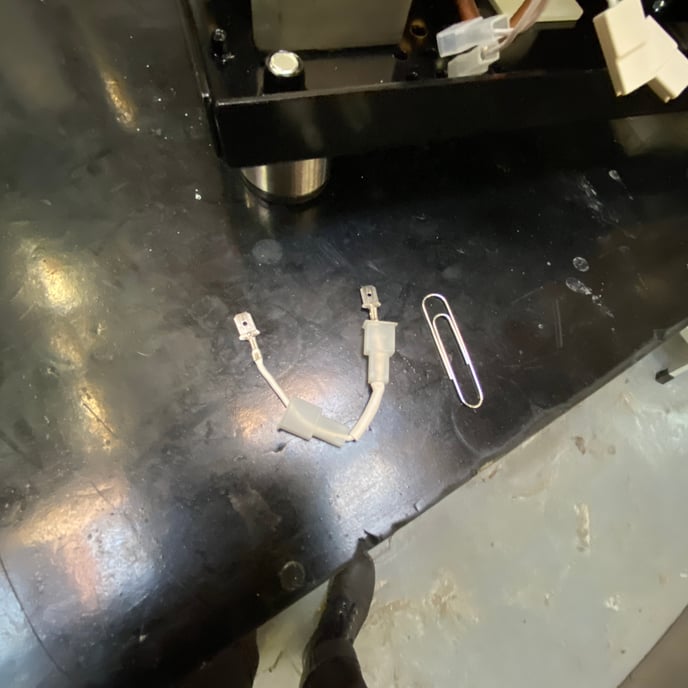
6. Fill and install the reservoir, then power the machine on. 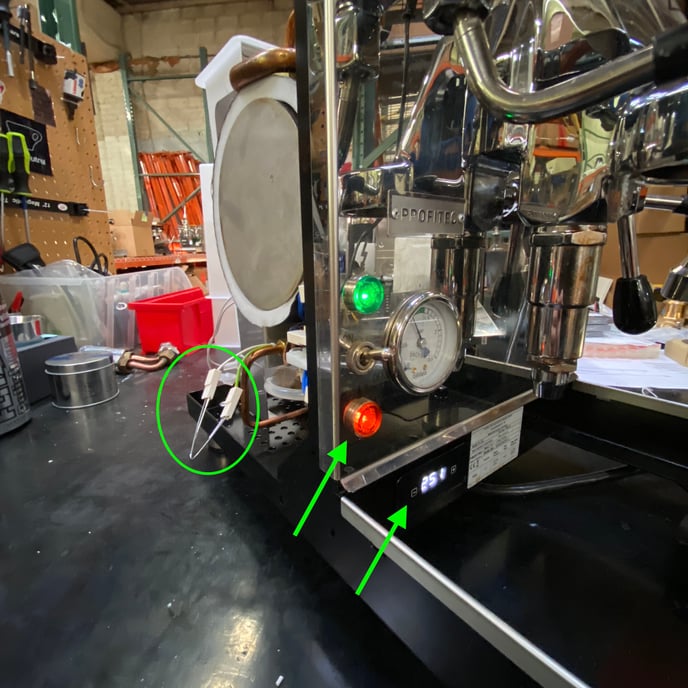
If the machine begins to work normally, then it's very likely that the magnet sensor is not working and will need to be replaced.
If the machine still does not power on normally, you will have to continue troubleshooting with a multimeter to determine the underlying cause. Always take care when working with live voltage.
Testing the machine's computer/water sensor circuit:
1) Start with the machine on and set your multimeter to read AC Volts on the lowest setting (typically 20V AC).
2) Probe both of the wires coming from the machine's computer at the same time. You should see ~1.5V AC on your multimeter. If you don't see ~1.5V AC here, continue on to the next steps.
3) Follow the water sensor wires to the other side of the machine and the machine's computer; make sure that both wires are securely plugged into the machine's computer at terminals FA18 and FA20.

4) As before, with the machine on, back probe the white wire where it connects to the machine's computer. Metal-on-metal contact between the connector inside the white cover and the multimeter probe are crucial. Ground the other probe out on bare metal—the side of the boiler works well.
If you see ~1.5V AC here, that most likely indicates that either the white or the yellow/green wire is damaged. Trace each wire and verify that it's in good shape, replace if necessary.
If you still don't see any voltage here, then the CPU is not working properly and will need to be replaced.