You'll need:
- Phillips head screw driver
- Small precision screw driver
- Small Flat Blade (optional to help disconnect the wires from the CPU)
Before performing this repair, you should first contact allow the machine to completely cool and be unplugged. Then, you may remove the panels from your machine.
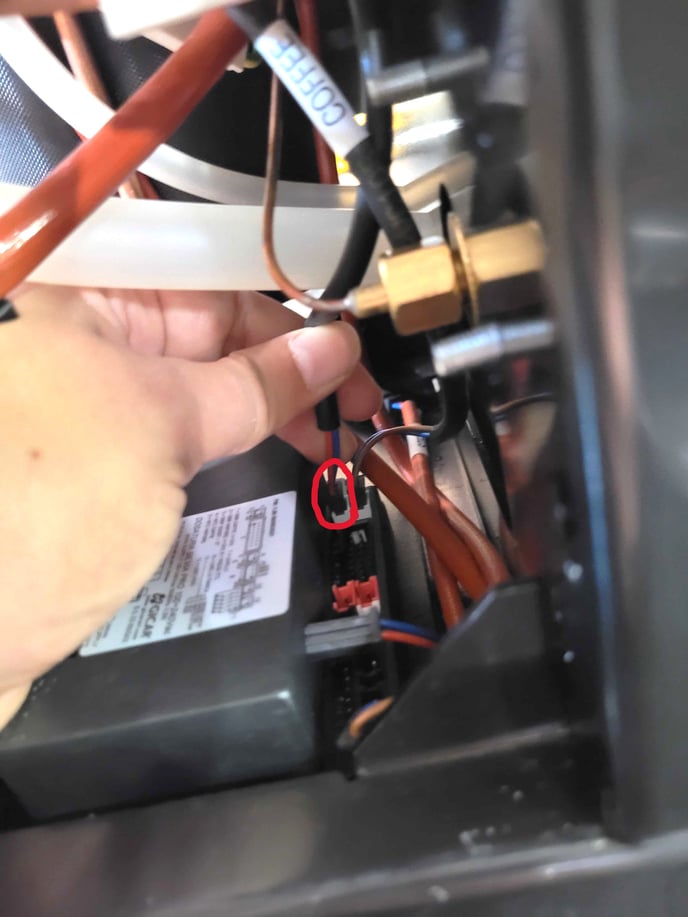
1. Locate the black box containing the CPU, between the pump and the front panel.
2. In order to gain better access, we recommend removing the metal plate holding the high limit thermostat in place and then removing the two wires attached to it.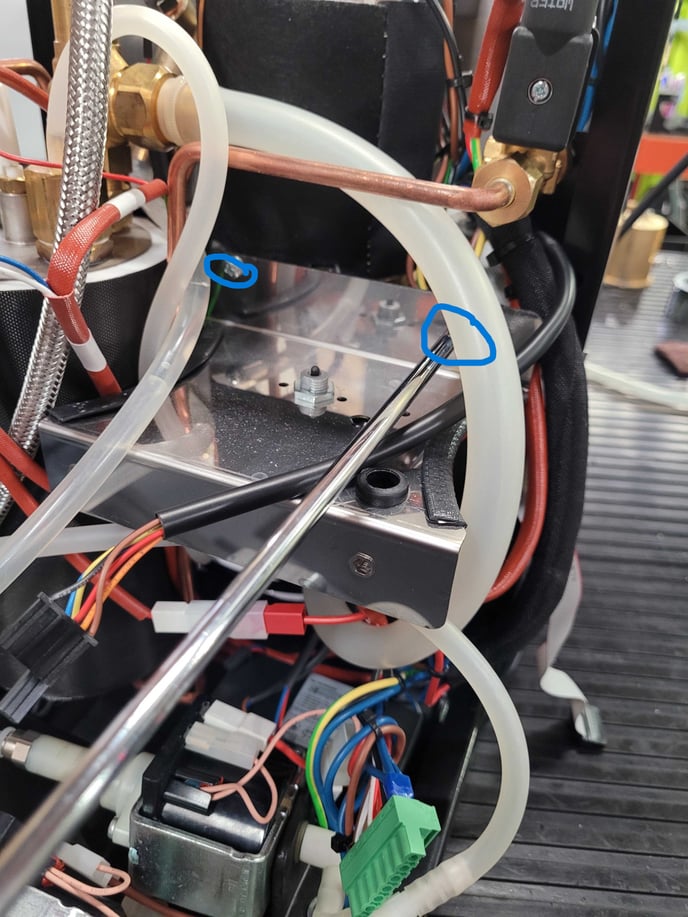
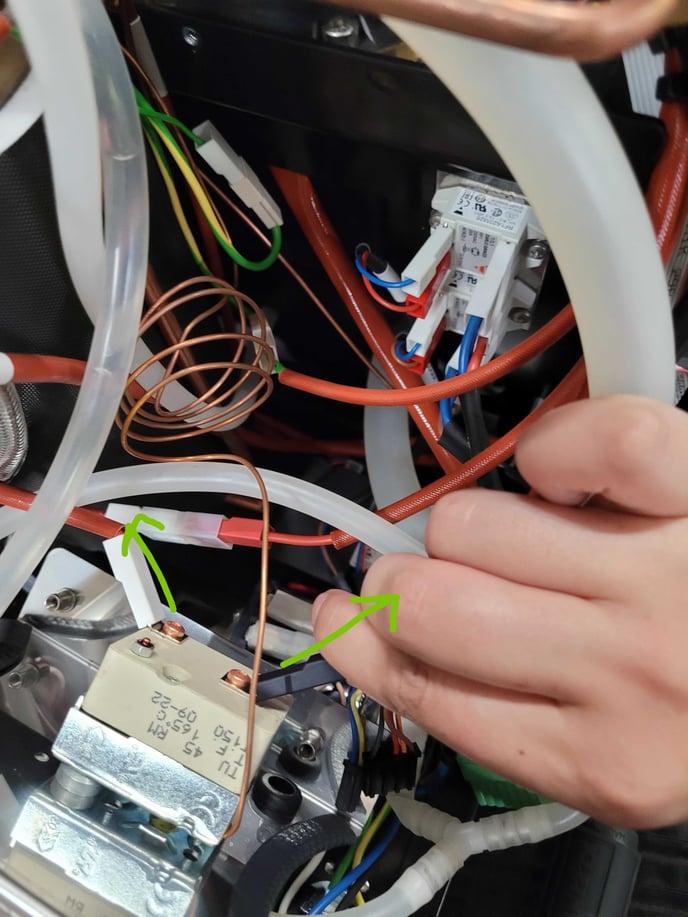
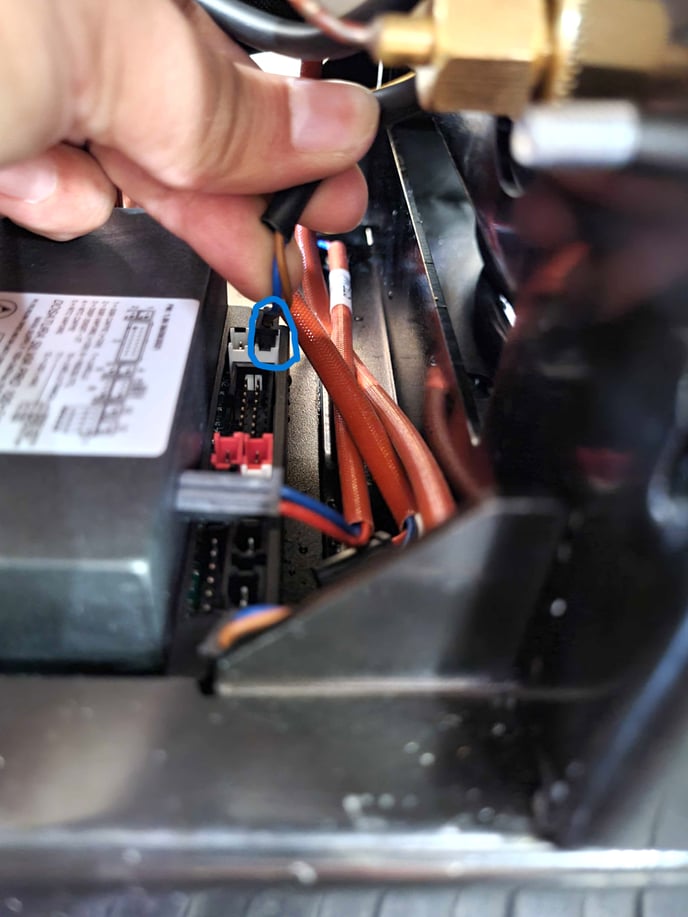
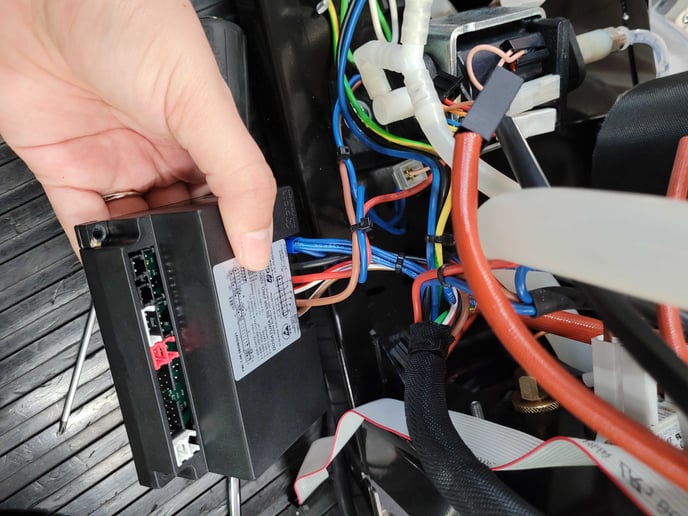
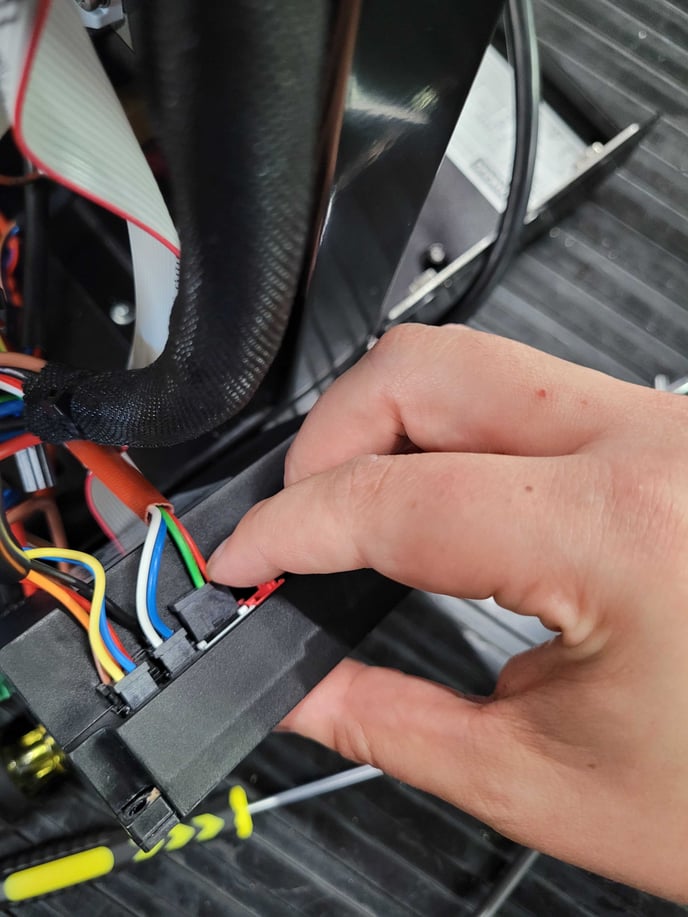
3. You may choose to either, unplug each of the terminals to gain better access to the small screws holding the CPU in place, or you can try to remove the small screws with the wires still attached to pull the whole part out of the machine. Please take a few photos before you begin unplugging, so that you can match the orientation of the CPU and wires once it has been disassembled.
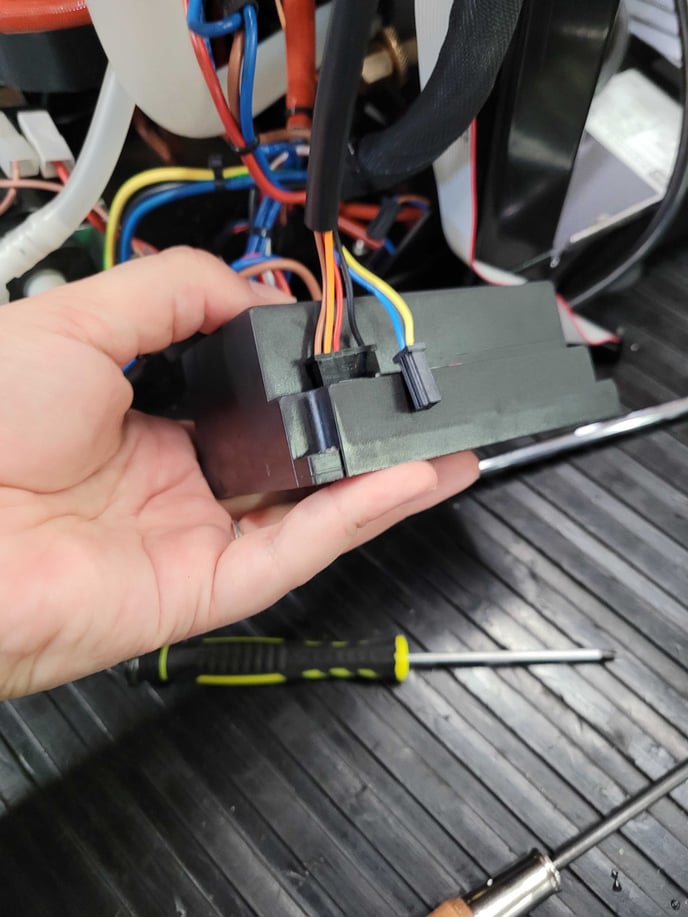
(The wiring harness circled in green should pull out as all one piece)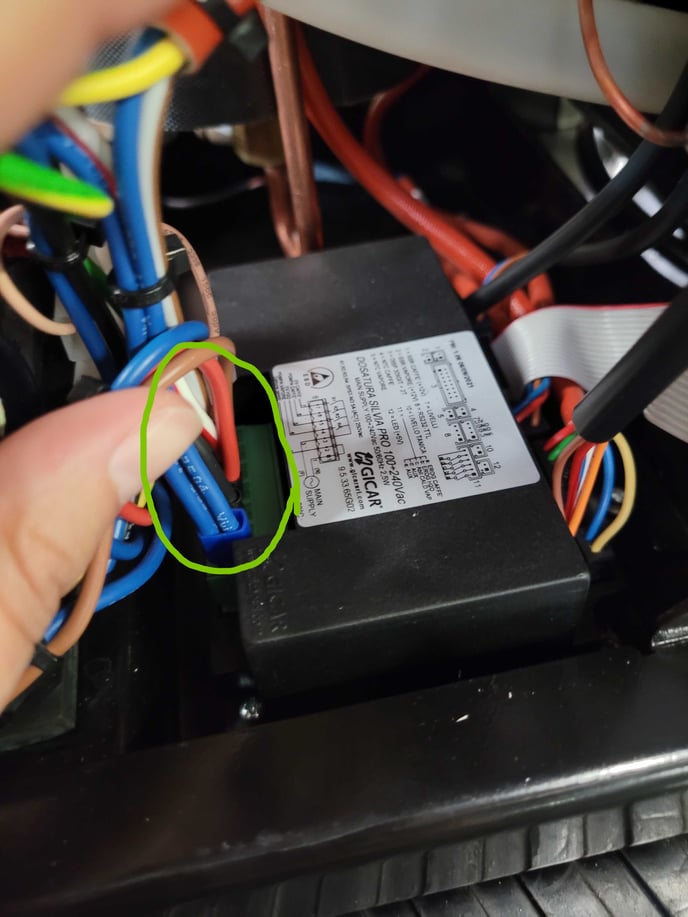
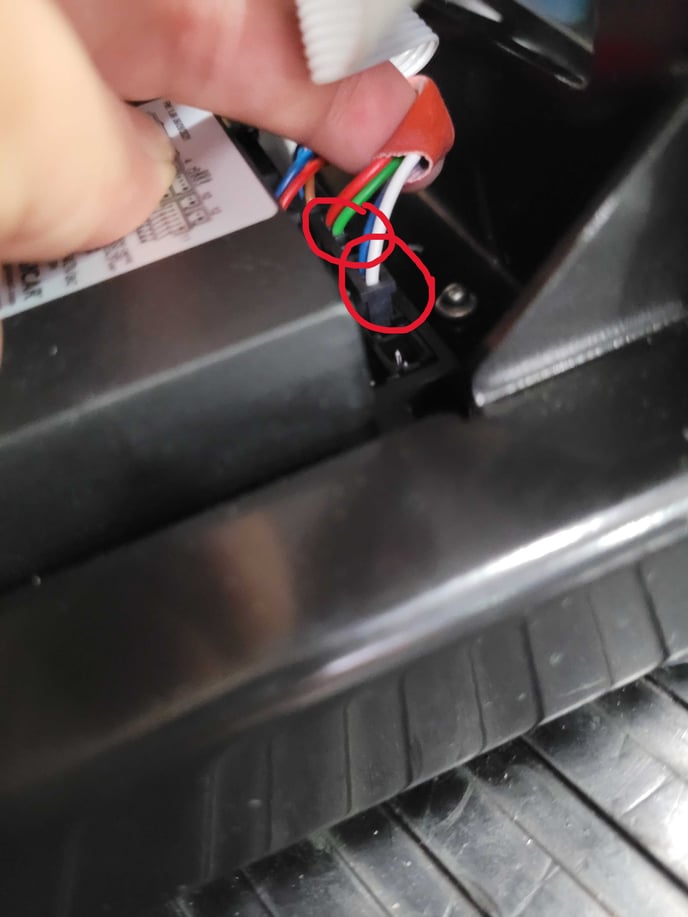
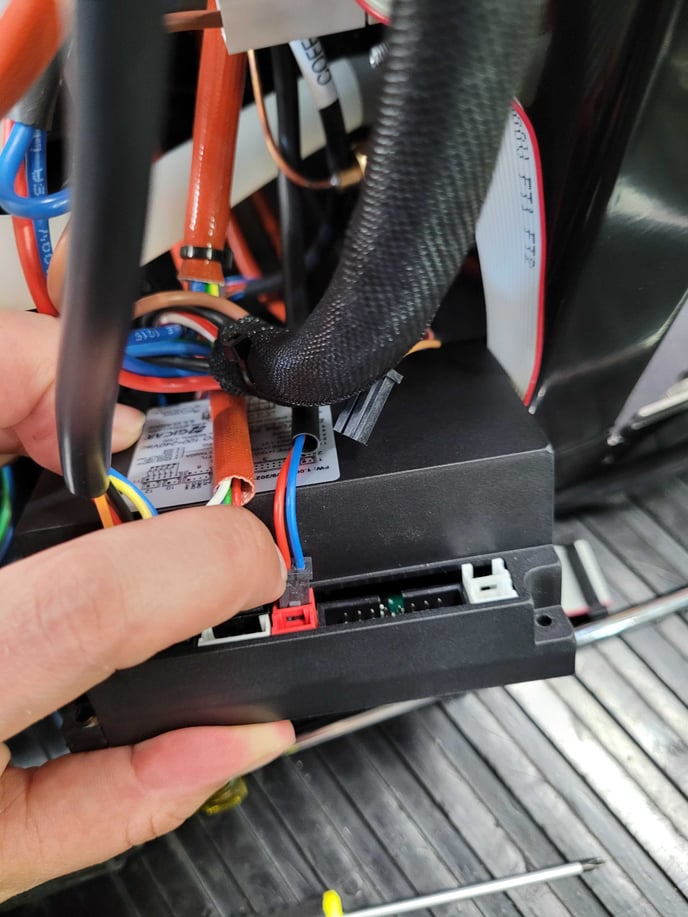
(These two terminals are held together by the black wiring sheath)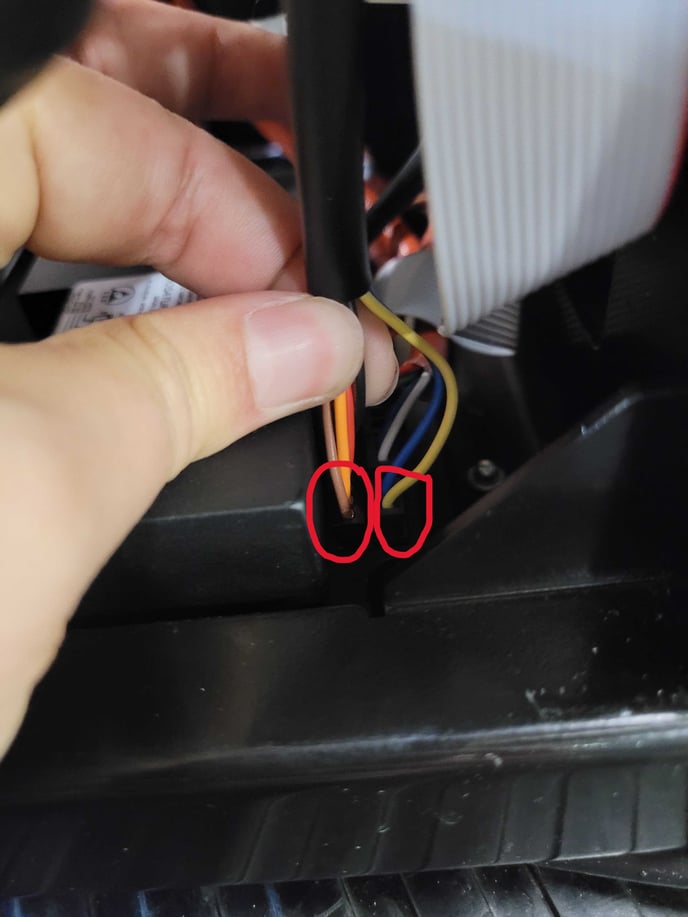
(The red wiring harness holds onto these two terminal leads that sit beside each other)
(The blue and red goes to the first red terminal)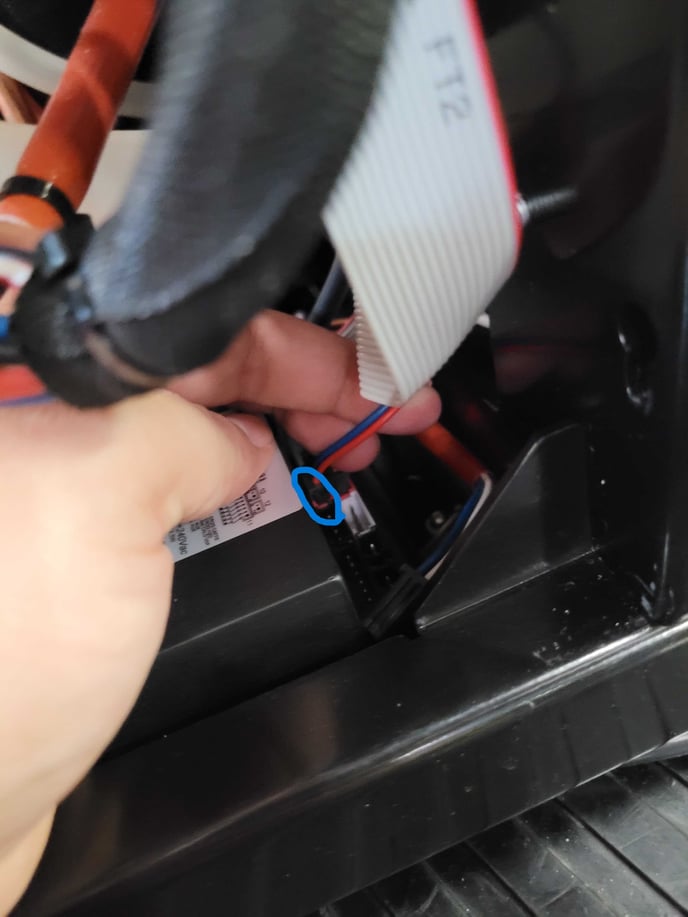
(And the brown and blue goes to the second red terminal)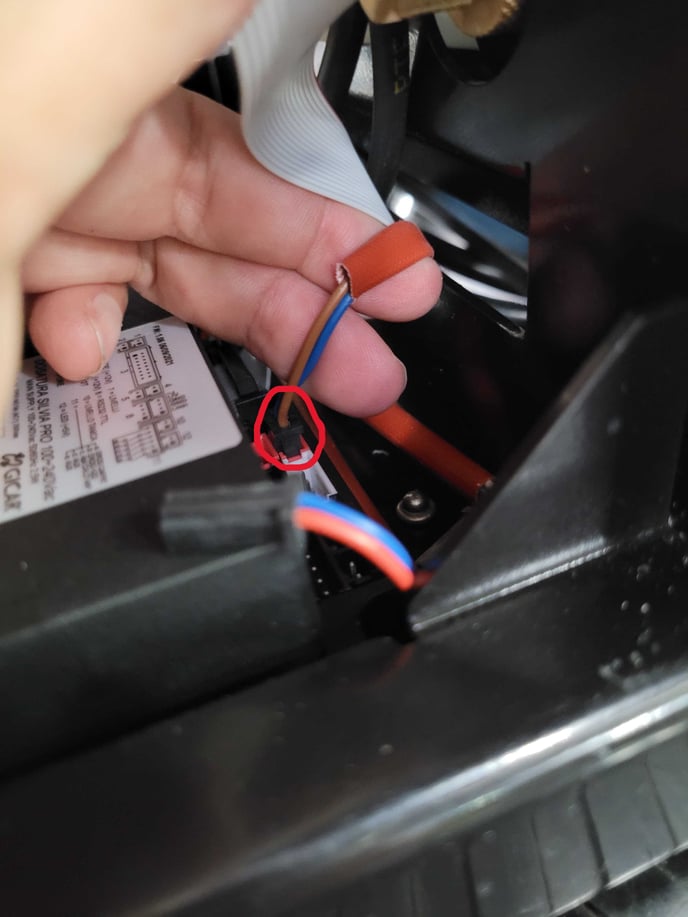
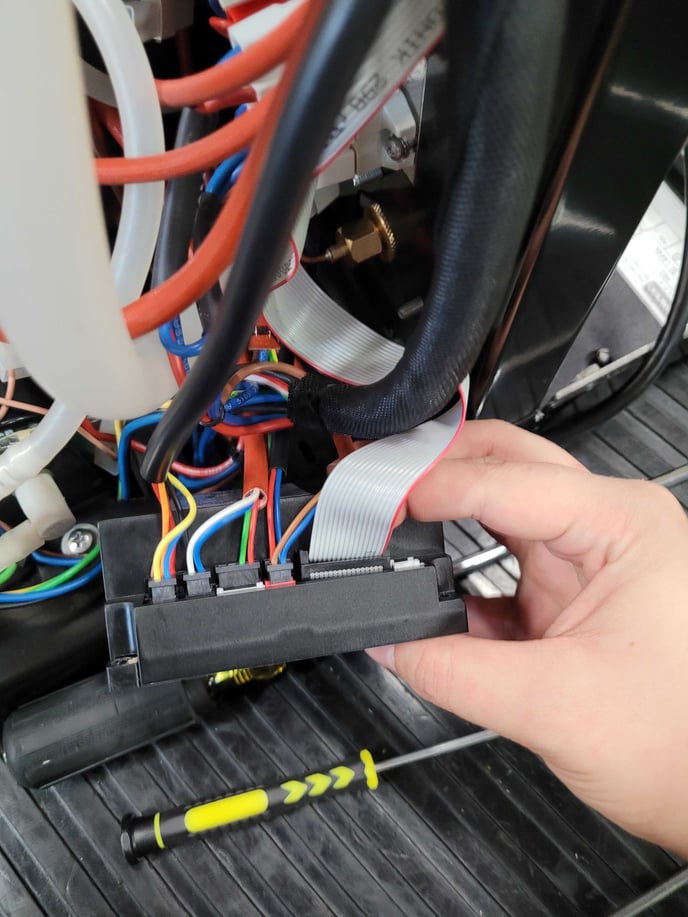
(Detach the ribbon cable)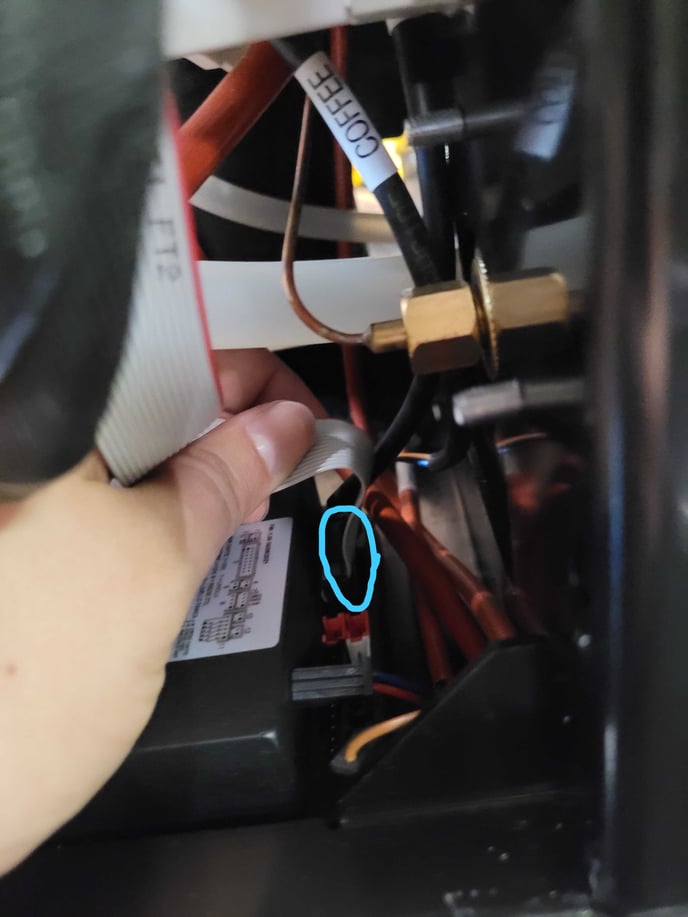
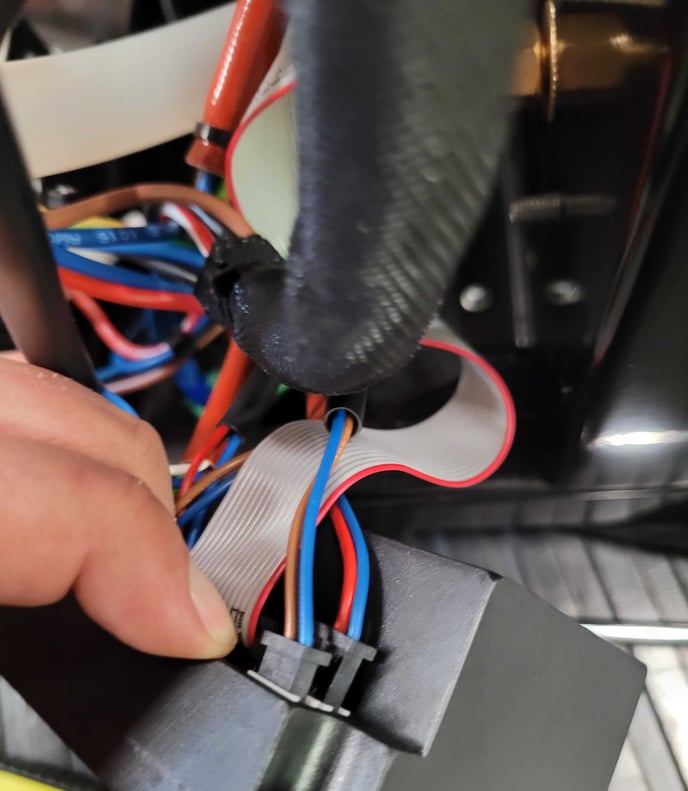
(The red and blue go to the first white terminal)
(And the brown and blue go to the second white terminal)
4. You will need to remove the 4 screws on each of the corners of the CPU cover. There will be 2 long and 2 short.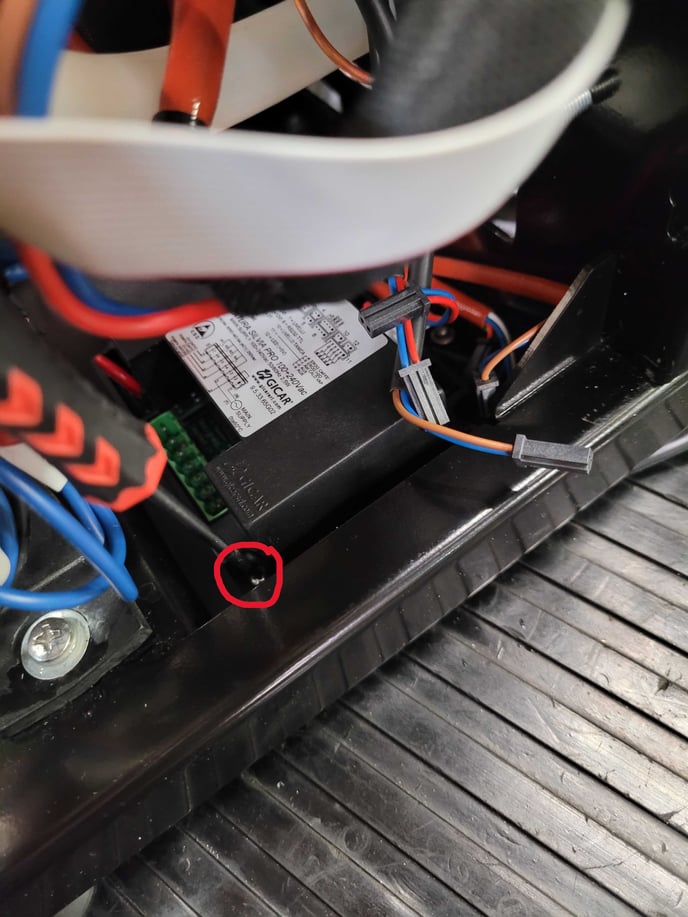
5. Once all 4 screws have been removed, you should be able to lift the CPU and cover out of the machine. 
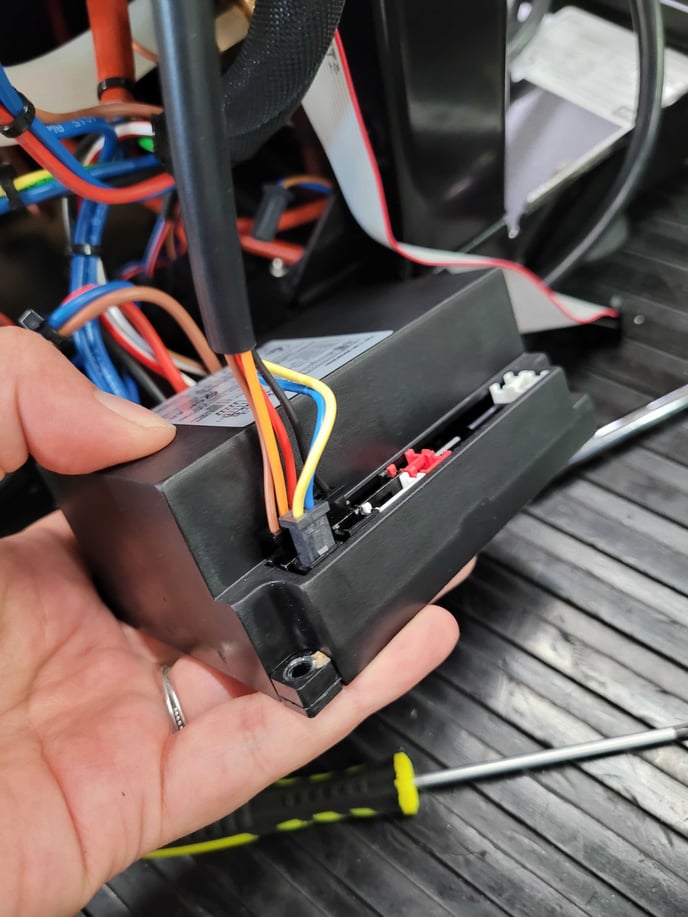
6. The replacement CPU comes with a cover and the 2 small screws for the cover already installed. You should only need to plug the wires back into their terminals (Pictured below). 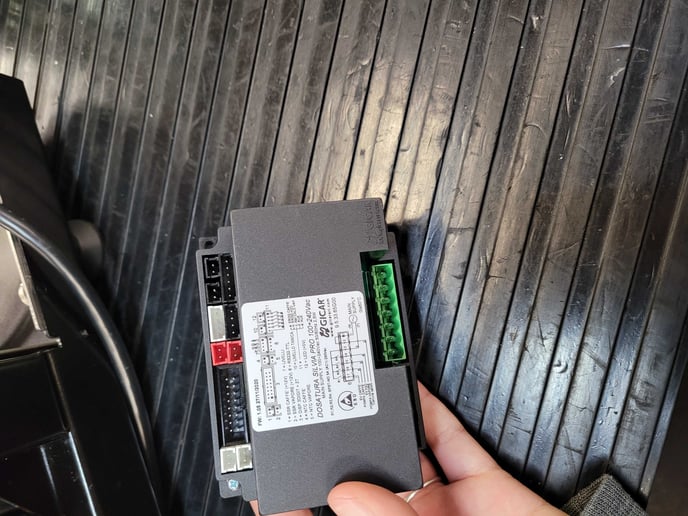
7. Replace the two long screws into the remaining holes and then place the new CPU back into the machine. Tighten the screws and test your machine with the panels still off just in case there is an issue.
