- Help Center
- Profitec Pro 500
- Boiler & Group Head
-
Getting Started
-
Espresso 101
-
Warranty, Ordering & Returns
-
Like New & Trade-In Program
-
General Troubleshooting
-
LUCCA A53 Direct Plumb
-
LUCCA A53 Mini/Mini Vivaldi
-
LUCCA M58 by Quick Mill
-
LUCCA X58 by Quick Mill
-
LUCCA Solo
-
LUCCA Accessories
-
LUCCA S58 by Profitec
-
La Marzocco Linea Mini
-
La Marzocco GS3
-
Lelit Mara X
-
Lelit Bianca
-
Lelit Elizabeth
-
Lelit Victoria
-
ECM Synchronika & Synchronika II
-
ECM Special Edition Classika PID
-
ECM Mechanika V Slim
-
ECM Mechanika VI Slim
-
ECM Casa V
-
ECM Puristika
-
Profitec MOVE
-
Profitec JUMP
-
Profitec GO
-
Profitec Pro 300
-
Profitec Pro 400
-
Profitec Pro 500
-
Profitec Pro 600
-
Profitec Pro 700
-
Profitec Pro 800
-
Profitec Drive
-
Rocket Appartamento
-
Rocket R58 / Cinquantotto
-
Rocket Giotto
-
Rocket R Nine One
-
Rocket Boxer
-
La Spaziale S2 EK
-
Rancilio Silvia
-
Rancilio Silvia Pro
-
Rancilio Silvia Pro X
-
Sanremo YOU
-
Ascaso Steel DUO
-
Breville Barista Pro
-
Breville Oracle Touch
-
Flair Classic Espresso Maker
-
Flair 58 Pro 2
-
Flair 58 Plus Espresso Maker
-
LUCCA Grinders
-
Baratza Grinders
-
Eureka Grinders
-
Eureka Mignon Zero
-
ECM Grinders
-
Fellow Grinders
-
Fellow Tally Precision Scale
-
Mahlkönig Grinders
-
DF64 Grinder
-
Quick Mill
-
Izzo Alex Duetto
-
Bezzera BZ10
-
Bezzera Duo DE
-
Bezzera Duo MN
-
Dalla Corte Mina
-
Compak Grinders
-
Dalla Corte Grinders
-
Profitec Grinders
-
Breville Grinders
-
Macap Grinders
-
Fiorenzato Grinders
-
Slayer
-
WEBER WORKSHOPS Grinders
Profitec Pro 500: Replacing the SSR
If your machine is not heating, it may be necessary to replace your solid-state relay. (Difficulty ☕☕☕)
What you'll need:
- 2.5mm hex screwdriver
- 3mm hex screwdriver
- Replacement SSR
To begin please ensure your machine is switched off, fully cooled, and unplugged. Next, remove the panels.
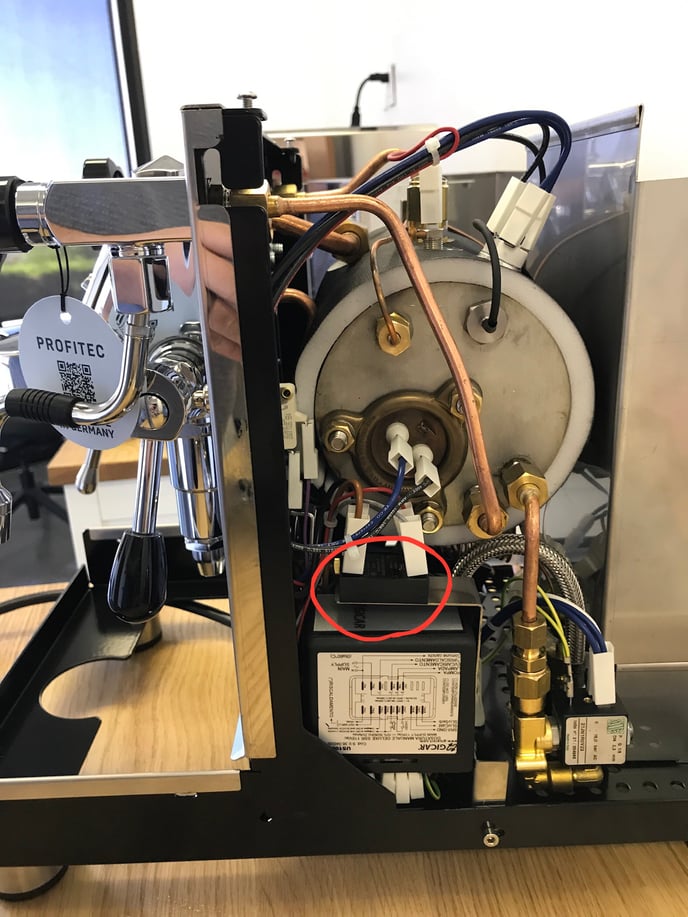
With the panels removed, you can find the relay on the right-hand side of the machine, just on top of the computer (circled in red).
Now that we've located the SSR, you'll need to unscrew it from the bracket using a 2.5mm hex screwdriver. It may be helpful to unplug your heating element temporarily to gain better access.
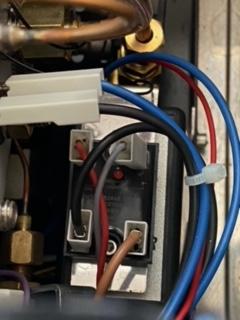
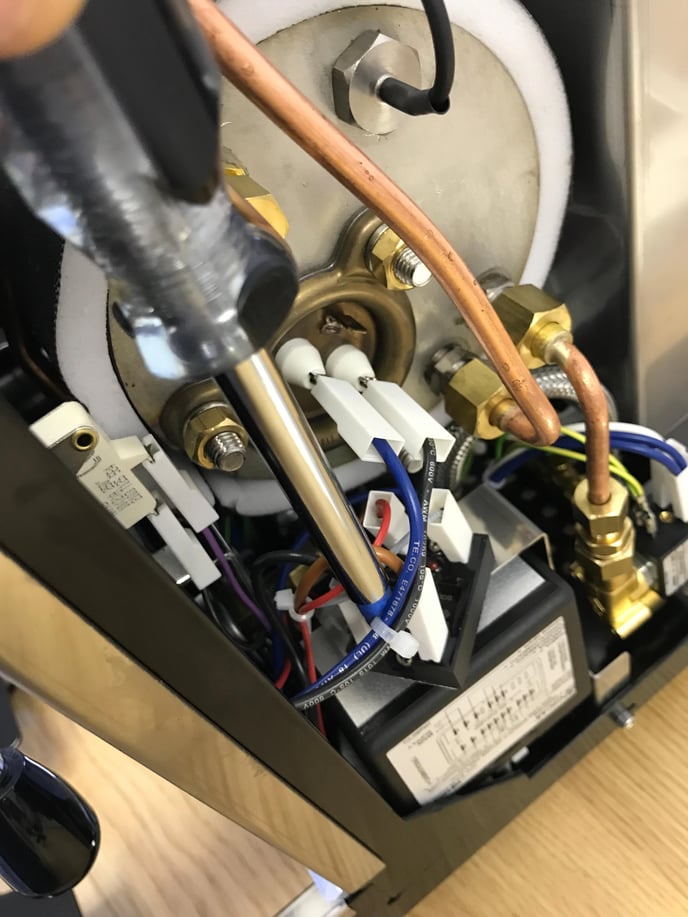
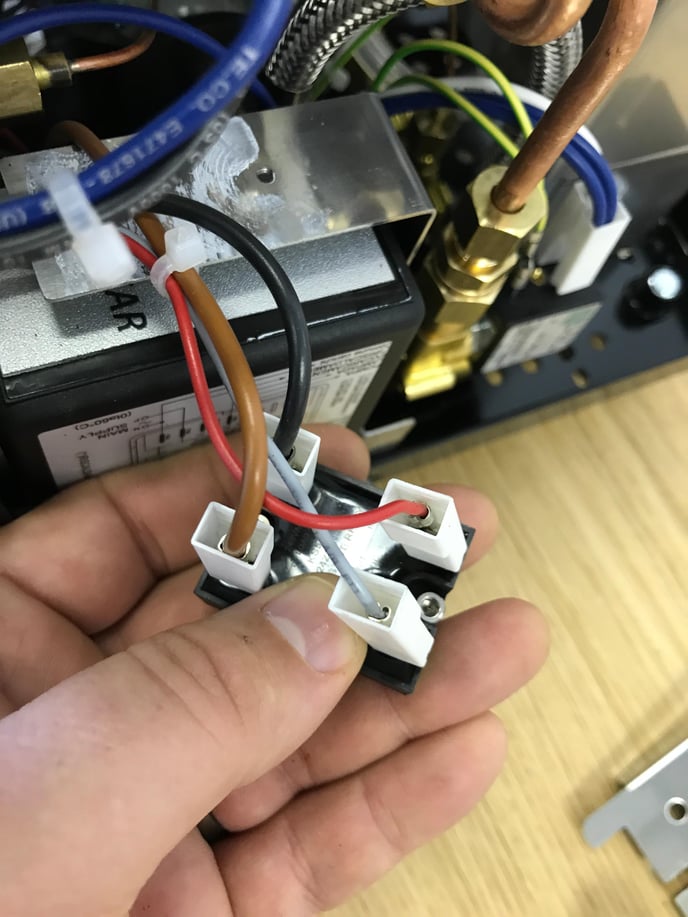
Once removed, take note of where each wire is plugged into and transfer the wires one at a time onto the new SSR. If you forget, you can always examine the above images for the correct orientation of the electrical connections.
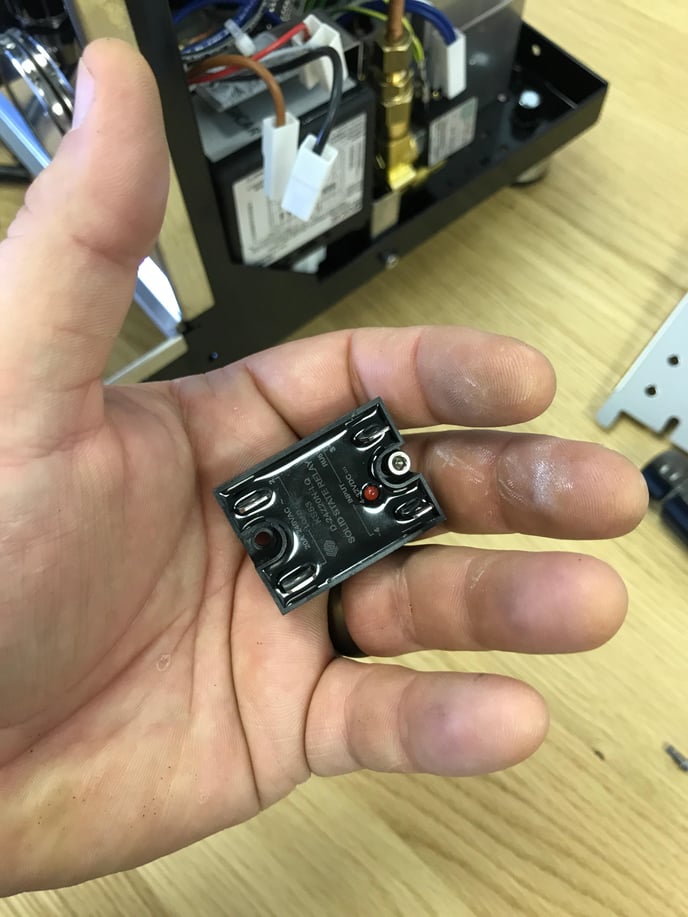
Screw the new SSR into place (and your element if you unplugged it) and plug your machine back in to begin testing. Be sure to fully test the machine's heating function before replacing the panels.
Once you've confirmed the the red LED on the SSR has lit up and heat is back on in your machine, replace the panels and enjoy your coffee!
NOTE: As of 2023 the Clive tech department has approved ECM/Profitec part P6031 for use as a fully functionally compatible substitute to the OE Pro 500 SSR when the OE SSR is unavailable. This larger SSR can safely be mounted in the exact same location as the OE SSR using only one mounting screw instead of both.