Before beginning, make sure to watch our video on disassembling a Eureka Mignon grinder. We begin this video with partially disassembled. Removing the top burr on the Eureka Mignon grinder line is quick and easy for deep cleaning the grind chamber and chute.
Also check out the other videos in this series:
Eureka Mignon Series: Monthly Cleaning
Eureka Mignon Series: How to Dial-In from the Zero Point
NOTE: If your Eureka Mignon grinder features a King Dial, as found on the Eureka Mignon Zero 65 AP and the Eureka Mignon Single Dose Pro, you'll need to follow the steps in this guide before beginning:
Eureka Mignon: King Dial Disassembly
Tools needed:
- #2 Phillips screwdriver
- #1 Phillips screwdriver
- Flathead screwdriver
- 11mm crescent wrench or adjustable wrench
- Cleaning tools; pipe cleaners, plastic pics, stiff-bristled brush
- Vacuum with hose attachment
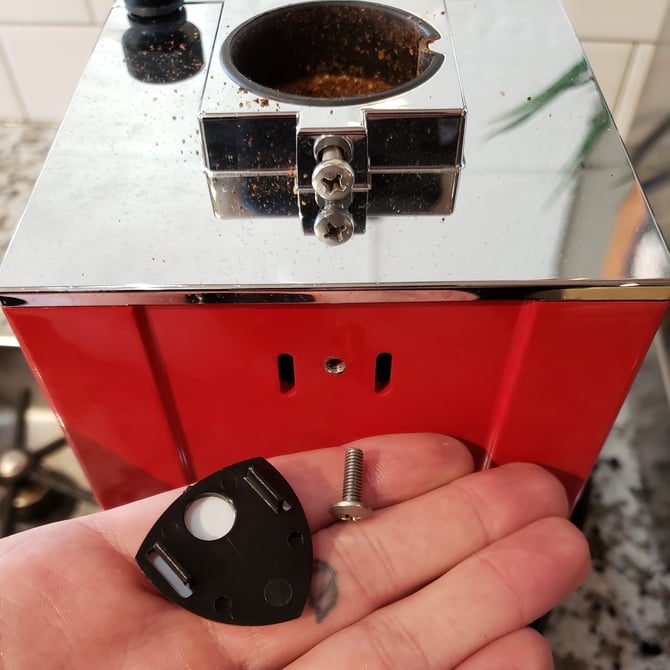
1. Pop the rear emblem off the grinder and remove the hidden screw. This will allow you to lift the top panel off of the grinder.
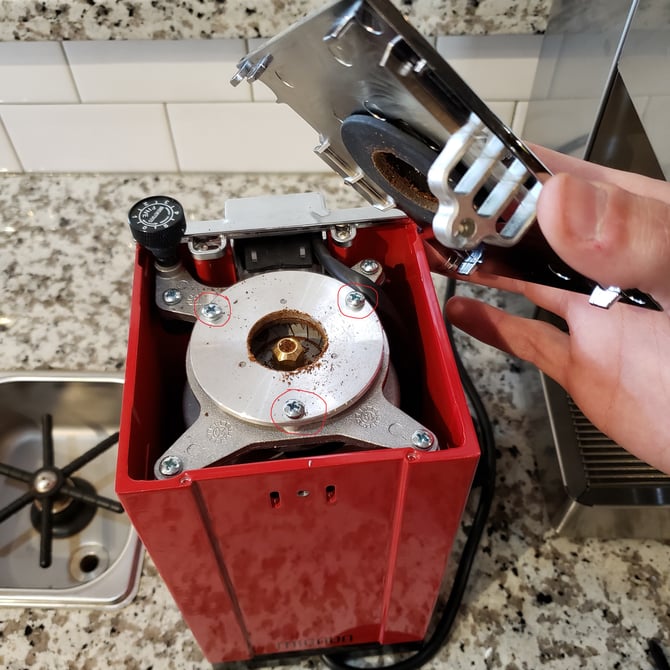
2. Remove the top panel and take out the 3 top burr screws. This will allow you to lift the top burr off.
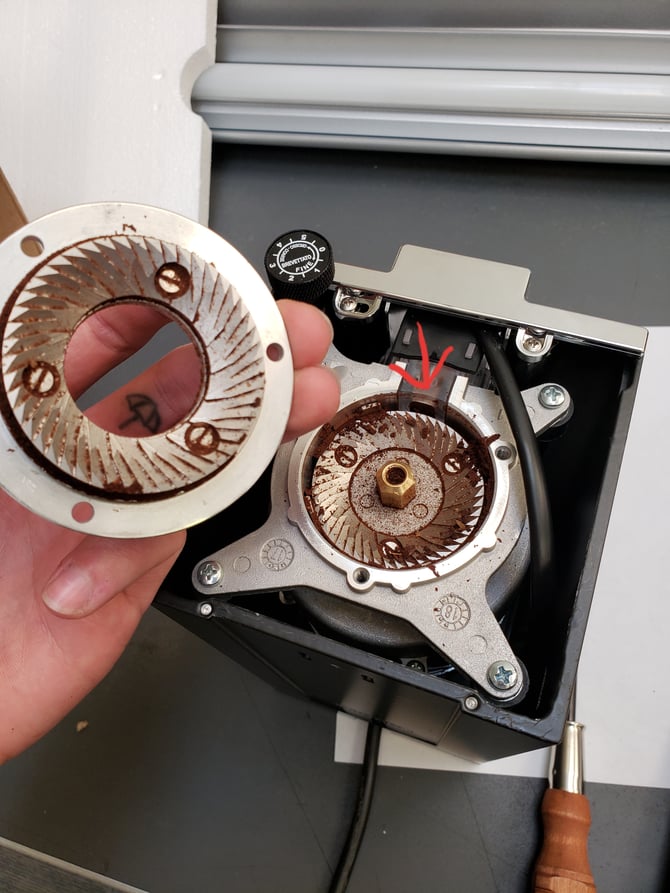
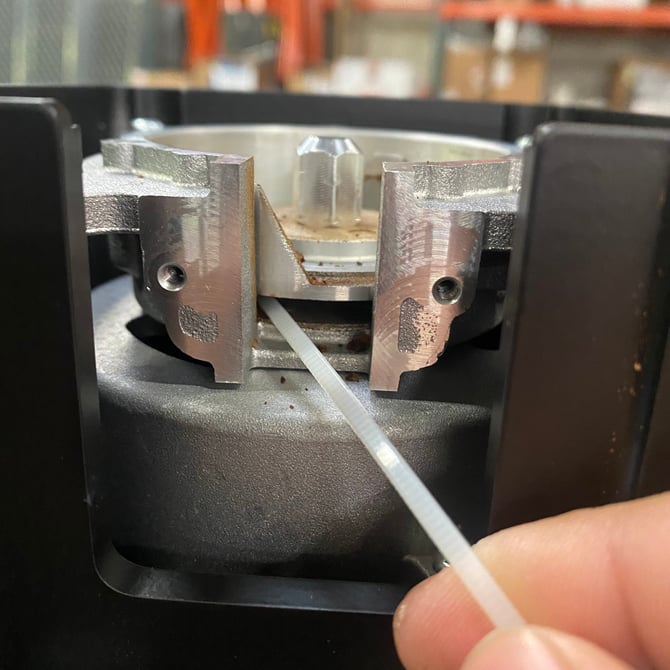
3. Clean out the burr chamber, both burrs and the chute (pointed out with the red arrow) to completely clear the grinder. The use of a zip tie or some other small implement can help clear out the chute, as grinds can stick at the entrance to it. Vacuum up any loose grounds.
If this doesn't resolve the issue you're experiencing or your grinder hasn't been cleaned for a long time, proceed to the following steps:
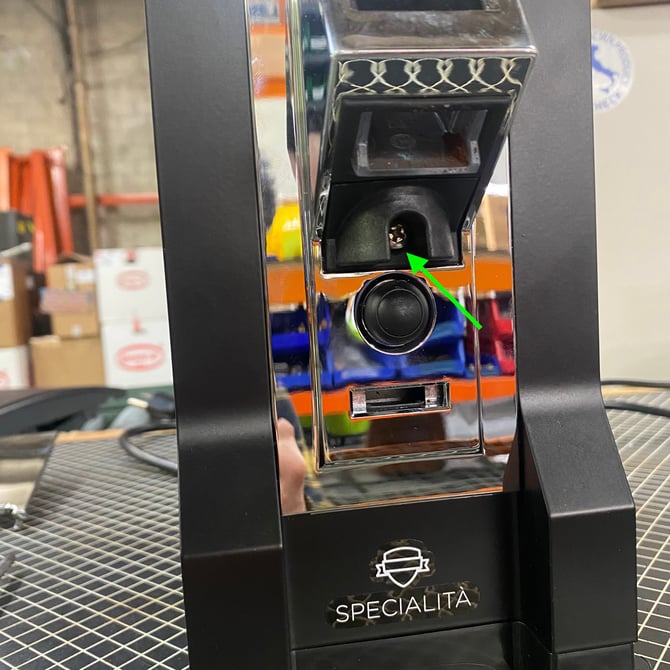
4. Remove the faceplate to access the chute and grind chamber. Lift up and gently pull the faceplate away from the grinder body — be careful not to damage the electrical leads.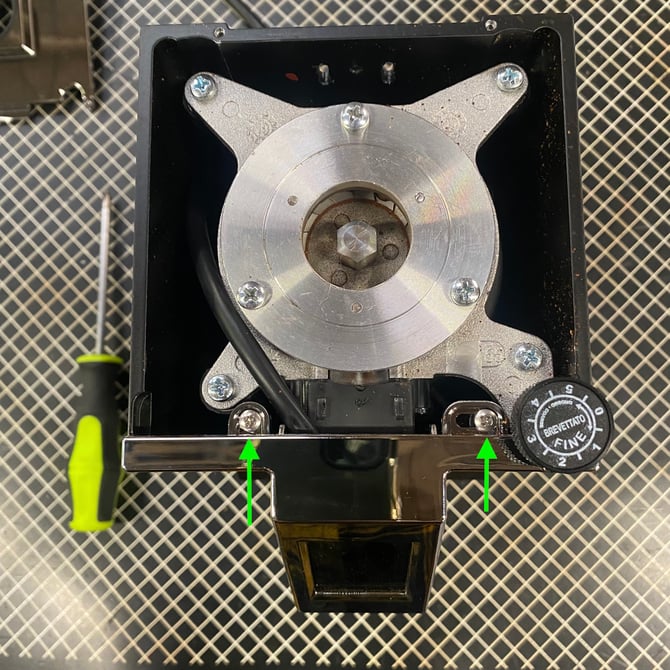
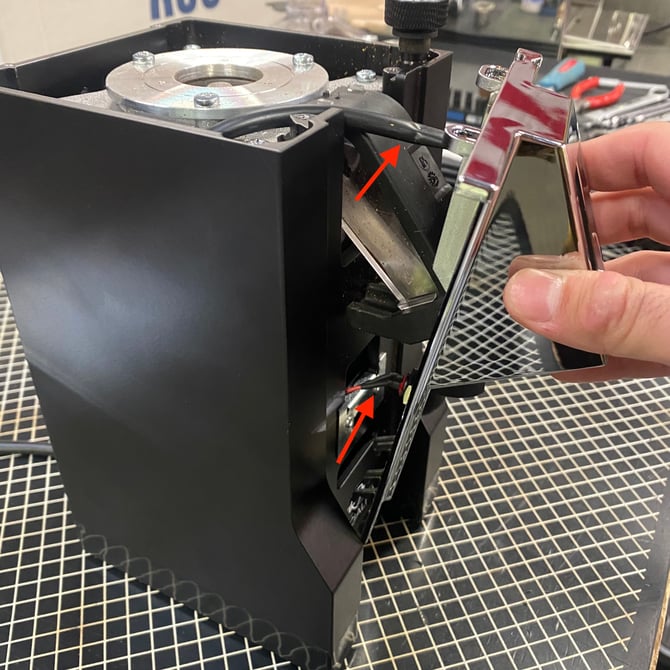
5. Remove the rubber cover and dismount the chute. It may be helpful to vacuum out the grind chamber before dismounting the chute.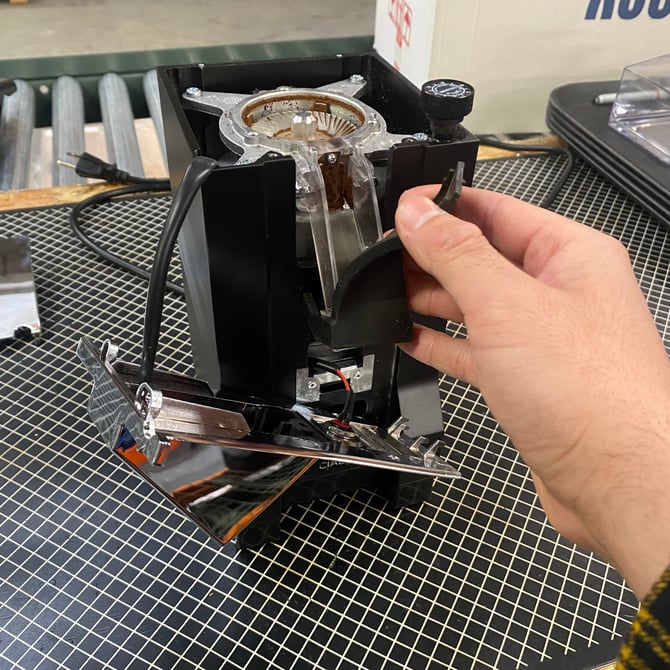
6. Detach the lower burr by removing the three flathead retaining screws. You may need to hold the central retaining nut with an appropriate sized wrench to prevent the burr holder from spinning.
7. Use your vacuum and a pick or similar implement to clear the grind chamber of any caked on coffee residue. Don't forget to get under the burr holder.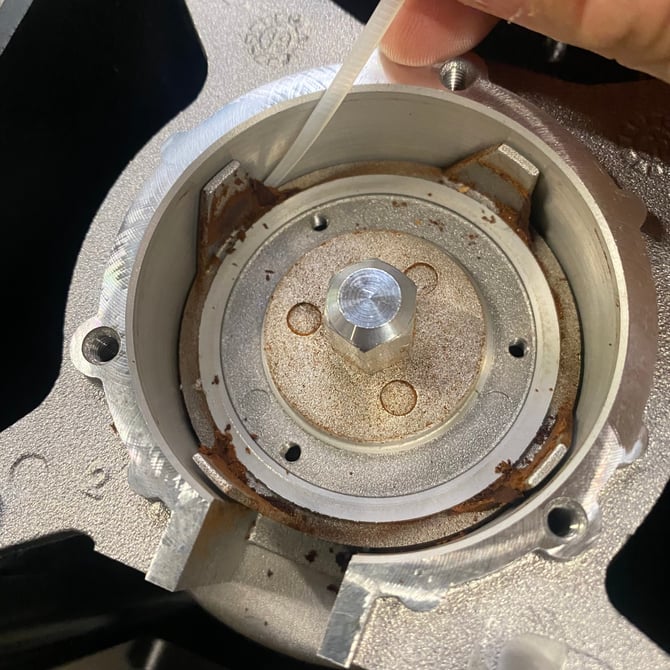
8. Use a stiff bristled brush to clear the burrs of any debris or cakey build-up.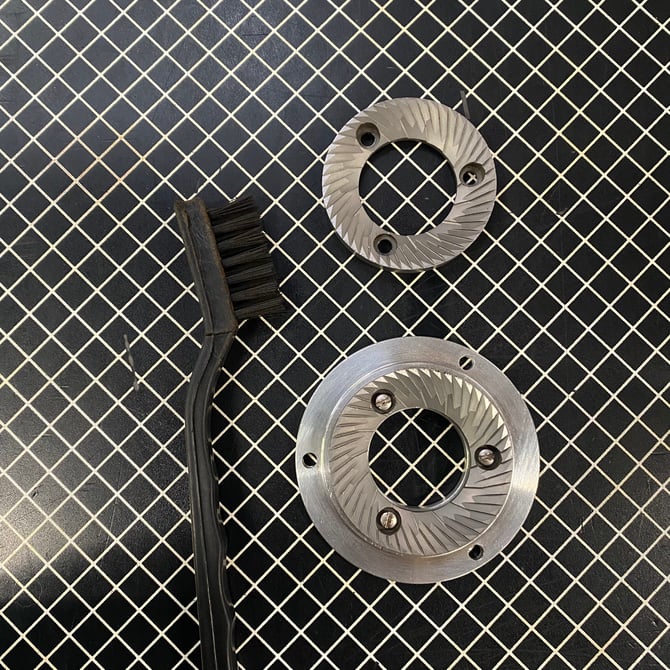
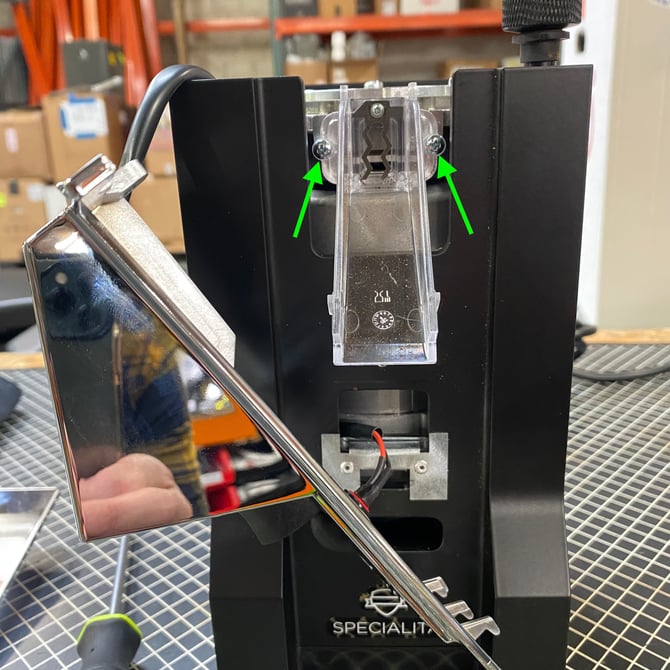
9. Make sure to clean the chute and rubber cover before reassembly.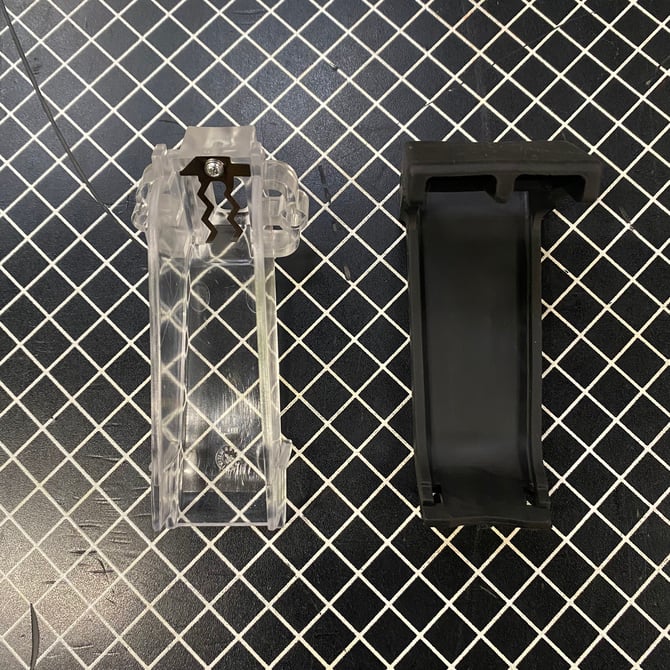
10. Reassemble the grinder and complete the Dial-In process.
*NOTE: When reassembling the grinder, make sure grind setting dial is neither too coarse or too fine; too far in either direction can cause the grinder to jam. If this does happen, simply adjust the grind setting until the motor spins freely.